This is an easy tutorial for earrings made with Cricut. I'm going to share you where you can buy earring materials and things you might want to know before making earrings with your Cricut machine.
I absolutely love earrings made with my Cricut machine! It's my new favorite crafting hobby.
You can't go anywhere without probably seeing someone wearing a pair of leather earrings because of not only how lightweight they are, but because they can go with so many outfits because of the multitude of textures, styles, patterns, and colors.
As you might have realized, the trend of leather and faux leather earrings is hot right now. I know that teardrop earrings have been all the rage lately, and I'm just in time to get on the bandwagon. You've probably seen a ton of small businesses built around making this fabulous earrings. However, you can make a ton of shapes with a little creativity.

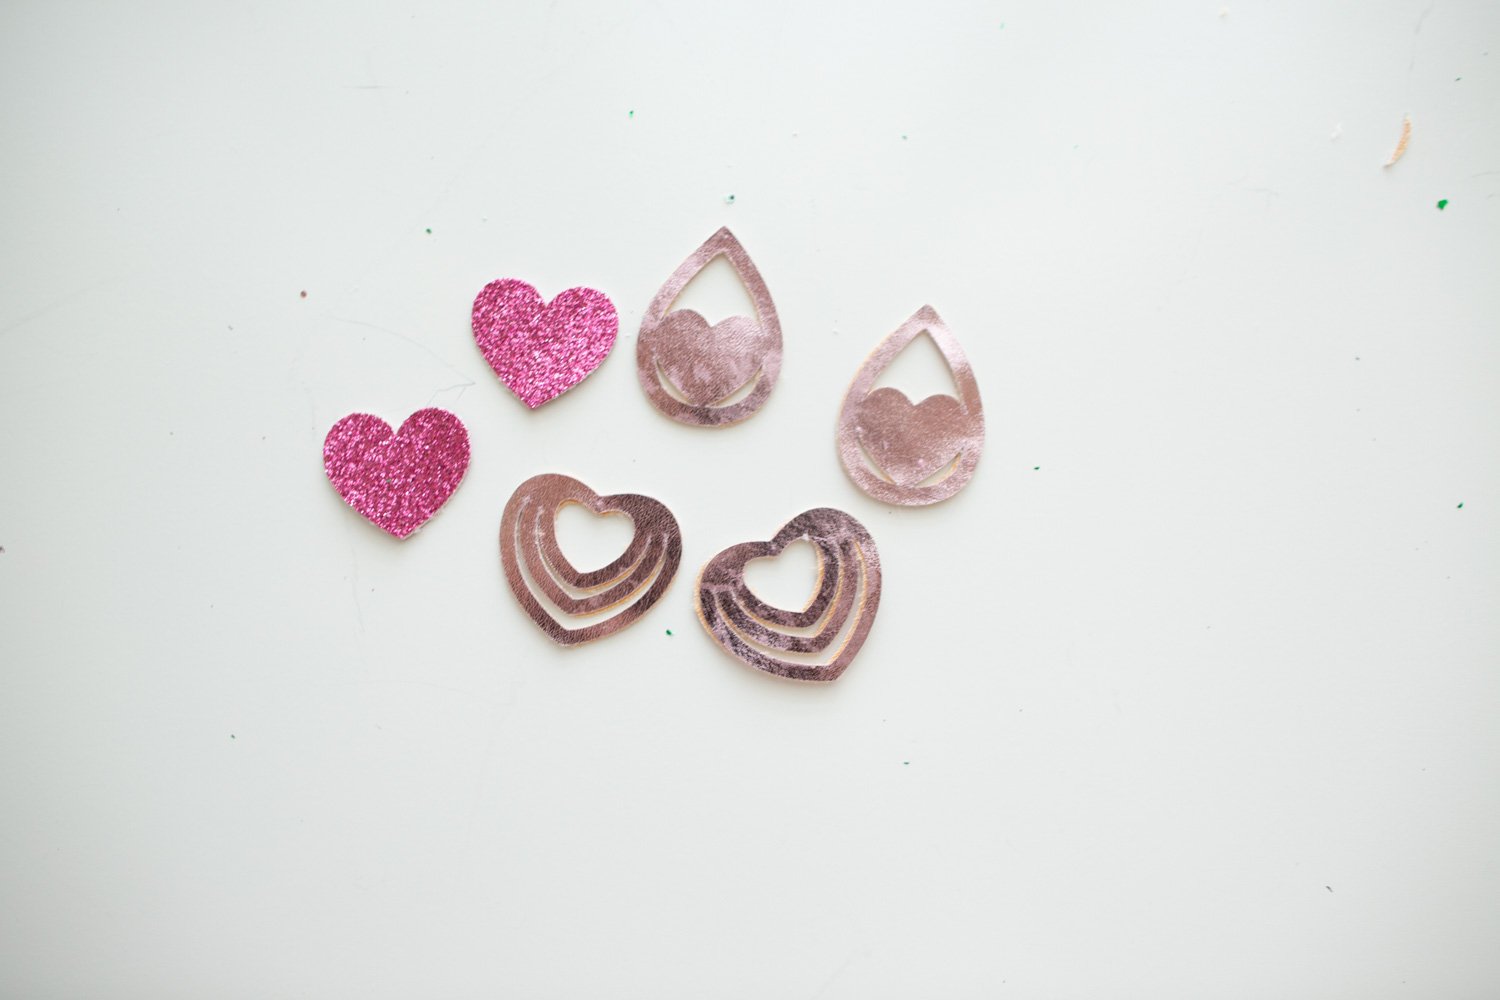
There are so many shapes of earrings that you can make. You can make teardrops, heart shapes, fringes, shamrocks, and so many more with some creativity.
While you can always cut the shapes by hand, the Cricut cutting machine makes it so easy with all of the different cut files that are available, especially since they have a ton of different images that you can download in their online library!
Whether you are looking to make your own earrings with your Cricut machine for fun or for making a little money from your small business, I'm going to share with you my favorite instructions on how to make earrings as well as sharing with you mistakes to avoid while making them.

Benefits to Using Cricut to Cut Own Shapes versus Buying Pre-Cut Leather Pieces
Generally, if you want a unique design or even a hobby, using a Cricut machine and stocking up on material is just a fun craft to do. In addition, when you are in a pinch and can't wait to buy pre-cut leather pieces, having some on hand would allow you to make earrings faster.
With that said, there are a ton of Etsy shops like this one that allows you to purchase pre-cut leather pieces so that they are just shipped and ready to add a hook!
Types of Earrings You Can Make with Cricut
Earrings that I've been able to make with my Cricut machine include the following list. Designing earrings is so much fun, especially when the Cricut software (called Design Space) is so easy to use.
They've got an upgraded software that is pretty low cost and gets you tens of thousands of images and shapes included in the plan. With each of the shapes, you can size them up or down as well as add to the project.
Sports Team Earrings
I've been able to use faux leather and then attach heat transfer vinyl on top.
Holiday Earrings
If you have a special holiday coming up, you can make earrings for the occasion.
For example, I made some Valentine's Day earrings and St. Patrick's Day earrings.

Vacation Earrings
I made some specific to the place we were going. These anchor earrings are super cute with a matching outfit for our cruise day!
Every Day Earrings
Plain or patterned earrings go great with everyday outfits!
Having a Cricut machine comes in handy when you need that extra something for your outfit - whether it's an accessory or making a statement!
Materials for Making Earrings with Cricut
- Cricut machine (like Cricut Explore Air 2)
- Cutting mat that goes with your earring material
- Leather, faux leather, or pleather
- Fabric scissors
- Jump Rings
- Hooks or earring backs
- Leather punch (this is the one I have)
- Adhesive
Cricut Machine
I use the Cricut Explore Air 2 because it is an amazing machine that has allowed me to spur creativity and create fun projects on the fly. This machine is amazing and I've made not only earrings, but making shirts with vinyl as well.
Cutting Mat
If you are using a thick fabric, you're going to need a mat that has adhesive that allows it to stick better. Here's a pro tip: use blue painter's tape to secure the fabric if it's moving.
Cricut machines come with green, pink, or purple mats that you can also buy individually. You can use the green mat to cut faux leather and felt. If you are wanting to cut real genuine leather, use the purple mat.
Leather, Faux Leather, or Pleather
Depending on the leather you use, you will need a deep cut blade if you want to cut it. If you are using the Cricut Explore Air 2, it will cut genuine leather three times with the traditional blade which is awesome. When I picked out my original pleather from Hobby Lobby, some of the patterned fabric MOVED during the cutting process, which was disappointing. I even watched some YouTube videos on this, but I had a bad result cutting.

I would recommend getting the glitter fabric from Hobby Lobby only. If you want leather, I would recommend getting leather sheets here because of the variety!

In addition, Cricut has black, gold, camel, and red leather that is made specifically for Cricut machines!
I've also used glitter felt for my girls with clip-on earrings, and they worked great in the Cricut machine.
Fabric Scissors
You'll definitely need fabric scissors to cut some of the leather material. If you are cutting glitter sheets, I would recommend using regular scissors.
Jump Rings
Jump rings allow your earrings to hang lower. This was the first mistake I made - not getting different size jump rings.
Hooks and Earring Backs
Make sure that your jump rings and hooks and earring backs are the same color! This was another mistake I made when purchasing them.
There are a few variety of earring hooks, but the ones you generally see people using are the fish hook ear wires that are curved. If you choose the ones with the coiled connectors, this will provide more space between the earring and you rear lobe without having to use a jump ring.
If your earrings get irritated like mine, you can purchasesterling silver plated earring hooks pretty inexpensively.
Also, if you have little girls without their ears pierced, you can purchase clip-on earrings that make absolutely adorable earrings!
Leather Punch
I know what you are thinking, you can make the hole using your Cricut. While you can, I still recommend getting a leather punch (this is the one i have with rave reviews) because it allows me to place the hole exactly where I want it and the cut is super clean!

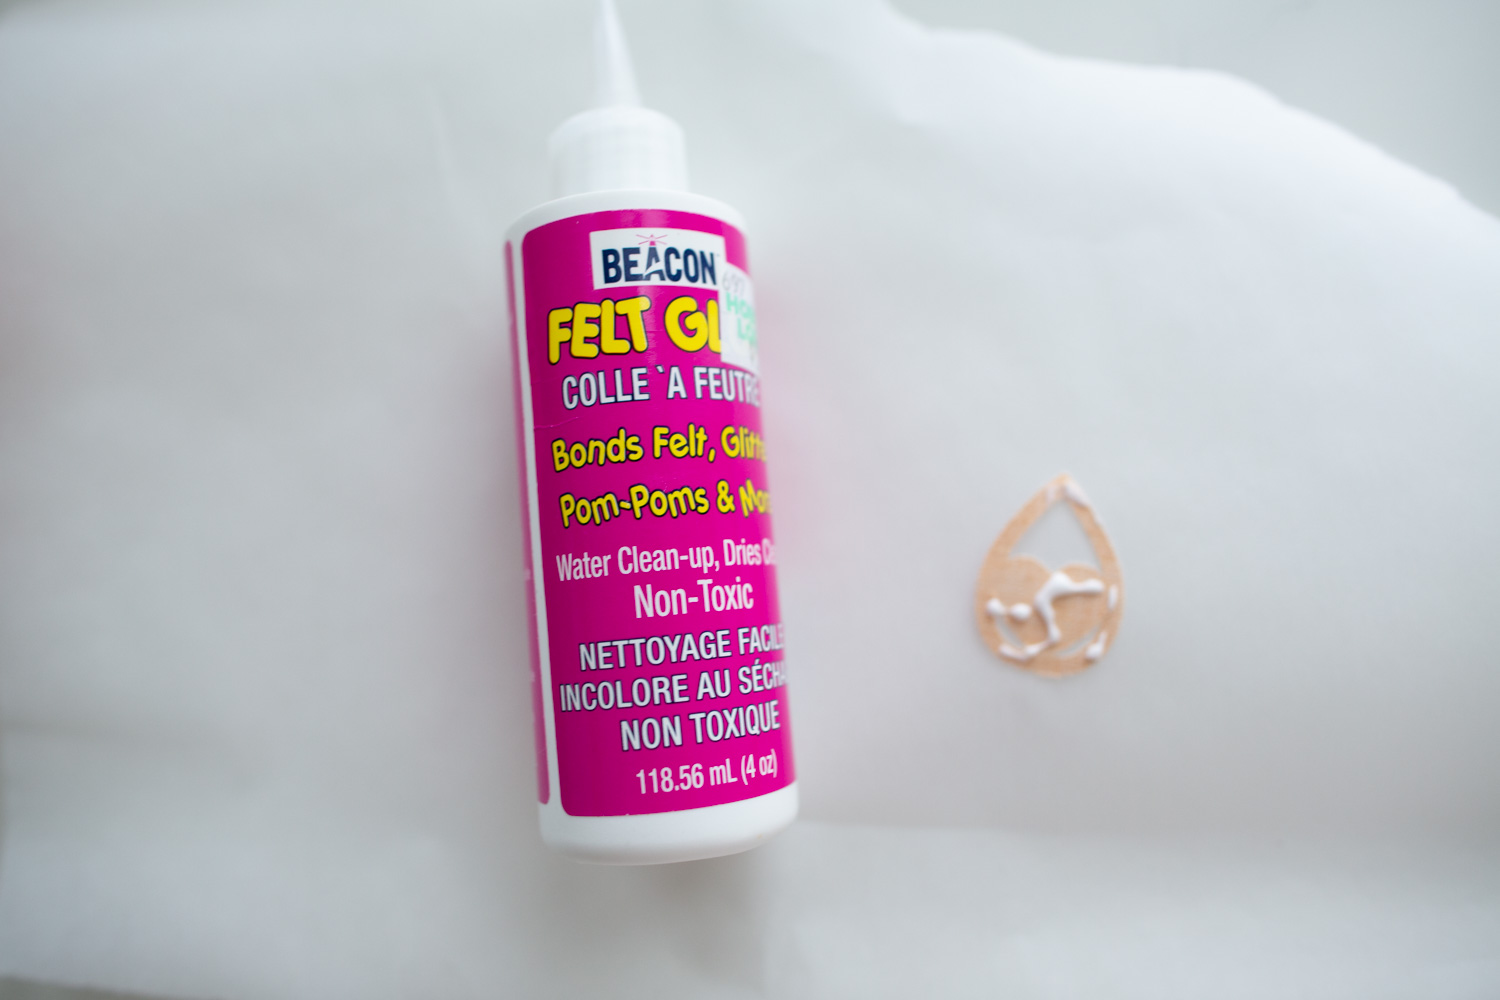
Adhesive
Most faux leather and felt generally has an ugly backing. If you want to place the material back to back, using felt adhesive or glue will allow you to secure the backs together.

Here's the felt glue that I use:
Things to Know Before Cutting Earrings with a Cricut Machine
Blades Get Dull Fast
If you are cutting a ton of earrings, your blade will get dull fast. Keep some extra blades on hand, I promise it will be worth it.
If you are using these glitter felt fabrics, you can guarantee that the glitter will get inside of the blade compartment, so make sure you clean it!

Bunch and Sliding Material
This is the absolute worst if you have material that is pleather-like. I purchased my material from Hobby Lobby, and absolutely regretted it. I would recommend buying leather sheets here instead, it's worth the shipping time wait.

How to Cut Earrings with Cricut

- Open Design Space and import an image to cut out.
- Create as many copies of earrings as needed.
- If you plan on making a backing, make a copy of the earrings you just made. While they are still all selected, flip the horizontal.
- Set the Cricut machine to custom dial. In the software, choose Make It.
- Follow the instructions to choose the material, settings, and finally cut.
- Attach earring hooks.


How to Attach Earrings to Hooks Cut from Cricut
- Use a leather punch to make a small hole in your earring.
- Use a nose plier to add jump rings to make the earrings a little longer.
- Attach the hook to the jump ring and use the nose plier to secure the earrings.
Frequently Asked Questions About Earrings with Cricut Machine
What is Cricut Design Space?
When you get a Cricut machine, you'll need software that will run with your machine. Cricut Design Space is the software used to run your Cricut machine. There is a free version as well as an upgraded version that allows you to have additional features and access to more cut files.
Do you need to use a strong grip mat?
Depending on the material you use, that will
Can you make earrings with a Cricut?
Using Cricut Design Space, you can create any shape earring you want with your Cricut Machine. Most often, earrings are made using genuine leather or faux leather material. You can also add layers to your base earring material and use heat transfer vinyl to decorate as well.
What materials do you use for Cricut earrings?
While Cricut supports well over 100 materials, the most common material used for making earrings with Cricut are leather, faux leather, suede, and textured felt.
Can I cut earrings without a machine?
Yes, you can make earrings with faux leather and genuine leather without a machine with a great pair of scissors. Using a Cricut machine allows the lines to be more symmetrical for the pairs and cleaner.
Do you need a deep cut blade to make earrings?
As long as you aren't using thick genuine leather or anything thicker than that, you won't need a deep cut blade to make the earrings.
Can I use clip-on earrings for kids?
You can, but my kids would wear them for a few hours, not the full day!
Earrings Made with Cricut Tutorial

This is an easy tutorial for earrings made with Cricut. I'm going to share you where you can buy earring materials and things you might want to know before making earrings with your Cricut machine.
Materials
- Leather, faux leather, or pleather
- Jump Rings
- Hooks or earring backs
- Adhesive
Tools
- Cricut machine (like Cricut Explore Air 2)
- Cutting mat that goes with your earring material
- Fabric scissors
- Leather punch (this is the one I have)
Instructions
- Open Design Space and import an image to cut out.
- Create as many copies of earrings as needed.
- If you plan on making a backing, make a copy of the earrings you just made. While they are still all selected, flip the horizontal.
- Set the Cricut machine to custom dial. In the software, choose Make It.
- Follow the instructions to choose the material, settings, and finally cut.
- Attach earring hooks.
- Use a leather punch to make a small hole in your earring.
- Use a nose plier to add jump rings to make the earrings a little longer.
- Attach the hook to the jump ring and use the nose plier to secure the earrings.
Summary of Making Earrings with Cricut
Making earrings with your Cricut cutting machine is a fun handmade craft to make the most of your machine. While you can cut the earrings by hand, intricate details from your design might not be as efficient. Cricut cut files that are available in Design Space will give you endless opportunities to showcase your creative design with earrings.

Creative Cricut Project Ideas and Inspiration
- Cricut Home Organization Project Ideas
- Make Pantry Labels with Cricut
- Cricut Infusible Ink Project Ideas
- How to Use Cricut Markers and Pens
- Cricut Infusible Ink Pens Tutorial
- Make a Vinyl Shirt with Cricut
- How to Make a Stencil with Cricut
- Cricut Throw Pillow Tutorial
- Earrings Made with Cricut
- Make Binder Labels with Cricut Machine for School Organization
- Make Earrings with Cricut
- How to Cut Chipboard with Cricut


