Content may contain affiliate links. When you shop the links, we receive a small commission at no cost to you. Thanks for supporting my small business.
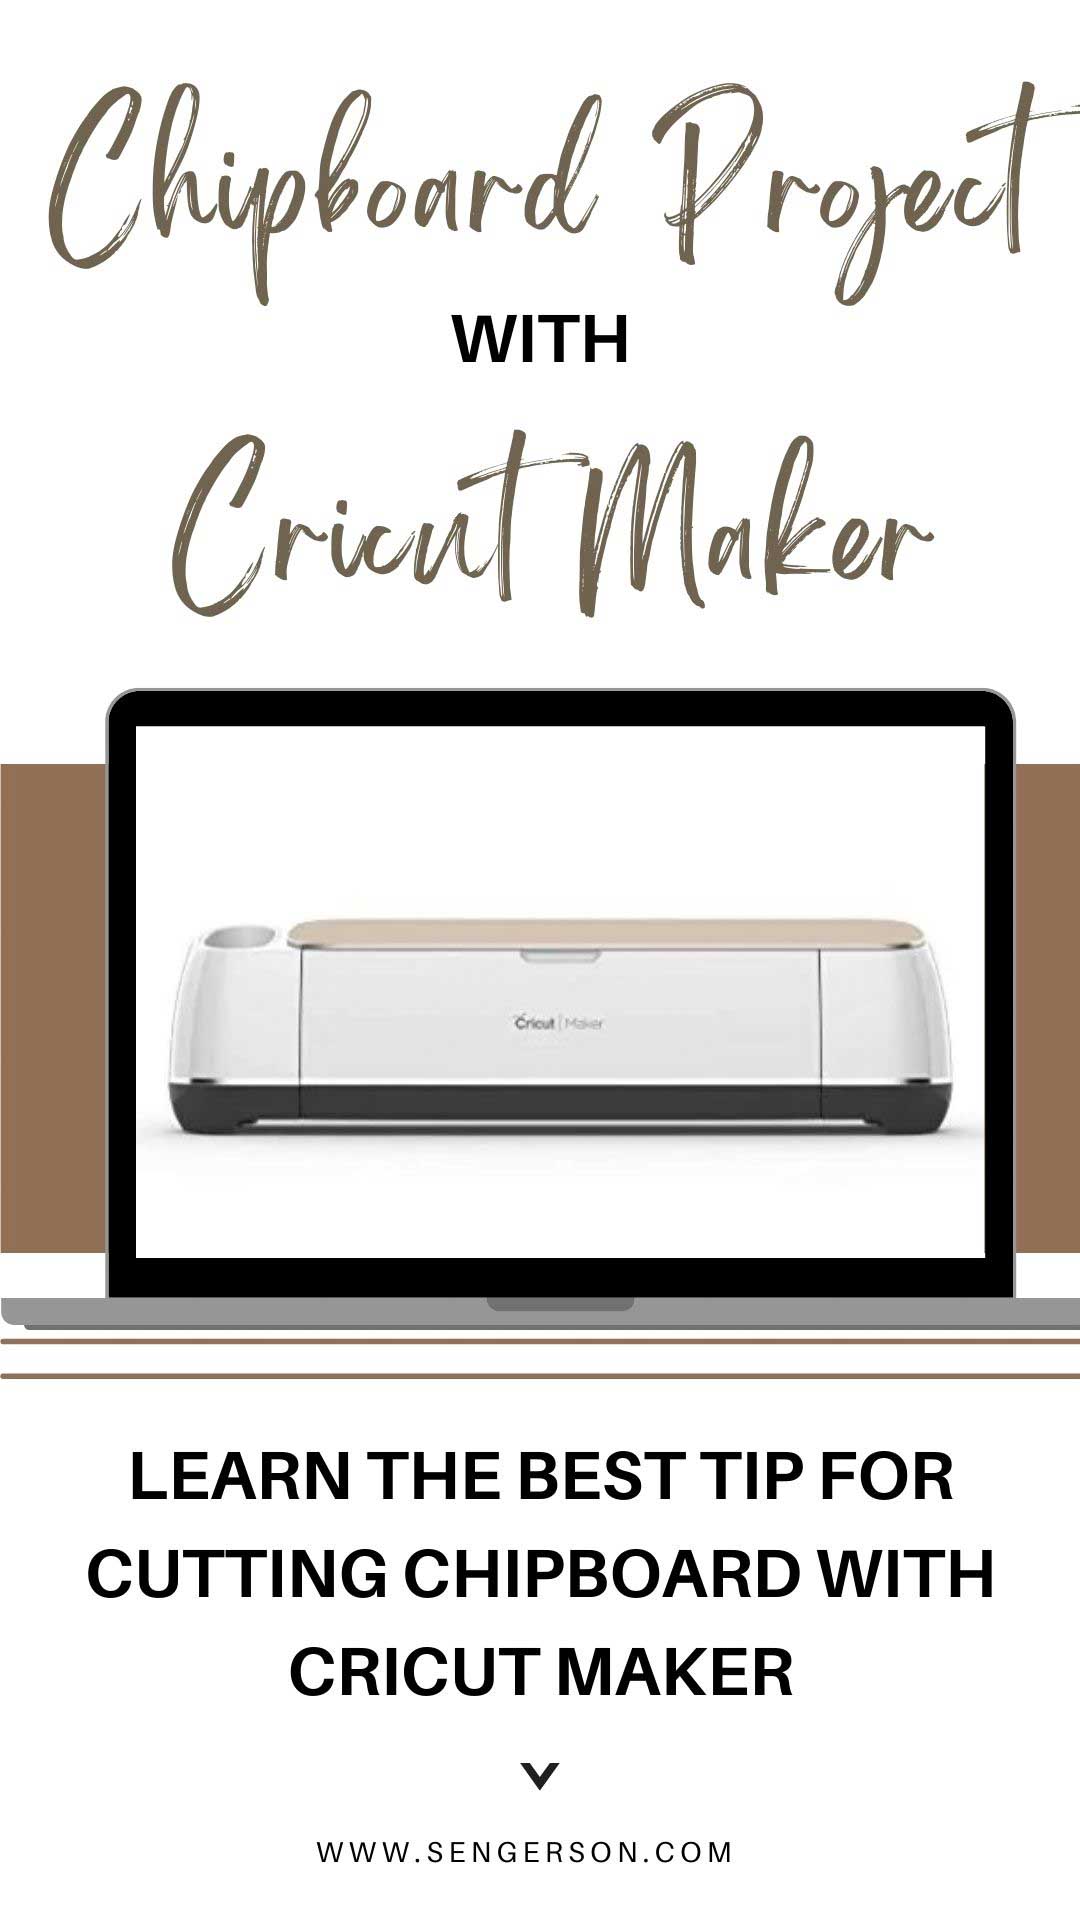
One of the many things I wanted to do when getting a Cricut Maker was having the ability to cut thicker material, like cutting chipboard. As a DIY blogger, I often come up with home decor projects I want to make around the house, but they involve cutting things more than fabric and paper. I’ve been able to use my Cricut Explore Air 2 to cut just about everything, but I needed a machine that was a little more powerful to cut things like chipboard, wood, mat board, and even fabric.
I’m excited to be sharing with you this post on how you can successfully cut chipboard with the Cricut Maker to make anything your heart desires. From garden boxes, garden accents, labels, you name it, you can make it. I want to share with you my favorite tips and best practices in using a Cricut Maker to cut chipboard so that you avoid any hiccups along the way.

In this post, I wanted to highlight how you can cut chipboard with the Cricut Maker. It is an amazing machine that can do so much. I’ve linked a few posts below at the bottom of this one so you can see all of the projects that you can make with a Cricut machine.
How does the Cricut Maker cut chipboard?
Cutting chipboard with a Cricut Maker requires the Cricut Knife Blade, the strongest of all Cricut blades. The Cricut Maker will make multiple passes over the same cut lines. During the cutting process, Cricut Design Space will prompt for checking to see if the chipboard has been cut all the way through to determine if it needs to make additional passes.
How is chipboard used in crafting?
Chipboard is stiff particle board, also known as engineered fiber board, that is manufactured from wood chips and a synthetic resin. It’s a material that does not bend, warp, or crease easily. It’s often used on projects where you’ll want to add dimensionality. Crafters can make boxes, labels, cake toppers, and decor that allows the material to stand out 3D.
What size depth in chipboard does Cricut Maker support?
Cricut has an amazing line of products that works with its machine which includes two types of chipboard that it supports. Cricut makes the 1.5mm and a 2.0mm chipboard that come in both solid and patterned colors.
What’s great about the chipboard that Cricut offers is that it is pre-sized and ready to use with the Cricut Maker. Each pack has about 5 sheets that will work with your machine.
Best Tip for Cutting Chipboard with Cricut Maker
If you are using Cricut Maker with Cricut Chipboard, you can be confident in that Cricut Design Space knows exactly how many passes the machine needs in order to cut through the material. While you may think that the Cricut Maker has done enough passes, do not unload your mat until it’s completed the first full round of passes with the machine.
Preparing to Cut Chipboard with Cricut Maker
Cricut Maker is easy to use and setup, which allows you to get going quickly and easily.
Design Space is the software application that is available on both desktop and mobile that allows you to take your ideas from your head and start designing right away.
The design should stay within the parameters of 11″ x 11″ because the Cricut Chipboard comes pre-sized at 11″ x 11″. The reason is because during the cutting process, the 4 white star wheels will need to be moved to the right of the machine, which prevents grooves and marking on your chipboard.
You’ll need to ensure that you use blue painter’s tape or masking tape along with a strong grip mat to secure the chipboard. If the chipboard slides at all, your design will be ruined.
Chipboard Project with Cricut Maker
I wanted to showcase a project for you with a simple planter for our garden. I have a box planter that I wanted to dress up with a phrase, glue it onto the box, and paint it.
It’s a fairly easy chipboard project that you can start with the Cricut Maker!
Materials for Cricut Chipboard Project
- Cricut 1.5mm Chipboard or 2mm Chipboard
- Wood Glue
- Blue Painter’s Tape or Masking Tape
- Rustoleum Chalk Paint
Supplies Needed for Cricut Chipboard Project
Instructions for Project for Cutting Chipboard with Cricut Maker
1. Design your project
In Cricut Design Space, go ahead and design your project using the tools available. Ensure that you limit your design to 11″ x 11″ due to the pre-cut sizes of Cricut chipboard.
2. Secure your chipboard
Using the purple strong grip mat, the chipboard should be positioned at the upper top left 0 corner. This will allow space on the left and bottom of the mat. Next, secure it with painter’s tape on all four sides. Don’t worry about getting the tape in the space where your design will be cut. Cricut Maker will cut right through the tape. Just make sure that the chipboard is secure on the board.
3. Choosing your material in Cricut Design Space
Send your design to cut and choose the exact material that you’ll be cutting with, either the 1.5mm or the 2mm chipboard. Ensure that you follow the instructions listed, as one of them will tell you to move the star wheels all the way to the right. This will allow the blade to go as deep as possible and also prevent small indentations from the wheel into your chipboard.
4. Insert the Knife Blade
Make sure you insert the Knife Blade into your Cricut Maker to prepare for cutting.
5. Feed and load your chipboard into Cricut Maker
You’ll want to feed the prepared mat into your machine.
6. Watch the machine while it does multiple passes, and wait for prompts
The machine will make multiple passes over the same cut lines. It may take a while for these cuts to finish, depending on how intricate your design is.
Design Space will prompt you to check your cut. It will ask you to check the cut to make sure the cut went through the mat without unloading the material. To check the cut, bend the mat back so the chipboard pops off. You can use a weeding material to try to pop the chipboard out. If it easily does this, then choose “Looks Good”. If it doesn’t, then have the machine continue cutting by choosing “Cut More”.
7. Unload and remove negatives
Once it is fully cut, unload the material. It’s recommended that you remove the “negative” sections and not the design because it will keep the edges nice and crisp.
Frequently Asked Questions About the Cricut Maker
What is the Cricut Maker?
The Cricut Maker is one of the most versatile cutting machines from the Cricut product line. There are literally hundreds of materials, including cutting chipboard, that can be used with this beast of a machine. It can cut over 300 materials. From delicate materials like crepe paper, fabric without backing, matboard, leather, chipboard, and basswood. Here’s a link to all the various materials that Cricut Maker can cut.
What does the Cricut product and material line include?
Cricut continues to expand its suite of tools, which allows you as a crafter to continue to innovate in the latest in new technologies when it comes to crafting. It makes it easy for you to make incredible designs with anything you can possibly imagine.
Frequently Asked Questions About Cricut Maker Cutting Depth and Sizes
Does Cricut Maker do well cutting intricate designs and projects from chipboard?
Cutting chipboard with any cutting machine with intricate designs that do not have more than half an inch of separation between cut lines is not recommended by me personally.
How thick can a Cricut cut?
The Cricut Maker can cut pretty much any material less than 2.4mm thick whereas the Cricut Explore Air 2 can cut anything 2mm or thinner. The Cricut Knife Blade for the Cricut Maker is comparable to a super precise X-ACTO knife, but for your Cricut Maker.
How do I cut deeper on my Cricut?
A Cricut Explore Air 2 machine can cut pretty much anything as long as it is 2.0mm thick or thinner. A Cricut Maker has 10x the cutting force and can cut materials up to 2.4mm thick.
Summary
The Cricut Maker is an amazing, smart cutting machine that deserves a space in any craft room. As you can see from cutting chipboard with my Cricut Maker, it is a haus of a machine.
I love how Cricut Design Space allows you to design anything you can dream up, while also hand holding you through using the technology while cutting so that you can get amazing results.
Make sure you check out Cricut.com for more ideas and inspiration.
Cut Chipboard with Cricut Maker

Learn how to cut chipboard with a Cricut Maker with these tips and tricks to make sure you have clean lines.
Materials
- Cricut 1.5mm Chipboard or 2mm Chipboard
- Wood Glue
- Blue Painter's Tape or Masking Tape
- Rustoleum Chalk Paint
Tools
- Cricut Maker
- Cricut Knife Blade
- Purple Strong Grip Mat
Instructions
- Design your project. In Cricut Design Space, go ahead and design your project using the tools available. Ensure that you limit your design to 11" x 11" due to the pre-cut sizes of Cricut chipboard.
- Secure your chipboard. Using the purple strong grip mat, the chipboard should be positioned at the upper top left 0 corner. This will allow space on the left and bottom of the mat. Next, secure it with painter's tape on all four sides. Don't worry about getting the tape in the space where your design will be cut. Cricut Maker will cut right through the tape. Just make sure that the chipboard is secure on the board.
- Choose your material in Cricut Design Space. Send your design to cut and choose the exact material that you'll be cutting with, either the 1.5mm or the 2mm chipboard. Ensure that you follow the instructions listed, as one of them will tell you to move the star wheels all the way to the right. This will allow the blade to go as deep as possible and also prevent small indentations from the wheel into your chipboard.
- Insert the Knife Blade. Make sure you insert the Knife Blade into your Cricut Maker to prepare for cutting.
- Feed and load your chipboard into Cricut Maker. You'll want to feed the prepared mat into your machine.
- Watch the machine while it does multiple passes, and wait for prompts. The machine will make multiple passes over the same cut lines. It may take a while for these cuts to finish, depending on how intricate your design is.
- Design Space will prompt you to check your cut. It will ask you to check the cut to make sure the cut went through the mat without unloading the material. To check the cut, bend the mat back so the chipboard pops off. You can use a weeding material to try to pop the chipboard out. If it easily does this, then choose "Looks Good". If it doesn't, then have the machine continue cutting by choosing "Cut More".
- Unload and remove negatives. Once it is fully cut, unload the material. It's recommended that you remove the "negative" sections and not the design because it will keep the edges nice and crisp.
Recommended Products
As an Amazon Associate and member of other affiliate programs, I earn from qualifying purchases.


Creative Cricut Project Ideas and Inspiration
- Cricut Home Organization Project Ideas
- Make Pantry Labels with Cricut
- Cricut Infusible Ink Project Ideas
- How to Use Cricut Markers and Pens
- Cricut Infusible Ink Pens Tutorial
- Make a Vinyl Shirt with Cricut
- How to Make a Stencil with Cricut
- Cricut Throw Pillow Tutorial
- Earrings Made with Cricut
- Make Binder Labels with Cricut Machine for School Organization
- Make Earrings with Cricut
- How to Cut Chipboard with Cricut