Content may contain affiliate links. When you shop the links, we receive a small commission at no cost to you. Thanks for supporting my small business.
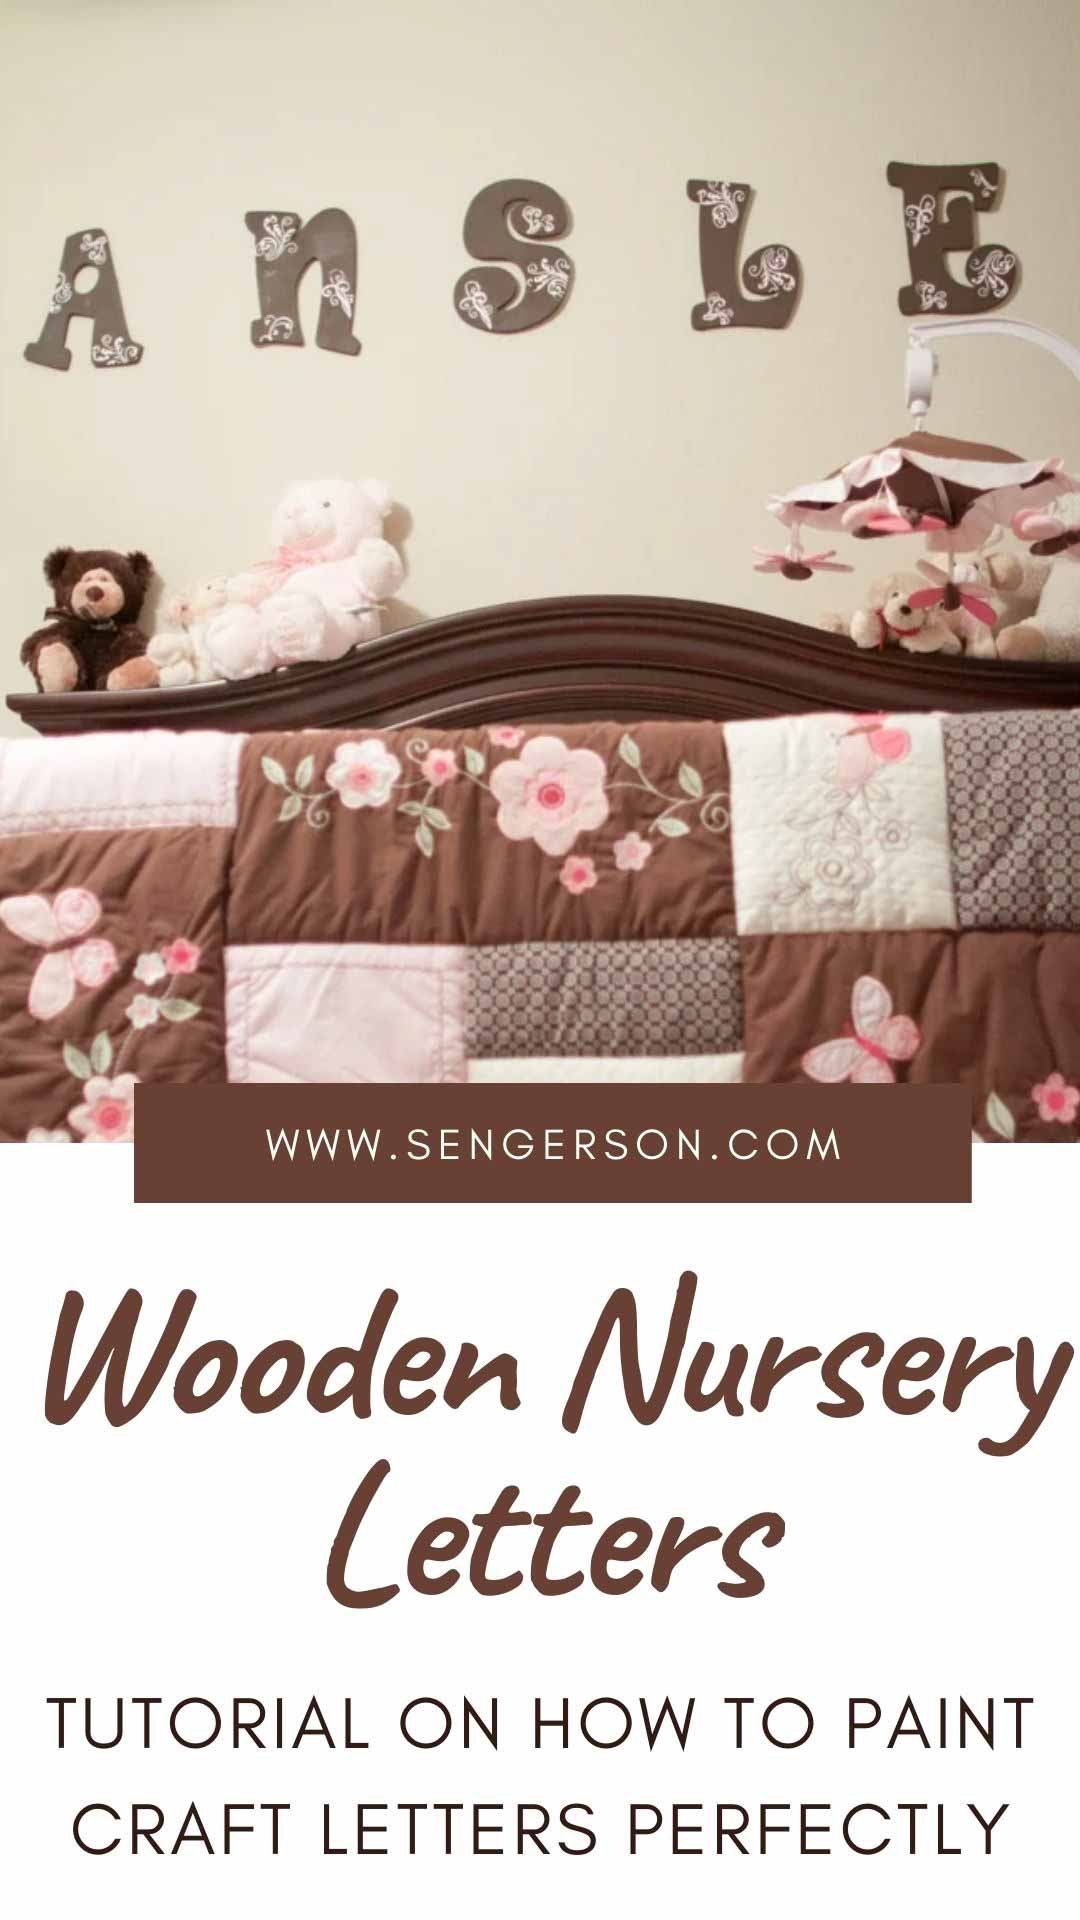
I’m sharing with you THREE easy ways to decorate wooden letters for a nursery! This is a great project using inexpensive wooden initials that you can paint, emboss and Modge Podge scrapbooking paper. Wooden letters can be found at your big box craft stores like Hobby Lobby, Jo-Anns, and Michaels, but you can also just get them delivered right to your door without leaving your home.
And if you are nesting or pregnant, shopping in the comfort of your rocking chair or sofa is just want the doctor ordered.
I’m going to be sharing some of my absolute favorite ways to decorate wooden letters in this post. There are so many ways that you can craft with these letters, but I wanted to provide you with directions on each process so you know the exact steps before starting your project.

Considers When Choosing the Best Alphabet Letters
Where to Buy
Hobby Lobby usually has a sale every other week on this for half off. Hobby Lobby has wooden letters, white painted letters (these are the ones I used), whimsical wooden letters, and chipboard letters. You can use any of these. Wal-Mart also carries these letters for 0.97 each, but they are only 3 inches tall and usually don’t carry all the letters you need. Wal-Mart carries the letters that have “dots” on the end of the edge of each letter if you like that style. Jo-Ann fabrics also have them.
Wood or Cardboard
If you are deciding on wood or cardboard, I would consider where you plan on placing the letters. If it’s on a wall, I would consider using wood. If it’s decorated on a shelf, I would recommend cardboard because it can be stood up separately instead of leaned up against a wall.
White or Wood Color
If you are planning on painting it a darker color, generally the wood grain is less expensive than it’s white primed counterpart. However, if you are planning on using a light stain, I would recommend getting the white pre-primed letters.
Serif or San Serif Letters
Serif is the “tail” of the letter where as san means “without”, so san serif letters are designed straight without the tail. Think about the type of design you want for your space, and choose from the options below where I’ve curated both serif and san serif wood letters.

Ways to Decorate Wooden Nursery Letters
There are three ways to make and decorate homemade nursery letters:
- Straight up painting them
- Modge Podge scrapbooking paper to the letters
- Use an embossing heating gun for stamped decor on the letters

Below, I share with you instructions as well as my favorite ways to decorate these awesome craft letters and why.
Painting Alphabet Letters
Painting wood letters can be tricky. If you are painting these alphabet letters, I highly recommend getting the wood letters. The cardboard wood letters may be easier to paint, but may end up with a color that is lighter than intended once it dries.
How to Paint Craft Letters Perfectly

Materials
- acrylic paint set
- clear polycrylic (highly recommend the one I linked below)
- nursery ribbon
- wax paper or underlayment that it can dry on so it won't stick
- distress ink pad
- wood letters
Tools
- sanding paper
Instructions
- Sand if needed. If you using wooden letters, sand them down so they have a smooth finish. Then wipe away the dust completely. For chipboard, white lettering, or cardboard letters, you can obviously skip this step.
- Paint Layout the wax paper on your table. Use the acrylic paint to paint the edges of the letters first. Lay it down to dry on the wax paper. You'll have to add about 4 coats for a good cover and wait a couple hours between each coat for it to dry.
- Use clear acrylic to add a protection of layer to the paint!
- Attach ribbon. Cut the length of your ribbon to the length you want it. Use a staple gun to adhere it to the back of the letter. Make sure you secure it tight especially if it is going to be hanging over a crib!
Recommended Products
As an Amazon Associate and member of other affiliate programs, I earn from qualifying purchases.
-
 Clear Polycrylic Water-Based Protective Finish Satin
 -
 Tim Holtz Ranger Distress Oxide Ink Bundle - Four 3" x 3" Pads (E : Black Soot, Walnut Stain, Vintage Photo, and Antique Linen)
 -
 Pink Power Detail Sander for Woodworking 20V Cordless Electric Hand Sander for Wood Furniture - Mini Palm Sander Tool with Sandpaper, Li-Ion Battery & Charger - Small Handheld Sanding Machine
Decoupage Wood Alphabet Letters
This tutorial below shows you how you can use scrapbooking paper and adhere it with decoupage (generally, this brand is often used) so that it dries clear and allows your scrapbook paper to stick. You then use an razor to cut the excess letters off.
How to Decoupage Wooden Letter for Nursery (Using Modge Podge)

Learn how to decoupage wood letters and use fun scrapbooking paper to decorate your walls.
Materials
- wooden letters
- acrylic paint set
- Modge Podge
- nursery ribbon
- craft paint roller
- Sponge Brush
- wax paper
- distress ink pad
- nursery scrapbooking paper x 1 for each letter
Tools
- craft razors
Instructions
Sand. If you using wooden letters, sand them down so they have a smooth finish. Then wipe away the dust completely. For chipboard, white lettering, or cardboard letters - skip this step for now. 
Modge Podge. Dip your paint brush into the modge podge, and paint the front side of the letters. 
Put your scrapbooking paper wrong side up, and now stick the letter onto the scrapbook paper. Wait for the Modge Podge to dry on the letter. 
Xacto Knife. After the letter/scrapbook paper dries - turn it face down, and cut along the edge of the letter. 
Ink Edges. Now, take your stamp, then ink the edges of the letters by gently rubbing it towards the letter. Let it dry.
Modge Podge Again. Now Modge Podge the front for extra protection.
Attach Ribbon. Cut the length of your ribbon to the length you want it. Use a staple gun to adhere it to the back of the letter. 
Recommended Products
As an Amazon Associate and member of other affiliate programs, I earn from qualifying purchases.
-
 Totoo Decorative Wood Letters, Hanging Wall 26 Letters Wooden Alphabet Wall Letter for Children Baby Name Girls Bedroom Wedding Brithday Party Home Decor-Letters (A)
 -
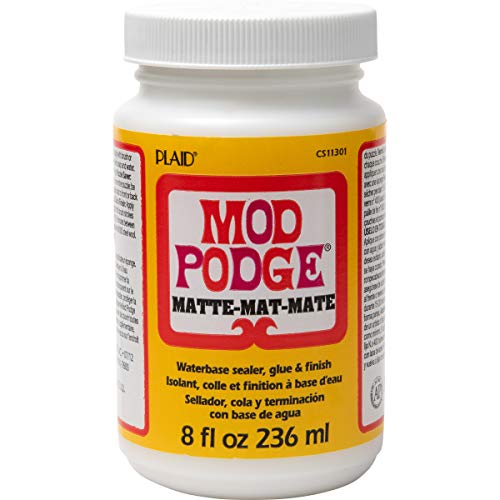 Mod Podge CS11301 Waterbase Sealer, Glue and Finish, 8 Oz, Matte
 -
 MulWark 16pc Precision Craft Hobby Utility Art Exacto Knife Set-Sharp Razor Knives Tool for Architecture Modeling, Scrapbooking,Felt&Wood&Leather Working-Stencil, Fine Point, Scoring, Chiseling Blade
Designs on Wood Letters with an Embossing Heat Gun
Of all the ways to decorate the nursery letters, this was my favorite. Just take your time and be careful. Finding stamp designs is the fun part of this project!
Embossing Wooden Letters

Learn how to use an embosser to create designs on wood letters that you can use as wall decor.
Materials
- Wooden Letters
- Acrylic Paint
- Embossing Powder
Tools
- Embossing Heating Gun
- Embossing Stamp Pad
- Design Stamps
Instructions
- Sand. If you using wooden letters, sand them down so they have a smooth finish. Then wipe away the dust completely with a damp cloth. For chipboard, white lettering, or cardboard letters - skip this step because you won't need to do this.
- Paint background. Before you start painting, layout the wax paper so that you won't have to move the letters afterwards. Start with the backside first, then paint the front side. You'll have to add about 4 coats for a good cover - wait a couple hours between each coat for it to dry.

- Stamp wood letters. Stamp the wooden letters using the embossing stamp pad with the design you chose. Then put the powder over the area you stamped - then blow/knock off the remaining embossing powder.

- Heat letters up. Use the embossing heating gun and go over the wet stamped area that you just stamped on. Don't stay in one particular area too long as you go across each letter. I loved the way these nursery letters turned out. I know that this is a bad photo, but wanted to give you a close up of one of the letters and the bedding so you could see that it matched better than the Modge Podge.
- Attach ribbon to the embossed letters. Hang it up!
Recommended Products
As an Amazon Associate and member of other affiliate programs, I earn from qualifying purchases.


Final Thoughts
Wood and cardboard letter blanks are incredible for getting your creativity going for decorating a baby’s nursery. I hope you found some ideas and ways you can get started on this project.

More Baby Project Inspiration
If you are wanting more ideas for craft projects and baby gift ideas, here are links to some fun DIY that could help inspire you to make something unique.
- DIY Baby Washcloths
- DIY Baby Flower Headbands
- DIY Baby Burp Cloths and Rags
- DIY Custom Nursery Lampshade
- DIY Baby Chiffon Tutu
- DIY Rustic Woodland Wall Art
- DIY Kids Handprint Wall Art
- DIY No Sew Chiffon Tutu
- DIY Camera Neck Strap
- DIY Personalized Baby Pillow Decor
- No Sew Fleece Baby Blanket
- Memory Board DIY