Content may contain affiliate links. When you shop the links, we receive a small commission at no cost to you. Thanks for supporting my small business.
I cannot believe my baby girl is already four months. She’s so darn cute! My favorite ages are the six to nine month range because they are not old enough to crawl anywhere or walk to wreak havoc on the house!
These days, I have two babes in diapers! While I am trying to get one out of diapers (he’s two), the other one is just getting started. Our house can get a little stinky at times.


Often, when people come over, they want to see our kids’ bedrooms and nurseries – so I love how it seals in odors and germs of my kids’ diapers.
If you have an expecting mom in your life, this should be on your list to get her. Target has an amazing deal right now.

You can buy one Playtex® Diaper Genie® Pail and receive a $5 Target GiftCard™ when shopping at Target’s Baby Sale 9/10-9/15.

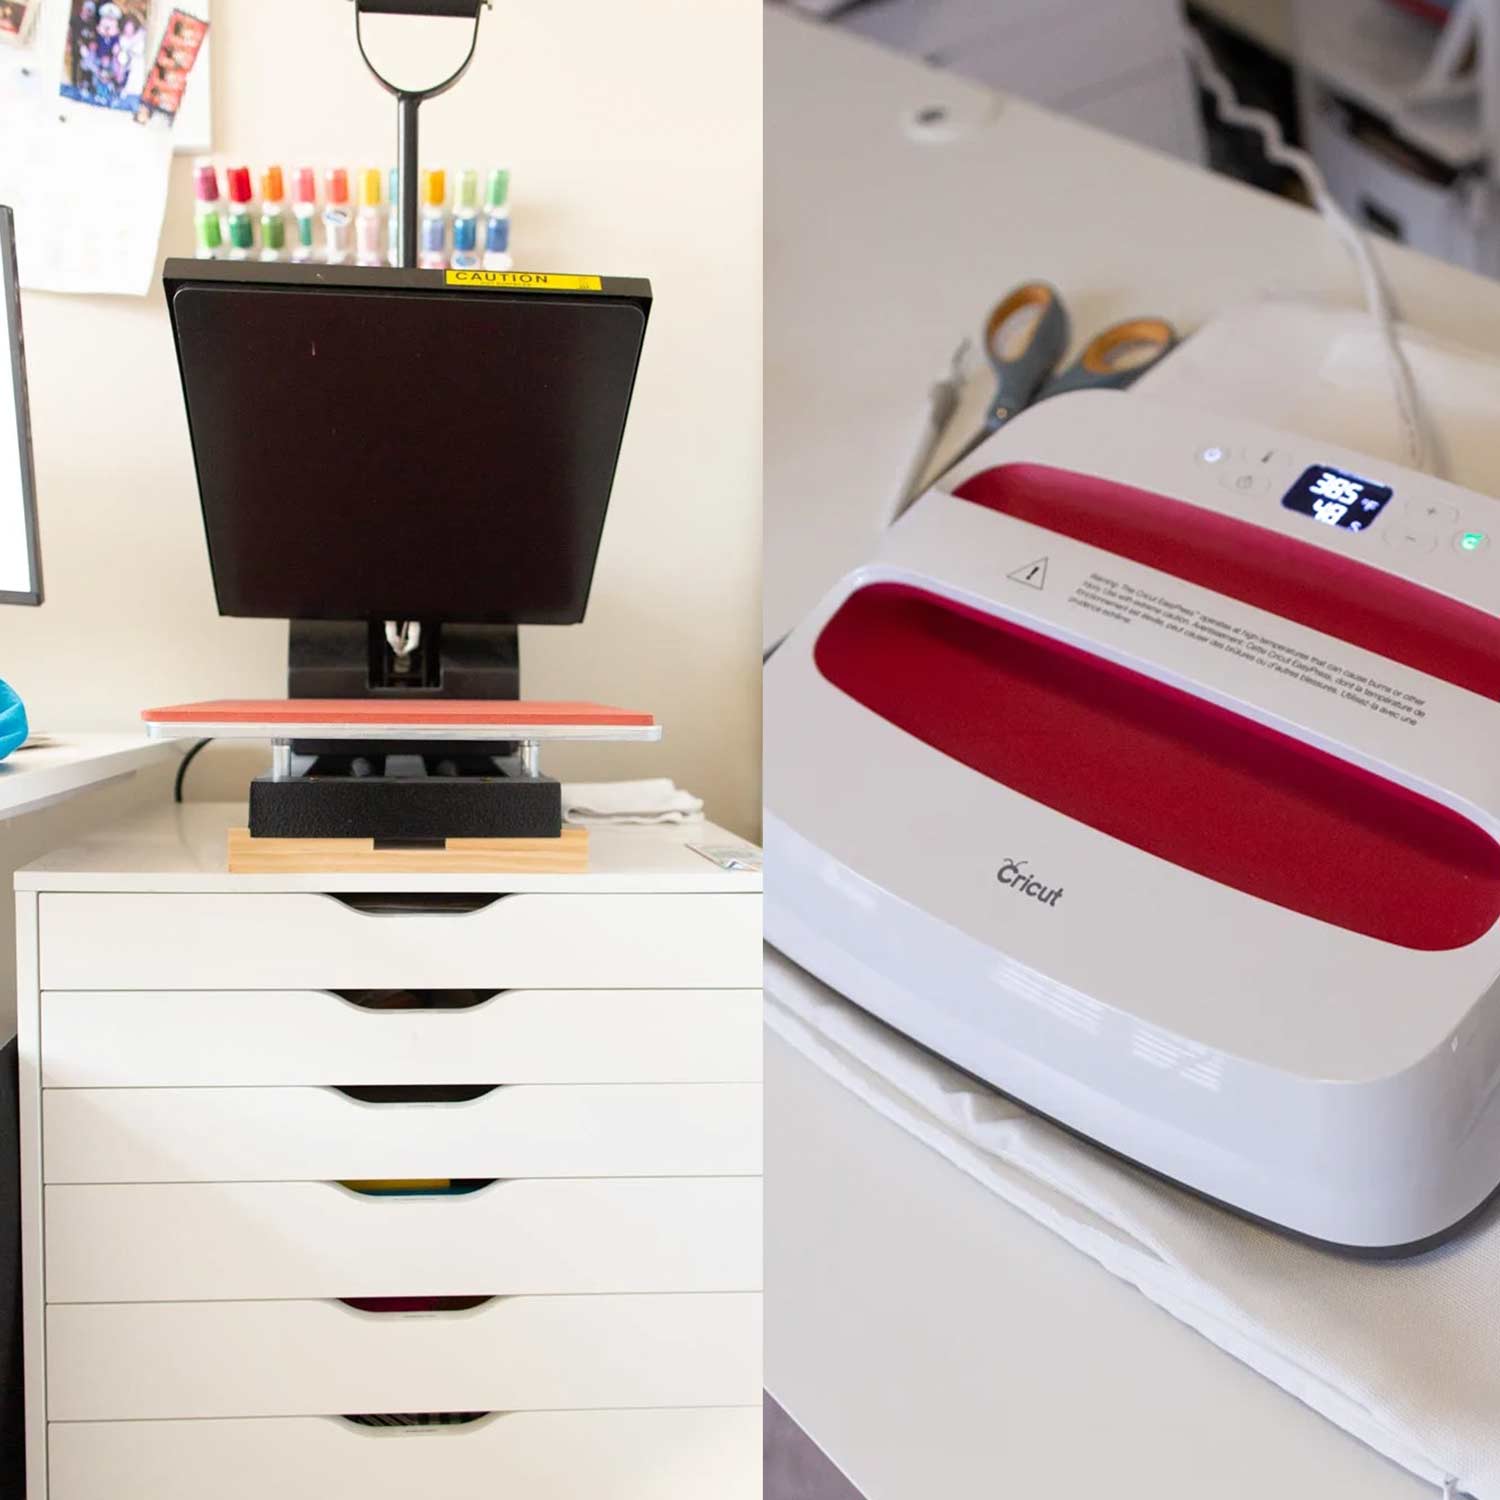
Materials Needed for Baby Name Pillow
pillow form
fabric for pillow form
heat transfer vinyl
craft cutter
iron
rotary cutter
ruler
self healing mat
sewing machine
Steps for DIY Baby Name Pillow
Sewing the Pocket Pillow Case
Step 1 | Cut Out One Side of the Pillow
Figure out the size of your baby pillow. You will want to have a 1/2″ inseam, but also be able to allow the pillow form to squeeze in the pillow cover so it is nice and fluffy. My pillow form was 20″, but I cut my fabric into a 19″ square, which allowed me a half inch inseam all the way around to sew. I used a rotary cutter to cut to cut out my squares on a self-healing mat. If you don’t have one, these are the bee’s knees for crafting. You will definitely be using them again!

Step 2 | Cut Out the Pocket Side
This is a super easy pillow tutorial because you don’t even need to learn how to sew a zipper! This will be a pocket pillow. So what you’ll need to do is cut two additional pieces of fabric that will overlap, one should at least be 2/3 the width of the first fabric that you cut. For example, I cut out a 15″ x 19″ piece and a 6″ by 19″ piece. I would be very careful with your measurements. One of my first pocket pillows I did had a piece that was too short and did not overlap – this caused the pillow form to stick out and provide an unsightly pillow back.


My tip to you: If you have a salvage end, try not to cut that end. It will save you from having to sew another side!

Step 3 | Sew the Pocket Side
Hopefully, you have some salvage ends to save you some time. If not, no problem. You’ll want to pin your fabric 1/2″ and iron it down. Next, sew a straight line across near the cut end.

Do this for both small pieces on ONE END only.
Step 4 | Right Sides Facing Each Other
You’ll want to lay the fabric with the right sides facing each other. If you have a salvage end, I recommend placing this as the middle layer. I would also recommend putting the longest length fabric on the pocket side on top.

Step 5 | Start Sewing
You’ll want to next pin down the fabric and start sewing a half inch seam down each of the four sides of the pillow.

Flip it inside out, and iron the corners and sides. You now have a pillow!

Creating the Heat Transfer Vinyl Design for Baby Name Pillow
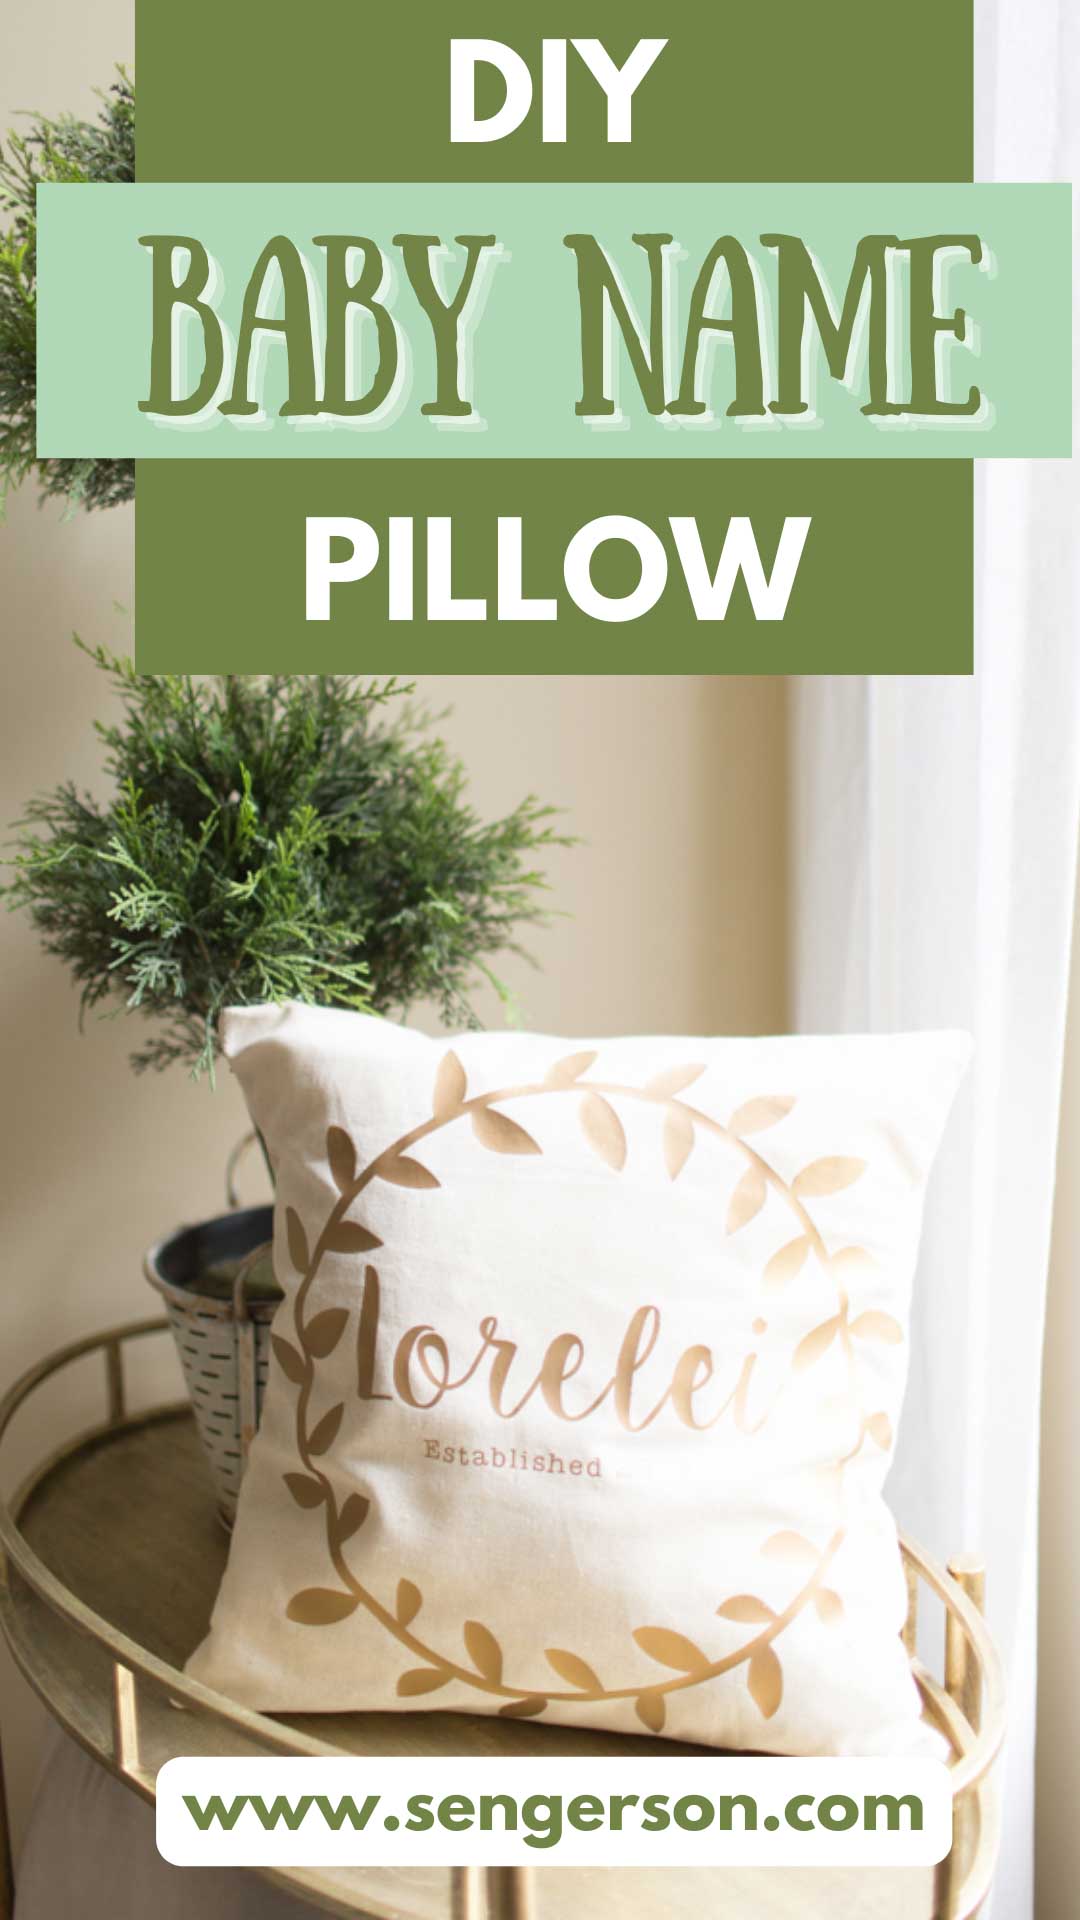
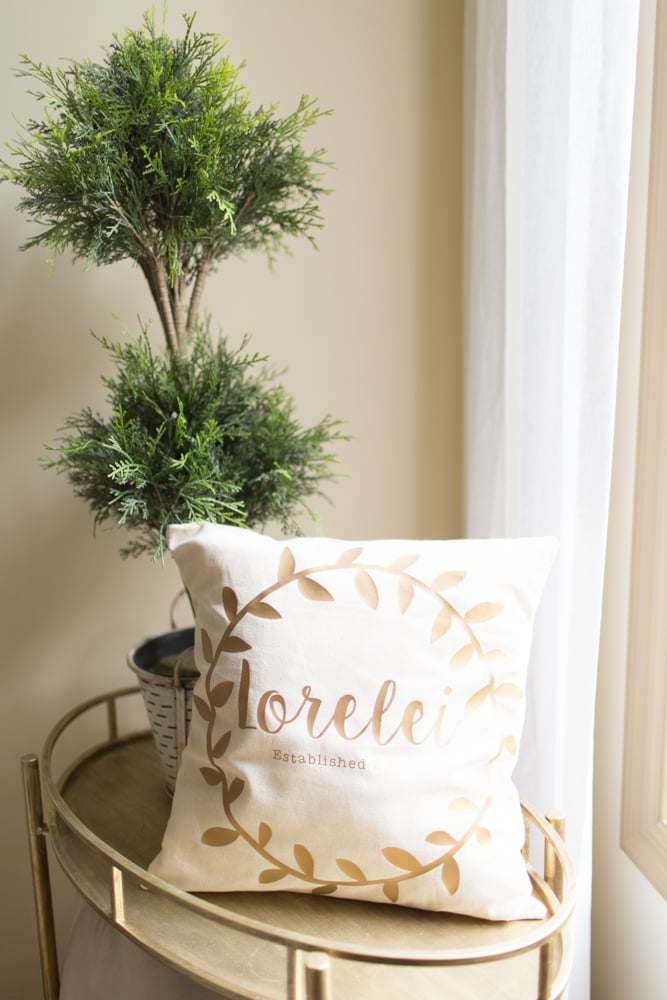
Step 7 | Design Your Name
I used the Ink Blossom font to create my laurel wreath and name. I added the word “Established XXXX” in a typewriter font.
Once you design it, make sure you flip it on the horizontal access because it will be cutting a mirrored image of it.
If your cutting mat is not as big as your pillow, use the cutting tool in your software to cut it into two pieces like I did for this pillow.
Step 8 | Get Your Heat Transfer Vinyl Ready
Do a test cut and try to weed that test cut. This is very important. Heat transfer vinyl can be expensive, so its best to test with a smaller spot before going in and realizing the depth was not set appropriately.
Make sure you smooth out all the bubbles in your vinyl after putting the mat with the hard clear side down on the adhesive side of the cutting mat.

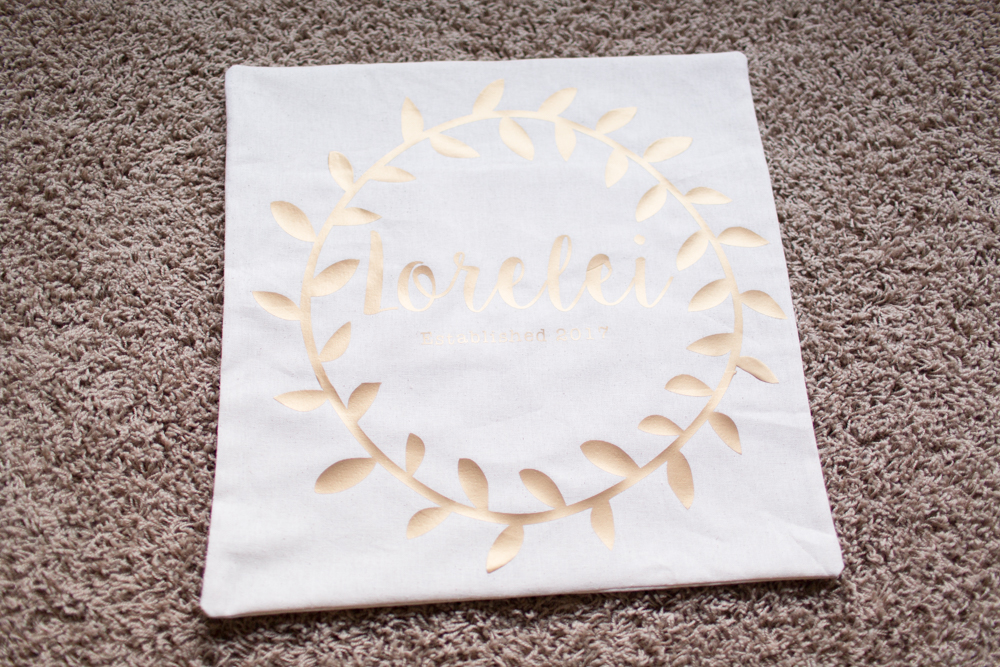
Step 9 | Weed Your Vinyl
Weed your vinyl very carefully, especially around the small letters. Make sure you do each section very carefully.
If you had two cuts, overlap the designs before you start ironing them on.

Step 10 | Use Heat to Transfer Vinyl, Peel
Follow the manufacturers instruction for the heat transfer vinyl. Some you can iron and peel cold versus hot. They are also all different even if it’s the same manufacturer, but the difference is the vinyl color. You are done!
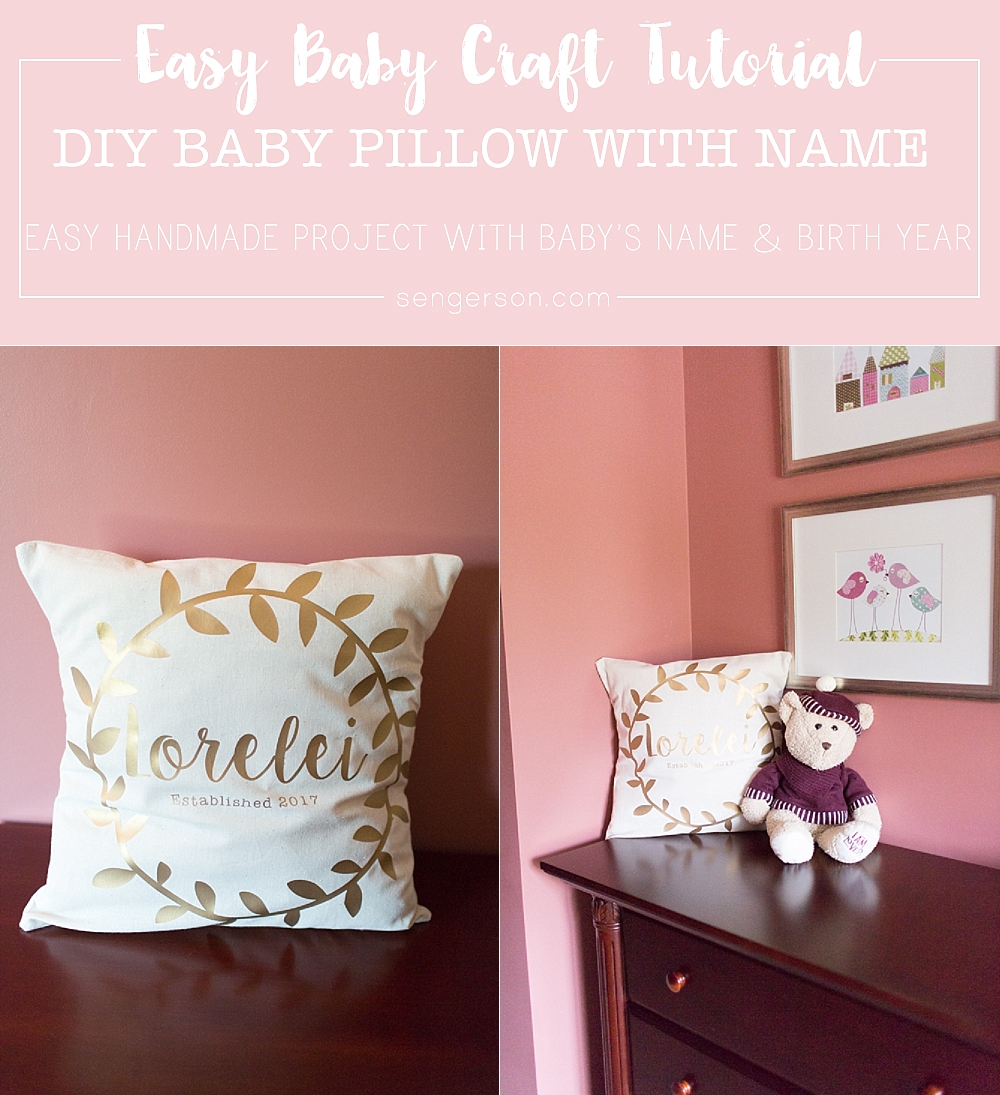
Isn’t this pillow darling? It would pair well in any nursery!


Obviously, it is a decorative pillow – who doesn’t love that?
It looks great in Lorelei’s room for sure. Be sure to check out Target for the deal on what I just laid out was the best investment for your nose during the baby years!

Pin the image below and save it to your craft board for future reference.
Other DIY Projects


More Baby Project Inspiration
If you are wanting more ideas for craft projects and baby gift ideas, here are links to some fun DIY that could help inspire you to make something unique.
- DIY Baby Washcloths
- DIY Baby Flower Headbands
- DIY Baby Burp Cloths and Rags
- DIY Custom Nursery Lampshade
- DIY Baby Chiffon Tutu
- DIY Rustic Woodland Wall Art
- DIY Kids Handprint Wall Art
- DIY No Sew Chiffon Tutu
- DIY Camera Neck Strap
- DIY Personalized Baby Pillow Decor
- No Sew Fleece Baby Blanket
- Memory Board DIY