Content may contain affiliate links. When you shop the links, we receive a small commission at no cost to you. Thanks for supporting my small business.
Cyber Monday is one of the biggest days for finding amazing baby gear at mint prices. If you know what to look for, you can always spot a good deal on amazing baby and kid products.
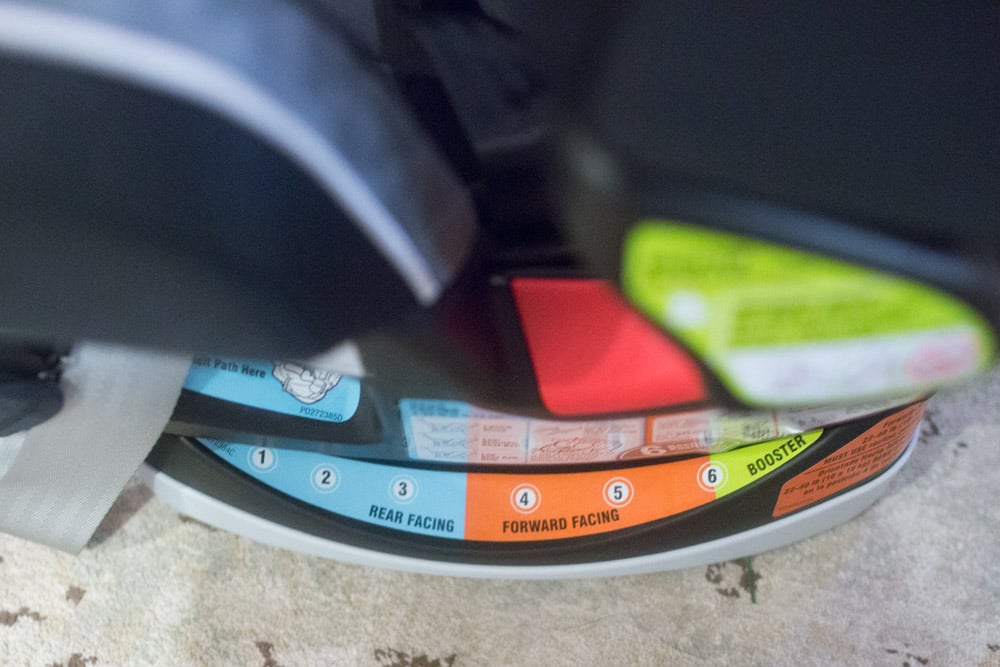
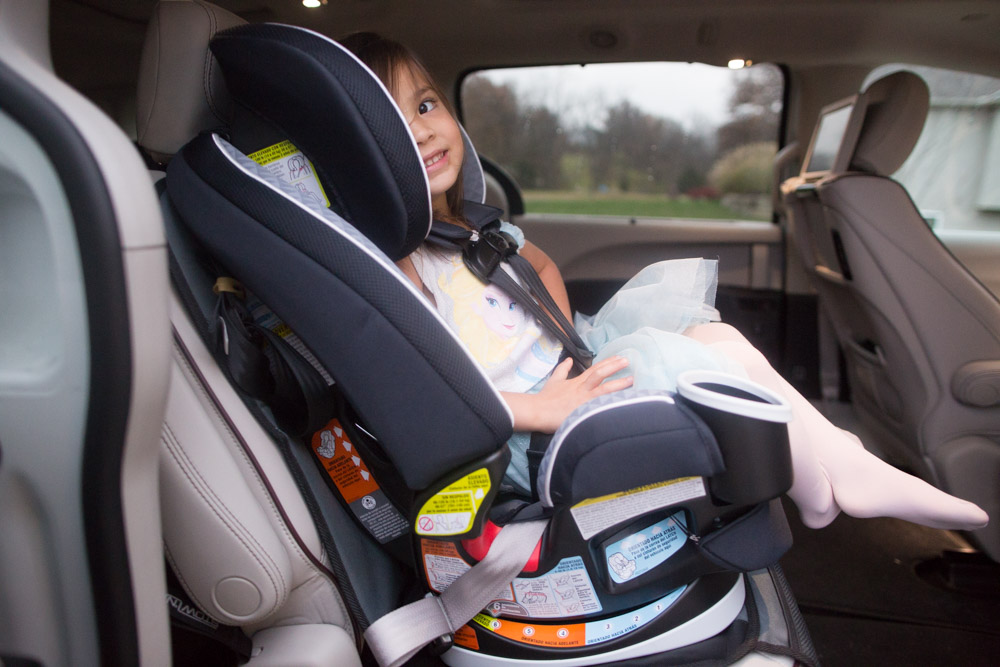
The Graco 4Ever™ 4-in-1 Car Seat keeps up as your child grows, with 6 position recline option in both rear-facing and forward-facing models.
Here’s Conrad in it rear facing at 18 months.

Aubrey is 4 years old, and she’s front facing in the picture below. As you can see, it is very versatile – basically growing with the family!

It also provides parents the Simply Safe Adjust Harness, which features a one-hand, no thread harness that automatically adjusts the eight of the harness and headrest. See it in action below.
It was super easy to install in my van, as it has the latch system included as well.
Note: Did I just say van?! I think this is the second time I’ve admitted I have a van. I will also admit that I kind of love it. That’s for a later post.
Seriously, check out the deal that Target is having between 11/27 and 12/3. When you visit Target, the Graco 4Ever™ 4-in-1 Car Seat will definitely stand out as a must have. We got the Nova model (which is a Target exclusive color).

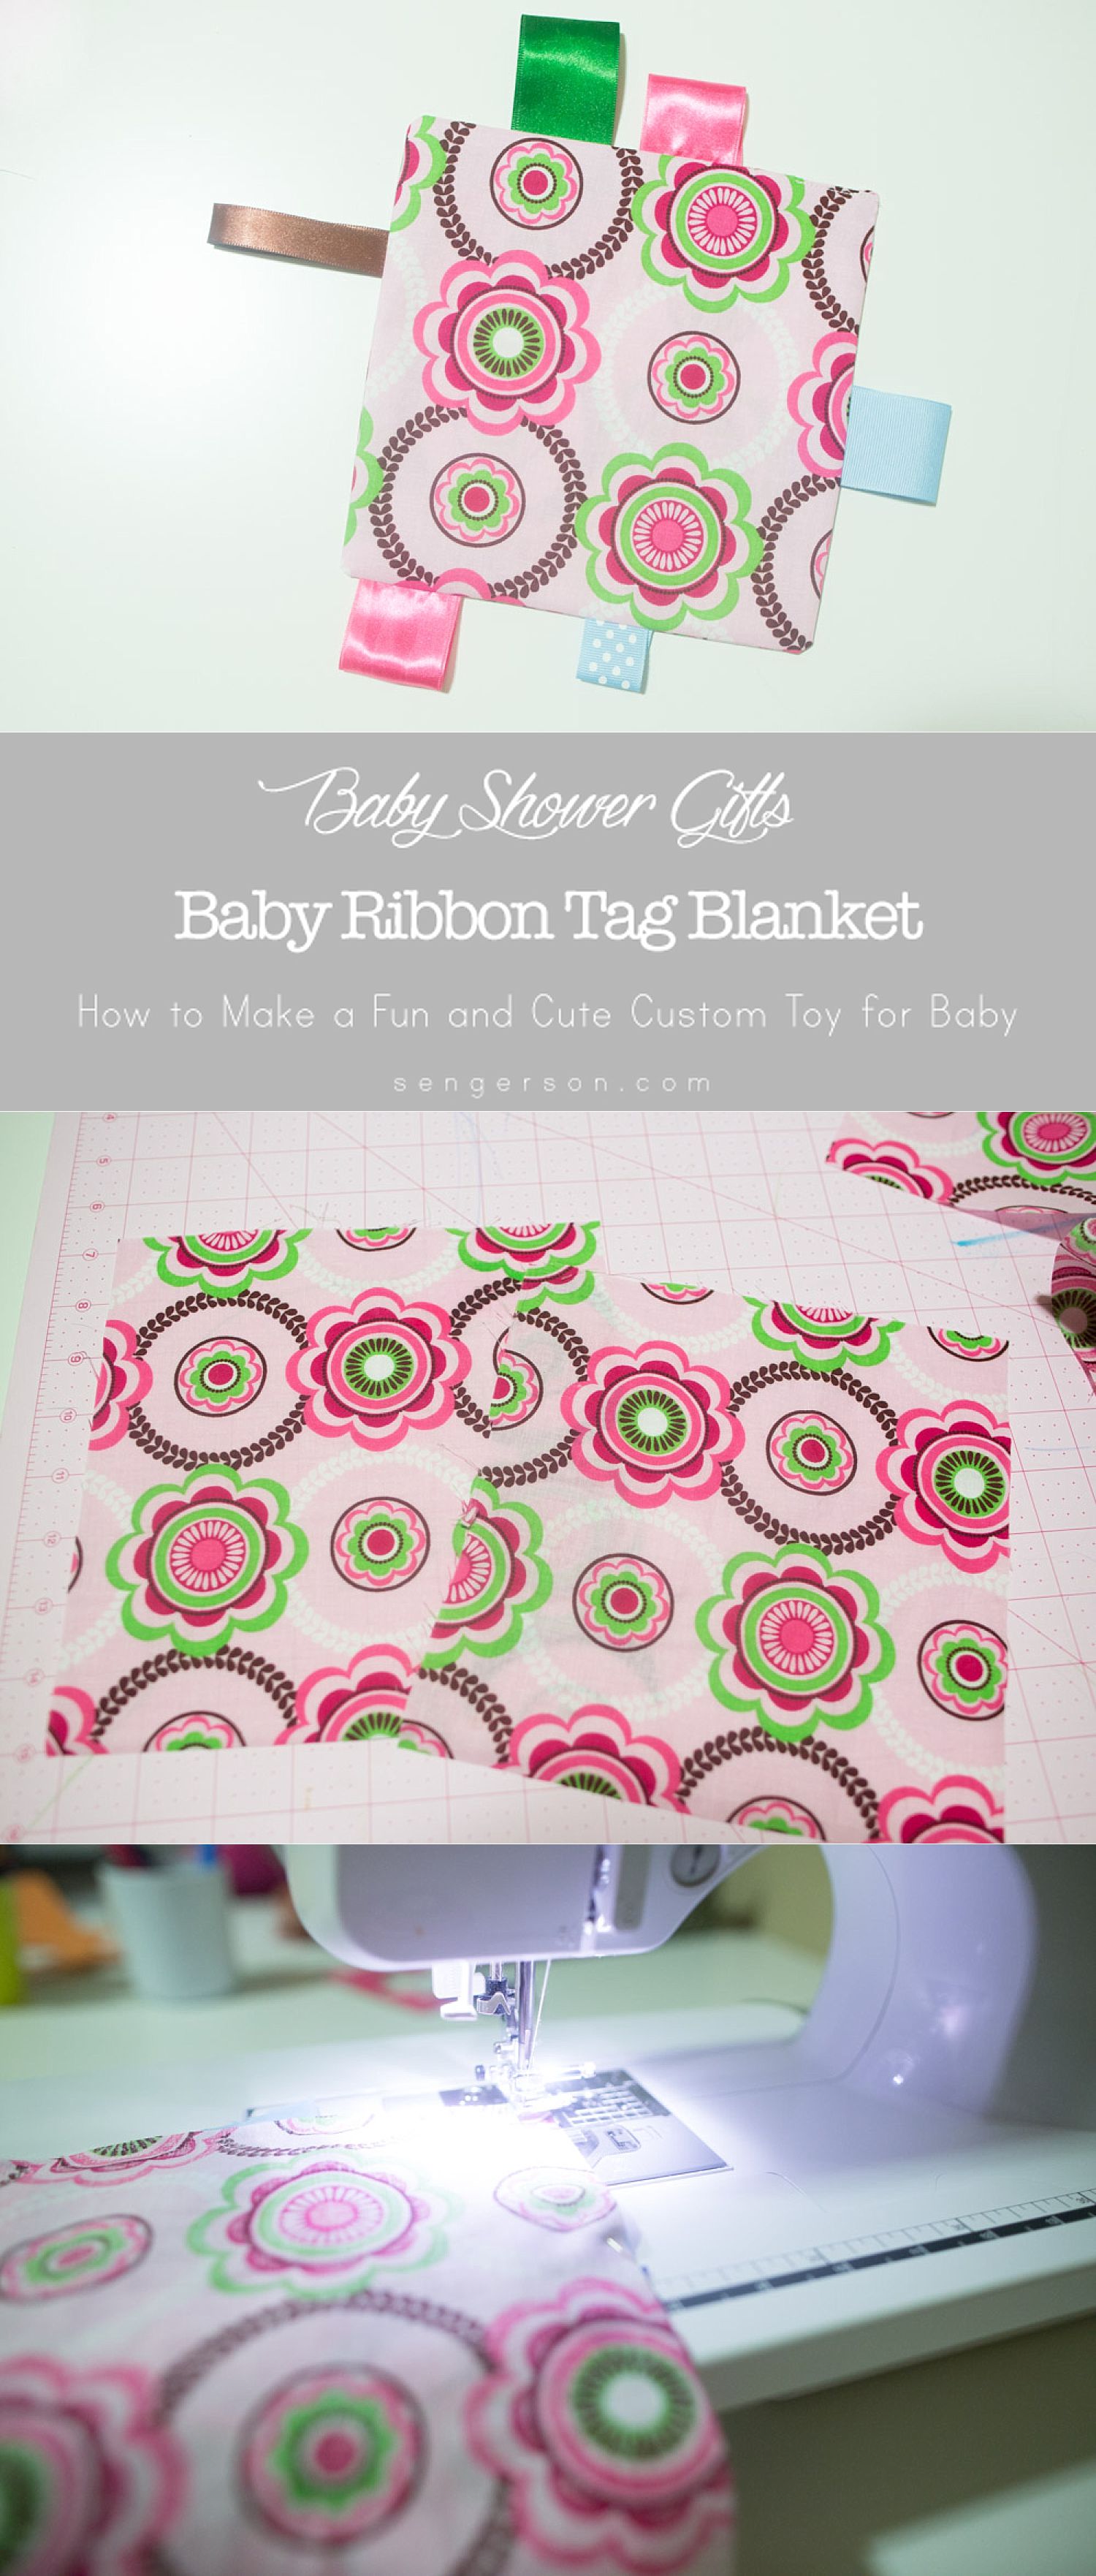
Sensory Tag Blanket for Babies
Sometimes, the best baby toys and gear are the ones you make yourself!
Today, I’m showing you how to make an awesome sensory DIY baby toy. It is a tag blanket (also known as a taggie blanket). I don’t know what it is about tags, but babies love them! Parents love them because it is a toy that doesn’t make a lot of noise that will entertain them for a while! You can also hang rings or toys off of the tags for extra fun.
Supplies
Fabric (minky is super soft that babies love, but I used fabric from my stash)
Interfacing
Assorted ribbon
Sewing machine (matching thread, pins, needles)
Scissors
Directions for DIY Baby Taggie Blanket
ONE: Cut your fabric into the size you want to make it. Make two of these shapes. I chose 8″ x 8″, but make sure that you include a 1/4″ seam allowance on either end, as you will be folding that side. I have also seen others cut the fabric in animal shapes (like a lion) and monograms for the baby’s first initial. Use your imagination!
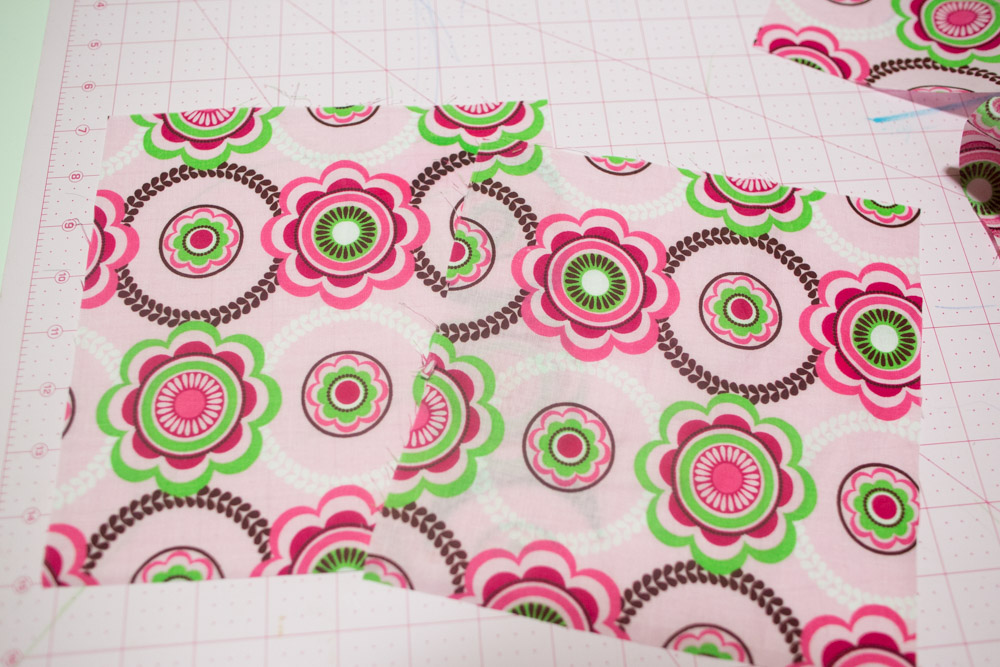
TWO: Next, take the wrong side of one of your fabrics and outline/cut the interfacing. Follow the instructions on the interfacing to press it onto the fabric. This will allow the fabric to have a thicker feel so that its not flimsy.
THREE: Cut your assorted ribbon into 2″ to 6″ lengths. You will fold them (right side of ribbon up) and pin them to the right side of your fabric. You will then layer the other piece of the fabric and pin that.
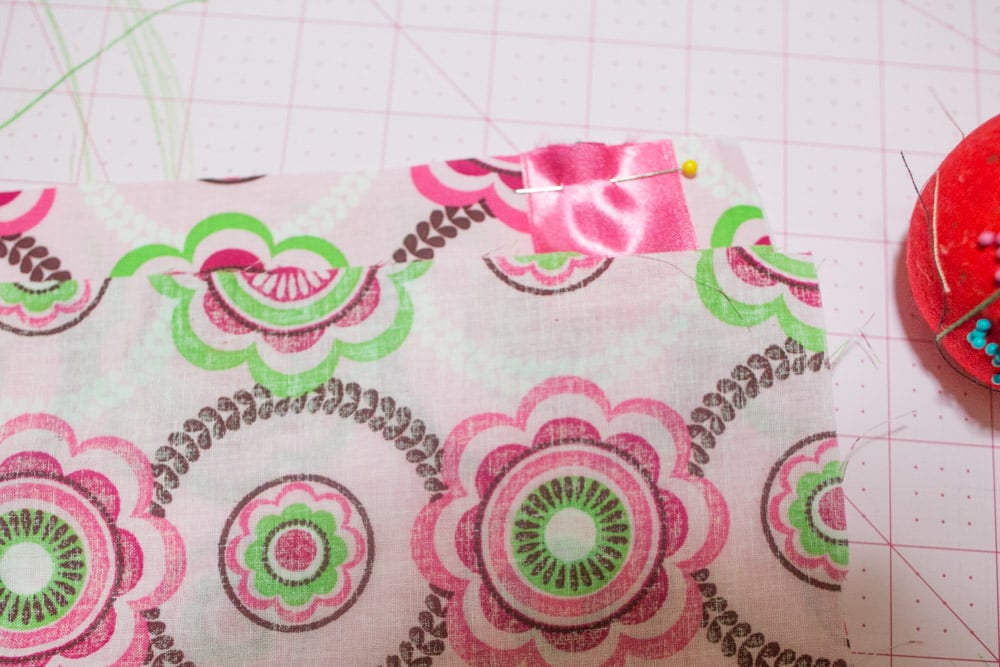
FOUR: Sew all around the fabric using a 1/4″ seam, but leave room at the end (about an inch) to pull the fabric right side up. Once you are done, pull the ribbon and right side of the fabric through.
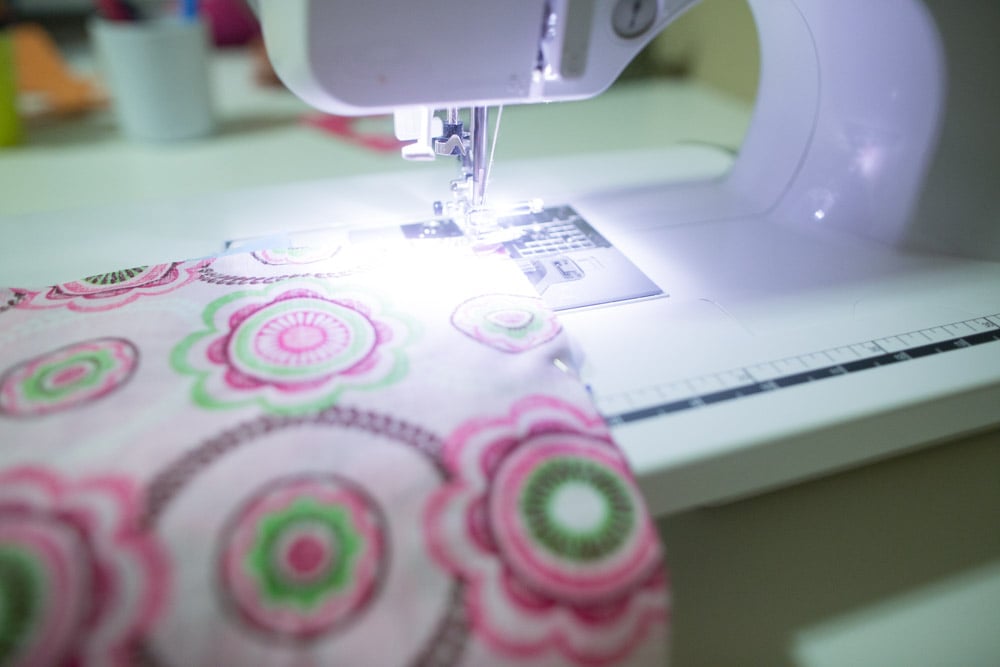
FIVE: Top stitch the gap of the opening.
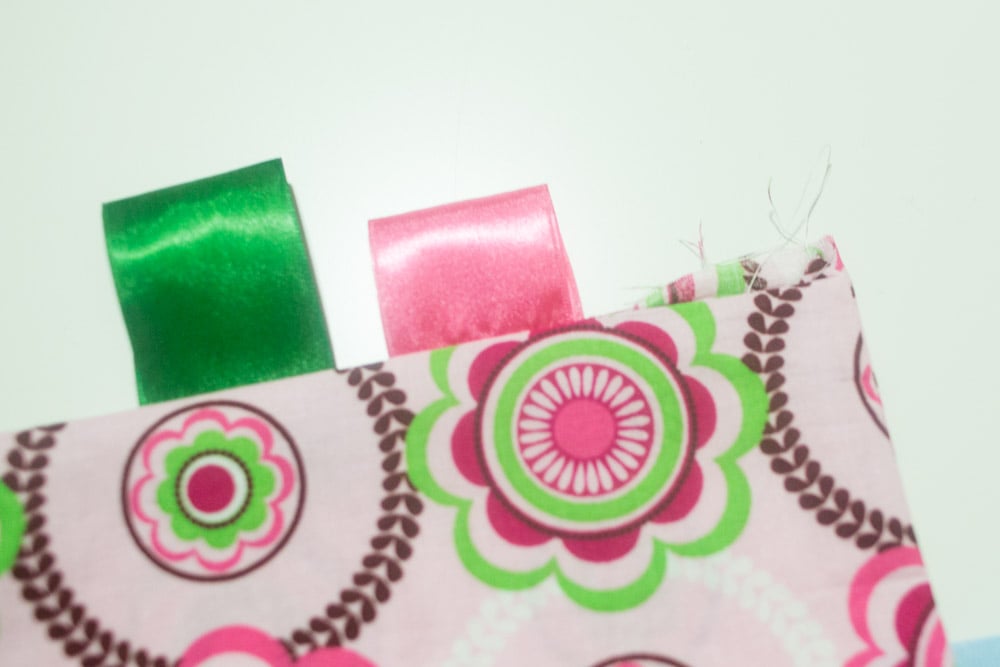
SIX: Press the edges down and you are done!

How cute is that?! This was so easy to make. With endless variations of this, you can make it uniquely your own to give to baby (maybe on a short car ride).
More Baby Project Inspiration
If you are wanting more ideas for craft projects and baby gift ideas, here are links to some fun DIY that could help inspire you to make something unique.