Content may contain affiliate links. When you shop the links, we receive a small commission at no cost to you. Thanks for supporting my small business.
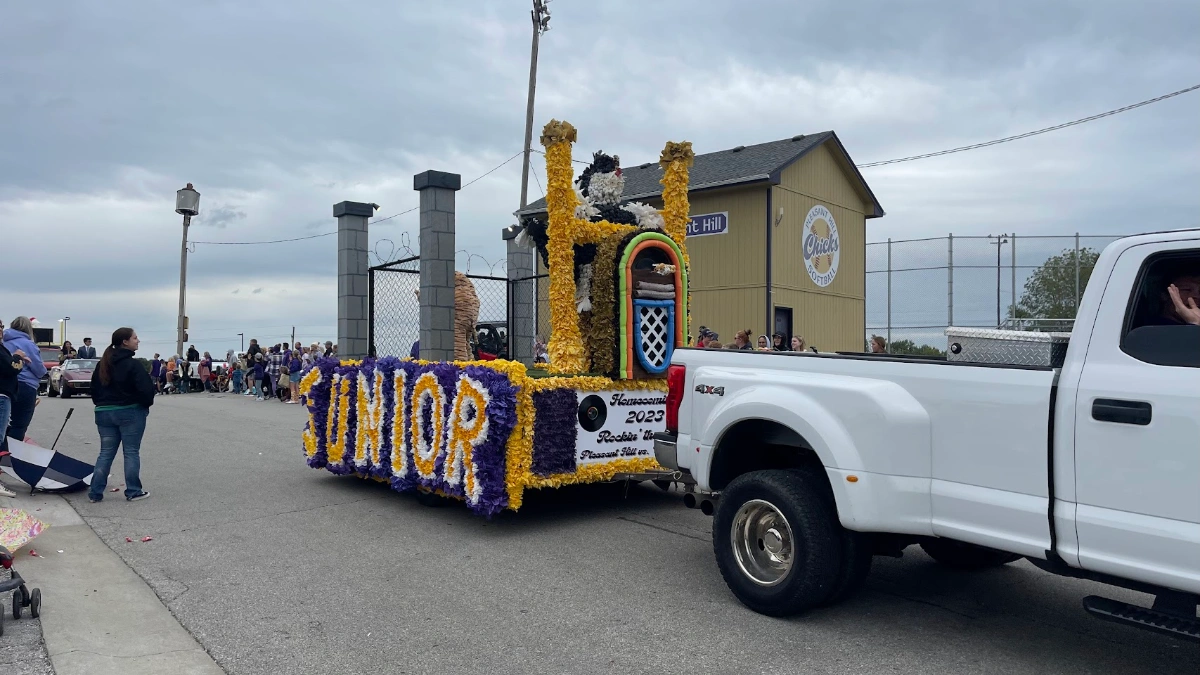
Every fall, our small town shuts down Main Street for the homecoming parade, and every fall somebody’s class or club is building a float for the first time with no idea where to start. This is the guide I wish someone had handed us the first year: how to build a homecoming parade float from an empty trailer to rolling down the route — on a class budget, in two to three weekends.
If you just need decorating ideas, I have a whole post of inexpensive parade float decorating tips, and a companion post of homecoming float theme ideas. This one is about the build itself.
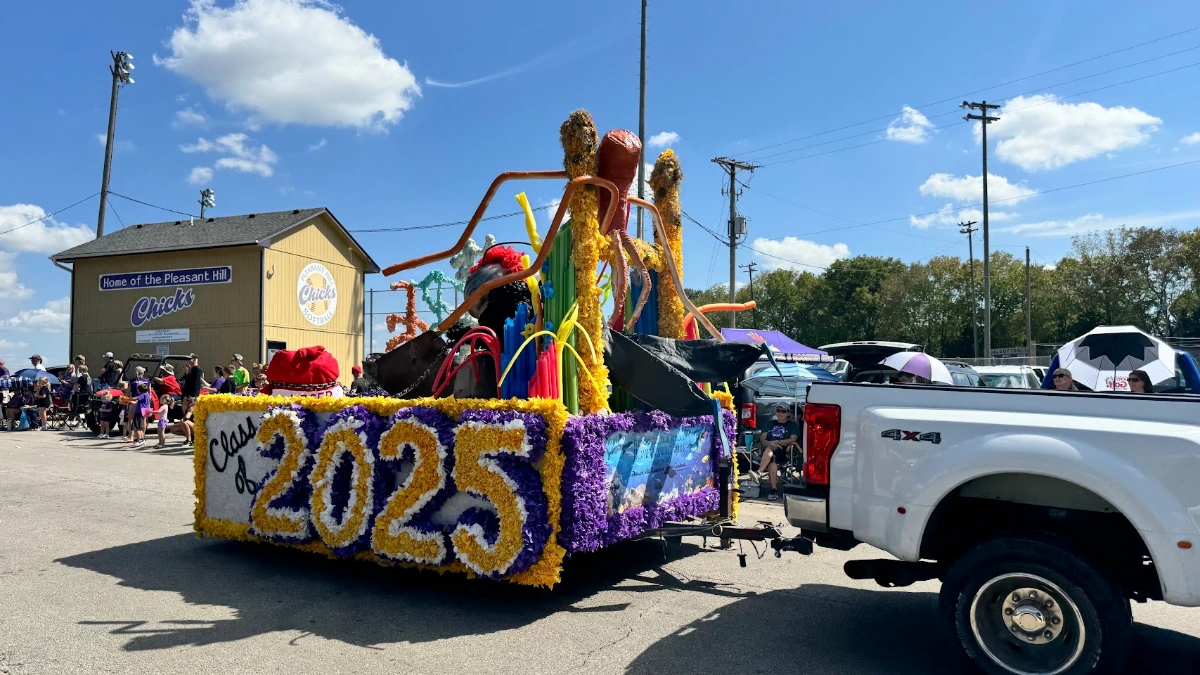
What You’re Actually Building
A parade float is four things stacked together: a trailer, a deck you can safely stand on, skirting that hides the wheels, and a theme built on top. That’s it. Every impressive float you’ve ever seen at a homecoming parade is those four layers plus a group of people who started more than one week out.
Step 1: Lock Down the Trailer and Tow Vehicle First
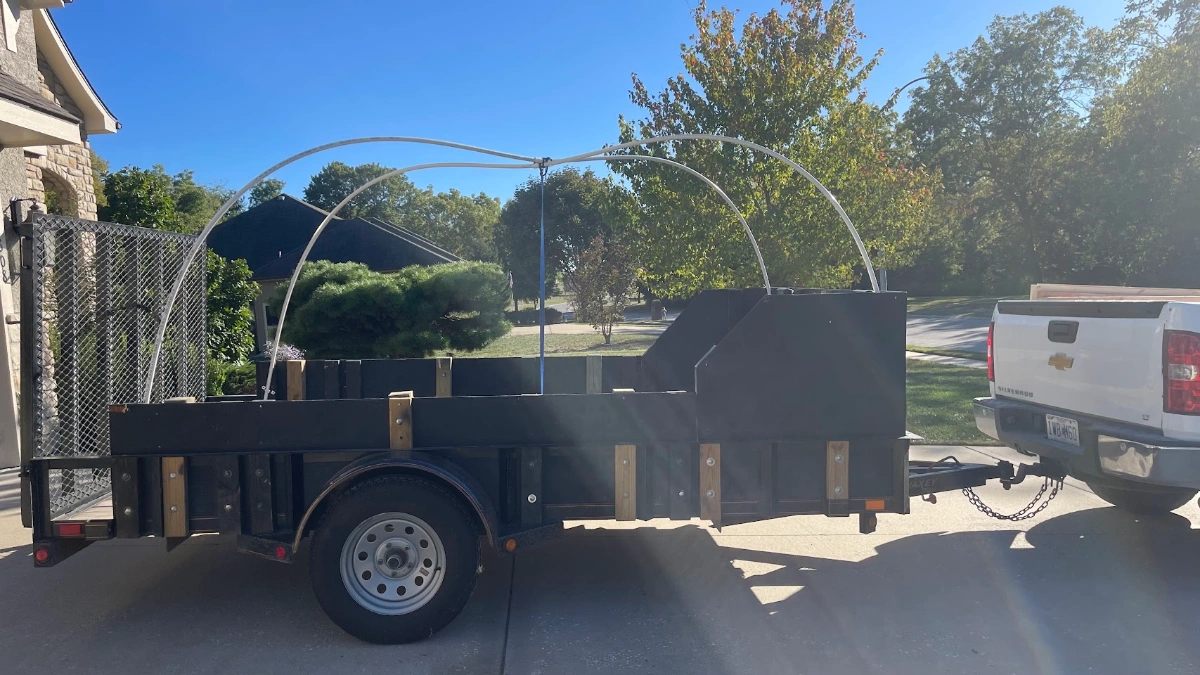
Nothing else matters until you have these. A 16-foot flatbed or hay trailer is the sweet spot for a class float — big enough for a real theme, small enough to turn at the end of Main Street. Ask around: in a small town, somebody’s family has one sitting in a barn, and asking two weeks before homecoming is how you end up with the rusty one. Ask in early September.
- Measure the deck (length, width, and rail height if it has rails) before you plan anything.
- Confirm the tow vehicle and hitch at the same time — a truck that can pull it and a driver who has pulled a trailer before.
- Check with your school or parade organizer for float rules: height limits, rider rules, and whether candy can be thrown from the float or must be handed out by walkers.
Step 2: Sketch the Theme on Paper With Measurements
Pick your theme, then draw the float from the side and from the front, on paper, with the trailer’s real measurements. This 20-minute step is what separates floats that look intentional from floats that look like decorated trailers. Decide the one big focal point — the thing people see from a block away — and put it over the axle where the ride is most stable.
Step 3: Set the Budget and the Timeline
A solid class float runs $150 to $400 depending on how much you borrow versus buy. Split across a class or club, that’s manageable — and half of it is reusable next year if you store the skirting and letters. Timeline: two weekends minimum. Weekend one is base, skirting, and frame. Weekend two is theme, letters, and the stuff that makes it feel finished. The week between is when the poms get stuffed at lunch tables.
Step 4: Build the Base and Deck
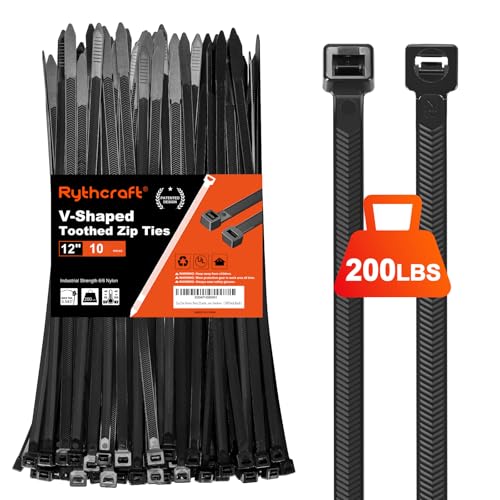
Sweep the trailer, then walk every board. If boards are gapped or soft, screw down a sheet of half-inch plywood — riders will be looking at the crowd, not their feet. Add anchor points now while the deck is bare: eye bolts or heavy screws along the edges give you something to zip-tie and rope everything to later. If riders will stand, plan what they hold onto — a rail, a built structure, or straw bales to sit on instead.
Deck Hardware



Step 5: Skirt the Trailer
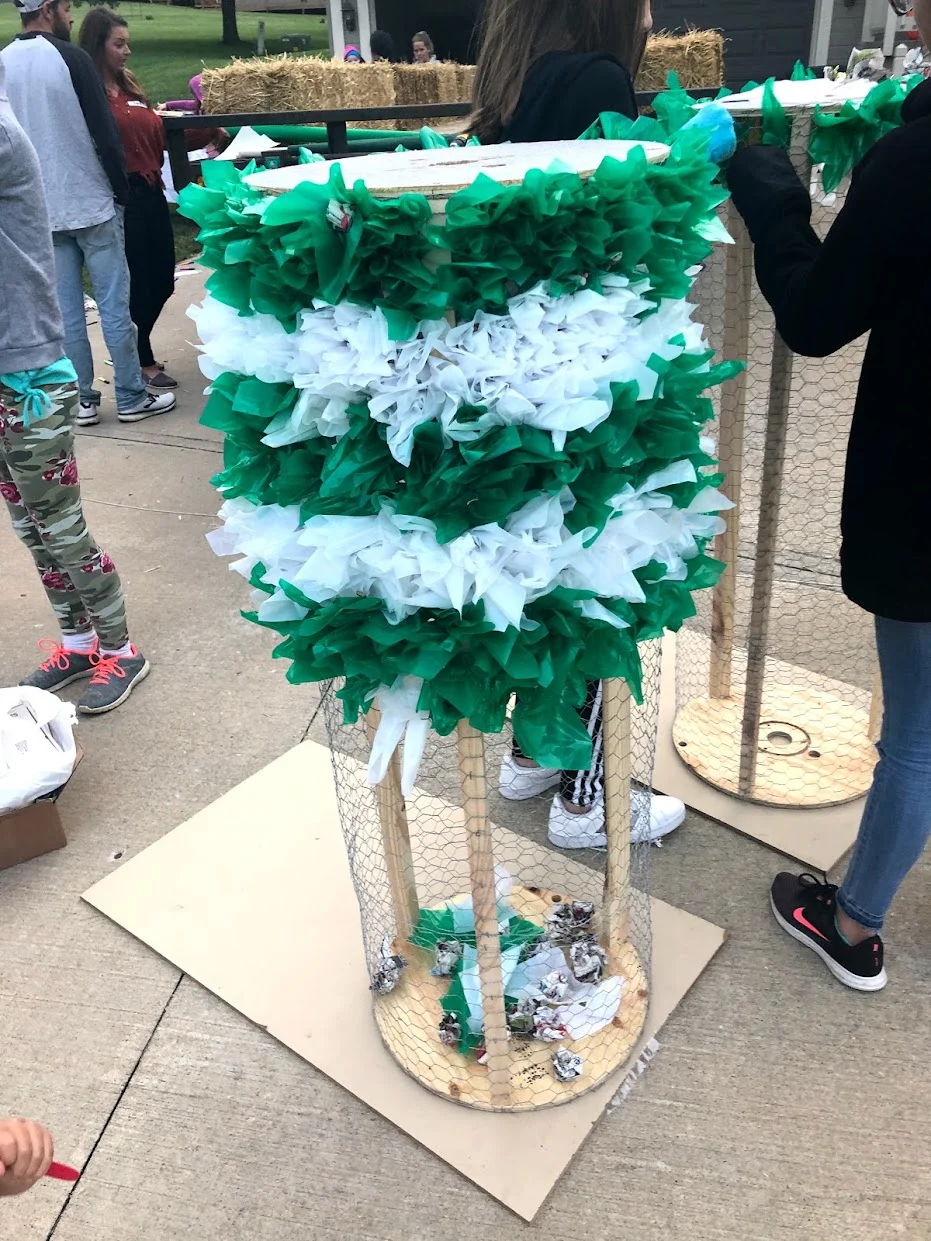
Skirting is the single biggest visual upgrade — it hides the wheels and instantly makes a trailer read as a float. Floral sheeting or metallic float fringe stapled to the deck edge takes about an hour for the whole trailer. Run it to just above the ground, and don’t skip the tongue end; that’s the side facing the crowd when you’re lined up before the route.
Parade Float Fringe


Floral Sheeting Parade Float




Step 6: Build the Theme Structure
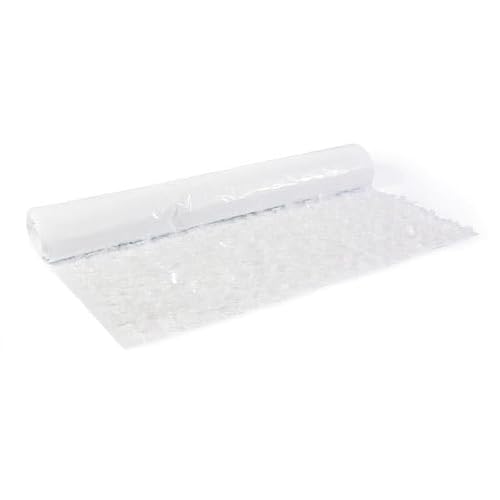
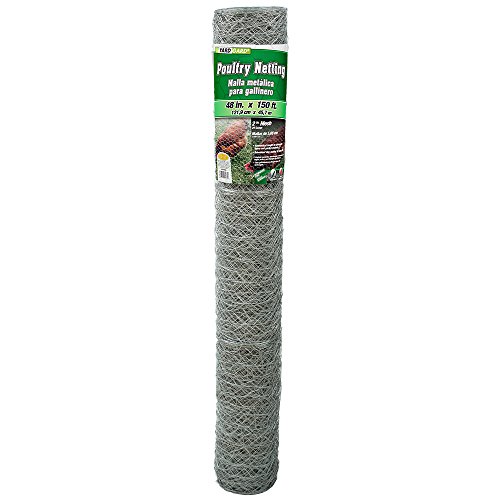
Big shapes come from three materials: chicken wire stuffed with pomps for anything curved, cardboard and foam board for anything flat, and PVC or scrap lumber for anything tall. Build tall pieces as separate units on the ground, then bolt or zip-tie them to your anchor points on the deck. The rule that saves every float: build like it will take a 25 mph wind, because the tow to the lineup is on open road and it will.


Step 7: Letters People Can Actually Read
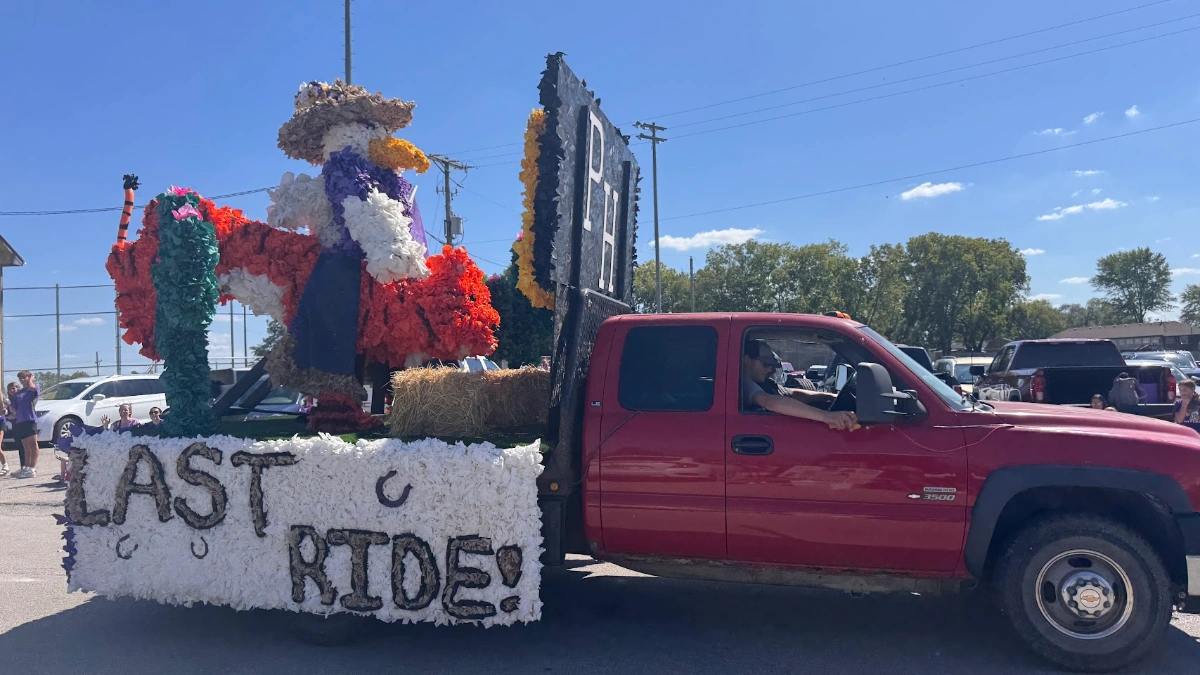
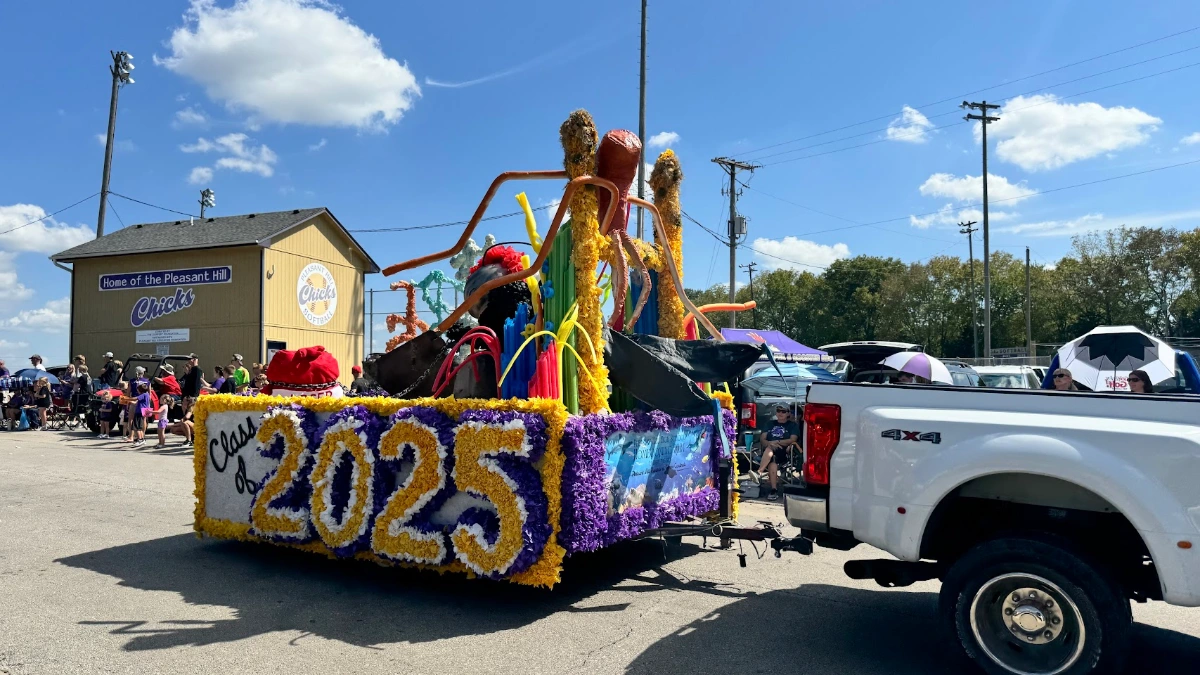
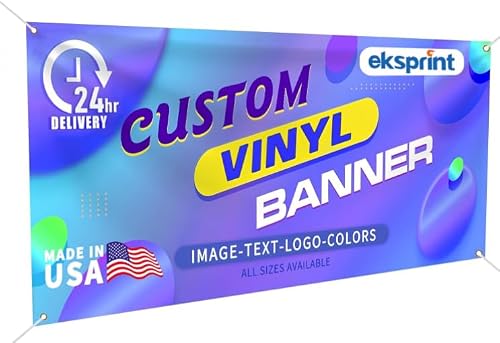
Your float has one job: people on the curb should know who you are and what the theme is in three seconds. Letters need to be at least 6 inches tall to read from across the street — 12 inches for the school name. Foam board letters, a custom vinyl banner, or painted stencils all work; whatever you pick, put it on BOTH sides of the float. Half the crowd is on the other side of the street.



Step 8: Power and Sound
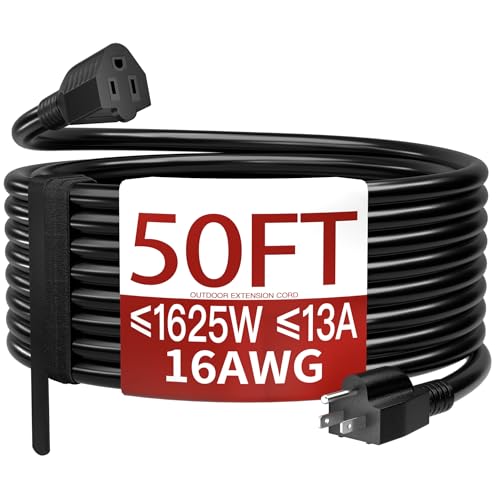
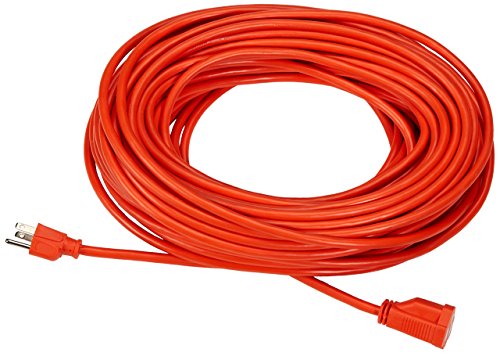
Music transforms a float, and the marching band can’t be everywhere. A small quiet inverter generator strapped to the deck runs a PA or party speaker for the whole route. Tape every cord to the deck, keep the generator on the tongue end away from riders, and load the playlist the night before — parade lineup is not the moment to fight with Bluetooth.



Step 9: The Safety Stuff That Keeps You Invited Back
- Riders sit or hold something solid. No one stands on the edge, no one hangs feet off the side.
- One adult spotter on the float, one walking beside it, and a driver who never exceeds walking pace.
- Candy: in most small-town parades, walkers hand it out at the curb — throwing from the float sends kids running toward the wheels. Check your parade’s rule and brief your group either way.
- Zip-tie or strap everything. Then walk the float and push on each piece like a bored eighth grader would.
- Bring a fire extinguisher if you’re running a generator. Cheap, and some parades require it.
Step 10: Pack the Parade-Day Kit
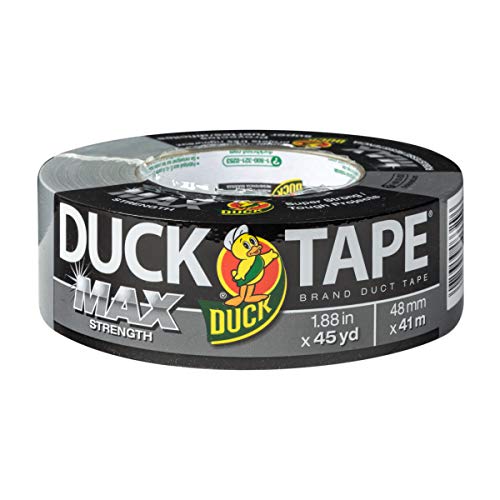
Every float loses a piece somewhere between the school parking lot and the lineup. The kit that fixes everything in five minutes: zip ties, duct tape, the staple gun, scissors, extra fringe, bottled water for riders, and a trash bag for the teardown. Assign one person to own the kit so it actually shows up.


The Short Version
- Trailer and driver locked by early September
- Theme sketched with real measurements, focal point over the axle
- Weekend 1: deck, anchors, skirting, frames — Weekend 2: theme, letters, sound
- Letters 6+ inches, on both sides
- Everything strapped for 25 mph wind, riders seated, walkers handle candy
Other Parade Float Ideas
Build it once and you’ll be the group everyone asks for help next year.