Content may contain affiliate links. When you shop the links, we receive a small commission at no cost to you. Thanks for supporting my small business.
Welcome to our latest DIY project! If you’ve been thinking about giving your old dresser a fresh new look, you’ve come to the right place. In this blog post, we’ll walk you through a stunning transformation that we achieved with a bit of creativity and some chalk paint. I hope to share with you some tips and tricks to inspire your next DIY project!

Overview
Furniture makeovers are a fantastic way to breathe new life into pieces that may seem outdated or worn. In this project, we tackled a brown, used dresser that was in dire need of a modern touch. It was a dresser that was 20 years old (I got right after college). The best part? We achieved this transformation without even having to paint the knobs..

Before: The Brown Dresser
Our journey began with a well-used, brown dresser. Its structure was solid, a crucial factor in furniture makeovers, but it screamed for a contemporary twist. The knobs, surprisingly, were in great shape, so we kept them as is, adding to the dresser’s character.

We also shortened it because we actually wanted to place it in the living room as a sideboard.
Chalk Paint: Tried and True Choice for a Makeover
Chalk paint is often favored for its ease of application and the beautiful matte finish it provides. It’s great for most surfaces and typically doesn’t require priming, making it a popular choice for DIY enthusiasts. I share my own chalk paint recipe that is tried and true.
Read More: Easy Chalk Paint Recipe
No need to pay for the expensive Annie Sloan chalk paint which can make larger projects less budget-friendly. The limited color palette may not appeal to those looking for a specific shade or wishing to experiment with custom color mixing.
Why Chalk Paint Might Not Be Ideal
However, chalk paint isn’t perfect. It can be less durable than other types of paint and may need regular touch-ups or a good sealant to maintain its appearance.

Deciding on Painting the Drawer Sides: A Consideration
When it comes to refinishing a dresser, the question of whether to paint the sides of the drawers presents a nuanced choice. On one side of the argument, applying paint to the drawer sides can unify the piece’s aesthetic, offering a complete transformation that’s visually pleasing. This attention to detail can be likened to the meticulous care of a craftsman, ensuring that every aspect of the dresser is touched by your personal style. It’s particularly effective if the original hue is a stark mismatch with your new vision, providing a consistent and updated look throughout.

On the flip side, practicality must enter the conversation. The addition of paint on the drawer sides might lead to functional issues, such as the drawers fitting more snugly or even sticking, due to the thickness of the paint. There’s also the long-term wear and tear to consider; frequent use could result in the need for touch-ups if the paint begins to chip. If the drawers currently have a smooth, finished side that complements the new design, it may be advisable to leave well enough alone. Striking the right balance between aesthetic appeal and functional ease is key in this aspect of your DIY project.

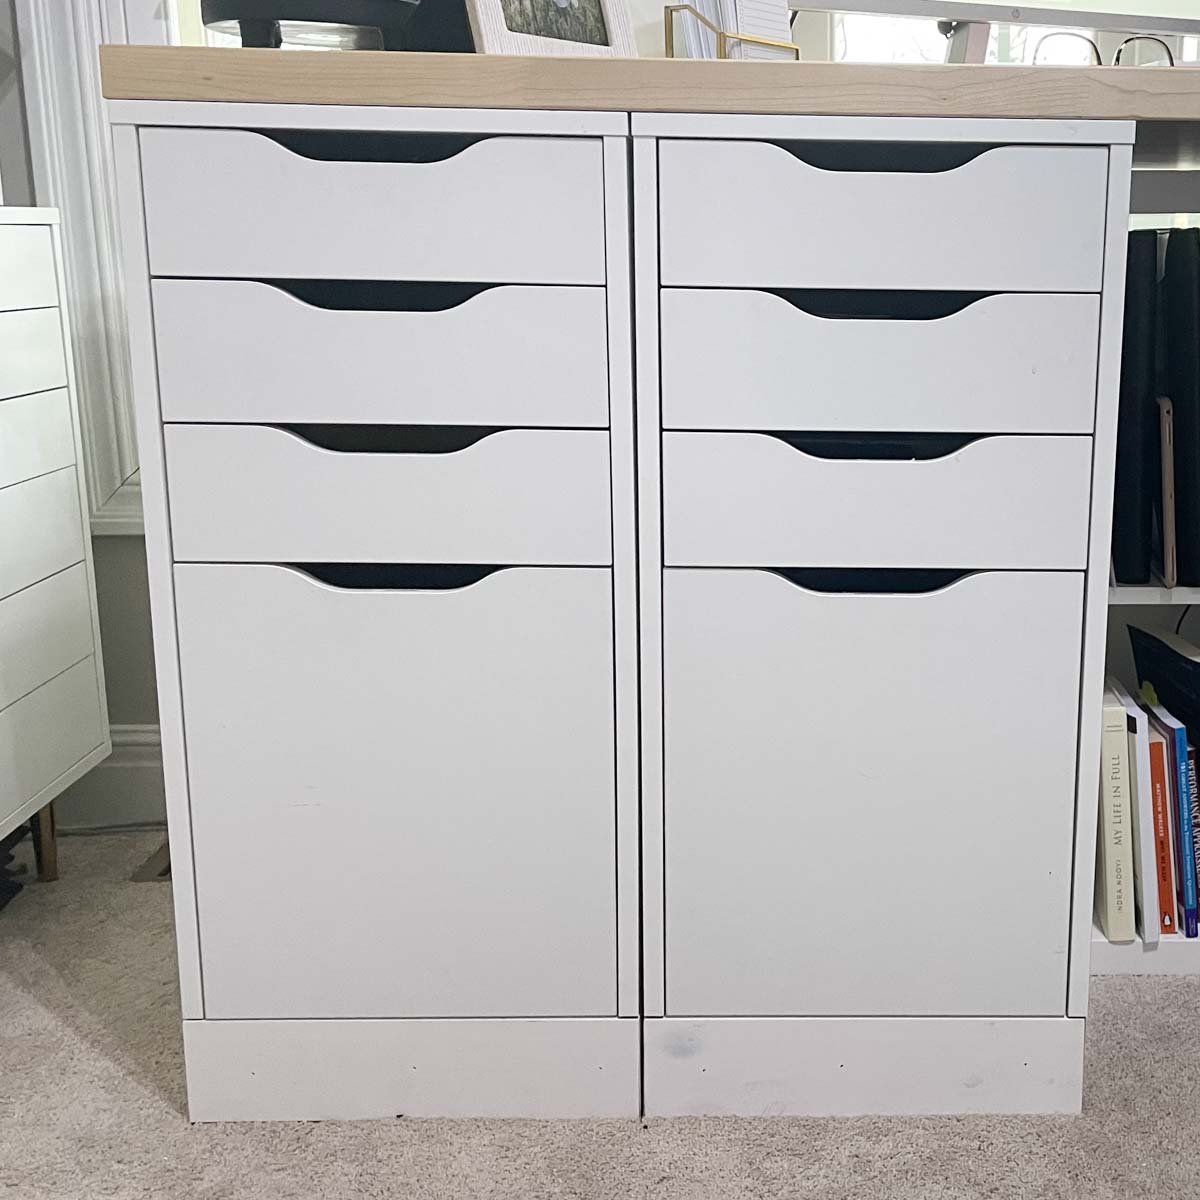
As you can see, we did not paint the drawer sides and we’ve never been bothered by it. We did paint the open doors near the bottom of the buffet, and it looks great.

Problems Encountered in DIY Furniture Makeovers with Chalk Paint
While chalk paint is a popular choice for furniture makeovers, it comes with its own set of challenges.

Here are four common problems we faced:
1. Preparation Hassles
While chalk paint is known for its minimal prep work, neglecting basic steps like cleaning and light sanding can lead to poor results. Proper preparation is key to ensuring the paint adheres well.
2. Uneven Coats
Achieving a smooth, even coat with chalk paint can be challenging. It often requires multiple applications to get a consistent finish, which can be time-consuming and requires patience.
3. Distressing Challenges
Many opt for a distressed look when using chalk paint. However, mastering this technique can be tricky, especially for beginners, and may require some practice to get it just right.
4. Waxing and Sealing
Once the painting is done, sealing the piece is essential for durability. This step can be tricky, as it requires a steady hand and a good eye to avoid a patchy finish.
If you are painting your piece white, make sure you get a good seal, this is the one I recommend. This was the very first piece that I painted, and it yellowed. After this tough lesson, I’ve had better experiences without any yellowing using that.

After: A Living Room Showpiece
After shortening the top to give it a more modern profile, our dresser was transformed. With a fresh coat of white chalk paint, it became an elegant, chic addition to our living room. The new color brought a contemporary flair, harmonizing beautifully with the space.
Top Tips for Painting a Dresser

To ensure a successful chalk paint project, follow these tips:
- Clean Thoroughly: Start with a clean surface.
- Sand Lightly: Light sanding helps the paint stick better.
- Apply Thin Coats: Avoid drips and uneven layers.
- Be Patient: Let each coat dry completely.
- Seal Properly: Use wax or a sealer for durability.
Final Thoughts

Revamping an old dresser with chalk paint can be a rewarding DIY endeavor. Despite some challenges, the result is a beautiful, unique piece that adds character to your home. So, grab your paintbrush and let your creativity flow!