• Skip to primary navigation
  • Skip to main content
  • Skip to primary sidebar
Sengerson - Home DIY, Motherhood, and Family Vacations Blog
  • Tour My House
  • Home DIY
  • Cricut & Silhouette
  • Travel
  • Motherhood
  • Crafts
  • Meet Seng
  • Shop
  • FREE Resource Library
menu icon
go to homepage
search icon
Homepage link
  • Tour My House
  • Home DIY
  • Cricut & Silhouette
  • Travel
  • Motherhood
  • Crafts
  • Meet Seng
  • Shop
  • FREE Resource Library
    • Facebook
    • Instagram
    • Pinterest
    • Twitter
    • YouTube
  • ×

    Home » Home DIY » DIY Sprinkler System for Garden

    DIY Sprinkler System for Garden

    Last Updated Date: October 26, 2022 | Published Date: April 23, 2014 by Seng Nickerson

    • Facebook
    • Twitter
    • Email

    Learn how to integrate your sprinkler system into your garden in this post!

    Today, we're going to be talking about how to create some efficiencies for maintaining a vegetable garden with a DIY sprinkler system for garden!

    DIY sprinkler system for garden

    Our indoor projects have been put to a halt because we've been enjoying this awesome weather. The studio bathroom paint job, living room paint job, basement corner bookshelves, and foyer paint job are still in process. Which means that we have tools and ladders scattered everywhere in our house. Which means that we're pretty embarrassed when we invite people over.

    Ryan has had an itch to put in a garden. Remember when we lived in the boonies (in a garage) on five and a half acres and grew a half acre garden?

    boonies
    our-half-acre-garden-01

    Well, Ryan's had the itch to do it again, this time on a much MUCH smaller scale. He's been talking about this for the past six months. Like babbling about it. Every day. So I'm kind of glad that he's starting on this project.

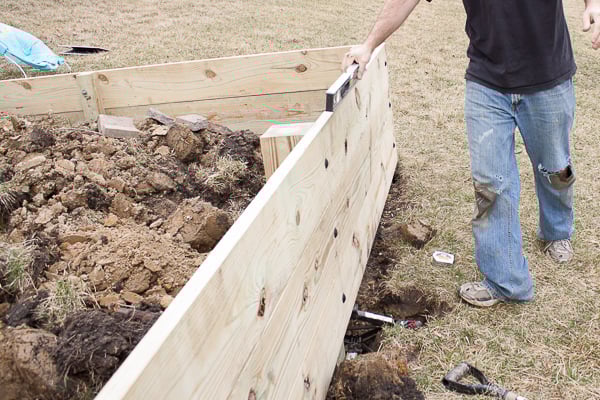
    Here is the hubs drawing his blue print for the garden:

    garden sprinkler diy raised garden00011

    This is our garage, which has turned into Ryan's woodworking shop. My vehicle used to be parked in garage (we can't fit both of our vehicles in the bays because we have full sized vehicles). So now, we have no cars parked in there. I won't complain since I didn't give him much room anywhere inside the house.

    Water Vegetable Garden with Sprinkler System wood

    Below is an image of what our backyard looked like before this project. In retrospect, although we did buy this house for a deal as a short sale, I think one of the things that may have put others off is the steep hill behind our house. On the flip side, during the winter, it is amazing for sledding! Also, in Asian superstitions, its better to have a hill coming towards the house than away from the house (hill represents a passage of "wealth" into the home instead of flowing away from the home).

    Besides being able to eat fresh foods, one of our other intentions with this project was to break up the visual of the hill in our backyard. A tiered garden was one of the answers to that dilemma! We plan on incorporating a secondary patio above the retaining wall. That's after we finish our patio that we need against the back of the house. Sigh.

    Here's what our backyard looked like prior to the project:

    diy-garden-sprinkler-diy-raised-garden0050502

    Last winter, Ryan went to work on creating a budget for the project. After his estimation around Christmas, the project budget/cost came to $500. When he went back this spring, the lumber prices shot up to $2-3 more per feet. Needless to say, he went over budget. And then went over budget again when the tiering didn't work out exactly like he had planned (although he won't admit it).

    I will give my hubs props. He was strategic in his placement of the garden. After our experience of watering a half acre garden by pulling the hose 20 feet over a pond, we knew we wanted something that would provide a little less work. Ryan placed the garden above one of the sprinkler heads, and planned on splitting the head into two - so that it would water both tiers. Totally his idea. And I'm glad, because I'd have no idea how to do it. Here are very general instructions on how to divide a sprinkler head into two. If I can get Ryan to be patient as a take images of his set up, I will share the details of the projects in depth.

    Materials Needed to Create a DIY Sprinkler System for Garden

    • Fasteners: Carriage bolts & Washers - 5/8 and/or 1/2 inch
    • Pipe: PVC Pipe 2 inch

    Directions:

    1. Find an existing sprinkler in the system.
    2. Position your garden design over the sprinkler.
    3. Dig up the sprinkler.
    4. Cut the old sprinkler.
    5. Tee in the new sprinkler heads.
    6. Hard pipe a new line.
    7. Cut PVC pipe at 45 degree angle.
    8. Drive it into the ground on where you want the sprinkler system.
    9. Plumb the new line through it.
    Add a sprinkler system to your garden! They show you how reroute your sprinkler system so you can water vegetable garden with sprinkler system for a garden on a hill. | www.sengerson.com
    Add a sprinkler system to your garden! They show you how reroute your sprinkler system so you can water vegetable garden with sprinkler system for a garden on a hill. | www.sengerson.com
    Add a sprinkler system to your garden! They show you how reroute your sprinkler system so you can water vegetable garden with sprinkler system for a garden on a hill. | www.sengerson.com
    Add a sprinkler system to your garden! They show you how reroute your sprinkler system so you can water vegetable garden with sprinkler system for a garden on a hill. | www.sengerson.com
    garden sprinkler diy raised garden00099

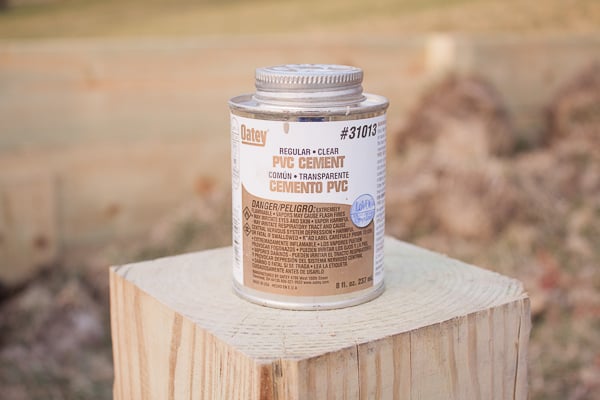
    This is what he used to glue the PVC pipe and the existing lines (you can get the exact glue here):

    Add a sprinkler system to your garden! They show you how reroute your sprinkler system so you can water vegetable garden with sprinkler system for a garden on a hill. | www.sengerson.com

    Here's the end result of one of the sprinkler heads that was split from the original:

    garden sprinkler diy raised garden001111

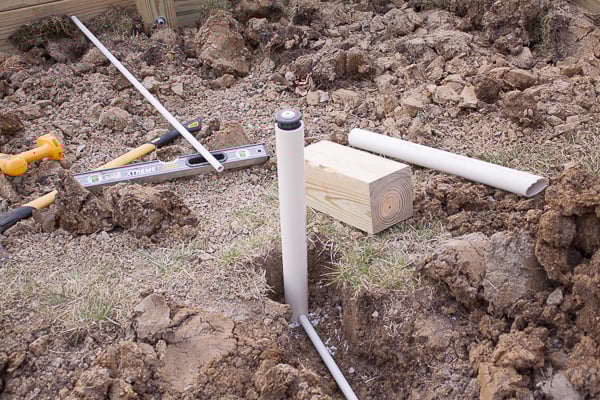
    Here are the images of it in action:

    Add a sprinkler system to your garden! They show you how reroute your sprinkler system so you can water vegetable garden with sprinkler system for a garden on a hill. | www.sengerson.com
    DIY sprinkler system for garden

    More Outdoor Living Spaces and Projects to Inspire You

    • Decorating a Patio on a Budget
    • Garden Sprinkler System
    • Outdoor Farmhouse Pots and Planters
    • Outdoor Covered Living with White Wash Furniture
    • Restore Outdoor Teak Furniture
    • Early Spring Vegetable Garden Tips
    • How to Paint Around or Behind Bushes Outdoors
    • How to Hang String Lights Under Covered Patio

    Outdoor DIY Projects

    • How to Pressure Wash Teak Furniture
    • Problems with Screened-In Patio
    • Screened-In Patio vs Sunroom
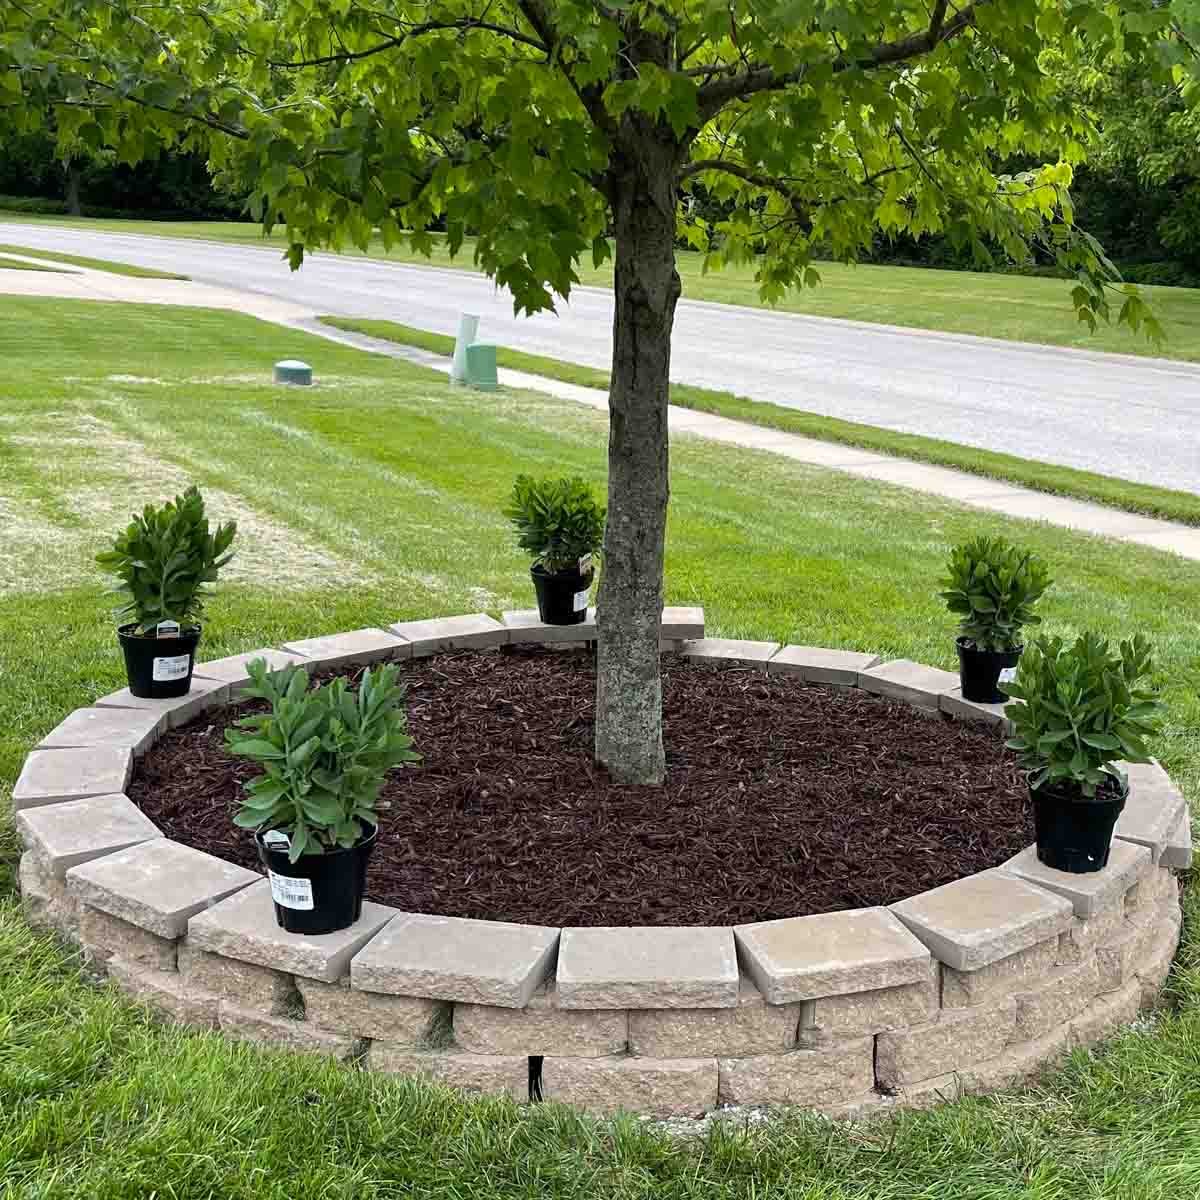
    Outdoor Decor and Furniture

    • DIY Outdoor Patio Cushion Covers

    Landscaping Tips and Tricks

    • Lawn DIY Before and After
    « DIY Easter Basket Out of Milk Jug
    Best Spice Storage Rack Ever »


    Disclosure

    Many of the links on this blog are affiliate links. Sengerson.com receives a small comission when certain items are purchased, but the price is the same for you. Sengerson.com is a participant in the Amazon LLC Associates Program, an affiliate advertising program designed to provide a means for sites to earn advertising fees by advertising and linking to Amazon.com.


    Subscribe for Access to Resource Library

    Subscribe down below for access to the FREE resource library that provides access to affordable home decor, printables, and family vacation hacks. Once you sign up, you'll get access to tons of absolutely free content. You'll also be signed up for my monthly newsletter where I share tips and tricks along the way!

    Reader Interactions

    Comments

    1. Julie

      May 24, 2016 at 11:28 am

      Hi
      I love this garden! Do you have a tutorial on building the "boxes" -- I'm wondering if the 4x4s are concreted in or just dug in? Do you start at the top or bottom? So many questions -- hoping you have a tutorial on that part too!!

      Reply
      • Seng

        July 13, 2016 at 9:11 pm

        The 4x4s are both dug in and then concreted. They are about 3 to 4 feet deep. We started on the bottom! There is not a tutorial on this as we just documented the idea!

        Reply
    2. Pete

      December 28, 2015 at 12:02 pm

      Awesome job on the tiers - they look great! Curious what kind of lumber you decided to go with.

      Thanks,

      -Pete

      Reply
    3. sandy a la mode

      April 23, 2014 at 3:02 pm

      your family is seriously sooo crafty!! don't know how you have all this time and drive, esp with 2 kiddos!

      xo,
      Sandy
      Sandy a la Mode

      Reply

    Leave a Reply Cancel reply

    Your email address will not be published. Required fields are marked *

    This site uses Akismet to reduce spam. Learn how your comment data is processed.

    Primary Sidebar

    Nice to meet you!

    Seng is a life and style blogger for the modern mom. She is a mom of four that works outside of the home balancing the delicate balance of her career and being present for her family.
    Hi I'm Seng - a working mom, loving wife, lifestyle blogger, family photographer, and the ultimate purveyor of the "honey do list". More »

    Looking for Something

    Footer

    ↑ BACK TO TOP

    Meet Seng

    • About
    • Shop
    • DIY Web Stories
    • Home Tour
    • Privacy Policy
    • Contact

    Ideas by Room

    • Bathroom
    • Bedroom
    • Living Room
    • Dining & Kitchen
    • Outdoor Living
    • Paint Colors
    • Organization
    • Shopping Guide

    Motherhood

    • Family Vacations
    • Parenting
    • Baby Registry
    • Productivity Tips
    • Easy & Fast Recipes
    • Mom Fashion
    • Kids Fashion
    • Gift Guides

    ©2021 SENGERSON LLC, ALL RIGHTS RESERVED.

    • Facebook
    • Twitter
    • Pinterest
    • Email
    • Print
    • Save