Content may contain affiliate links. When you shop the links, we receive a small commission at no cost to you. Thanks for supporting my small business.
Get inspired by these custom DIY custom doors for the IKEA Sektion cabinet line.
IKEA provides a great way to upgrade and remodel your cabinets with an affordable price tag. However, as you look to remodeling an entire cabinet line, you’ll find that you may be paying more for the face of these cabinets than the shelving and boxes.
Overview About IKEA Wall Cabinet Frames and Creating Your Own Cabinet Fronts
IKEA cabinets aren’t just for the kitchen. I’ve used this cabinetry in my crafting space! When planning my craft space, I really wanted to have a LOT of storage. I have a ton of crafting supplies (which also includes kids crafts as well), and I desired a way to hide the clutter of craft and art supplies and materials. As we looked at the prices of the IKEA cabinetry line (we looked at the Sektion line), the cabinet fronts and doors were the most expensive part of the remodel. We decided to use the base cabinet frames and then create our own fronts for the cabinets.

In this post, I’m going to talk about all of the considerations before planning on making your own door fronts as well as sharing with you how we DIY our cabinetry with the IKEA base cabinet frames while making our own affordable cabinet fronts.
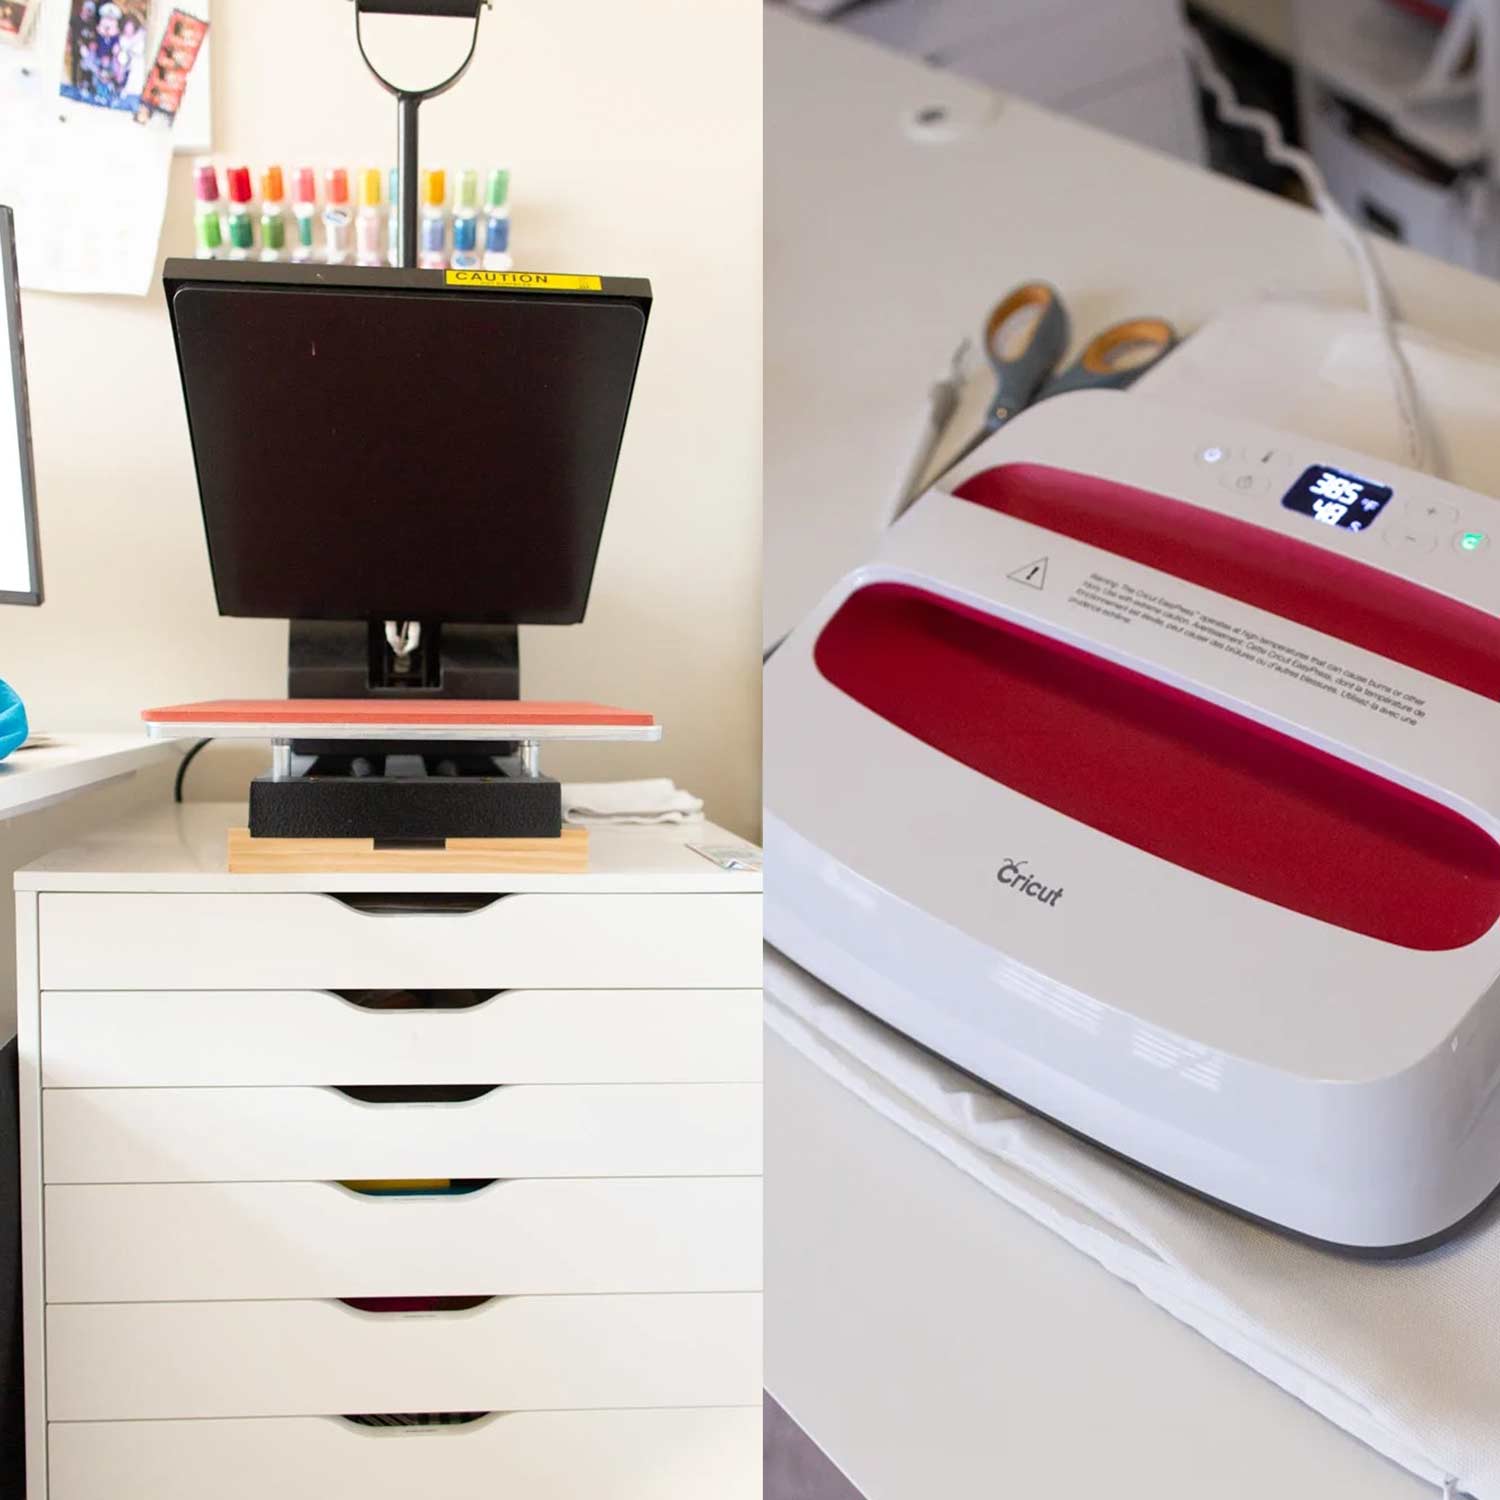
Here’s a picture of it when it was setup as my home office space:


Here it is setup with as my kids playroom / homework space.


Choosing IKEA Wall Cabinet Frames
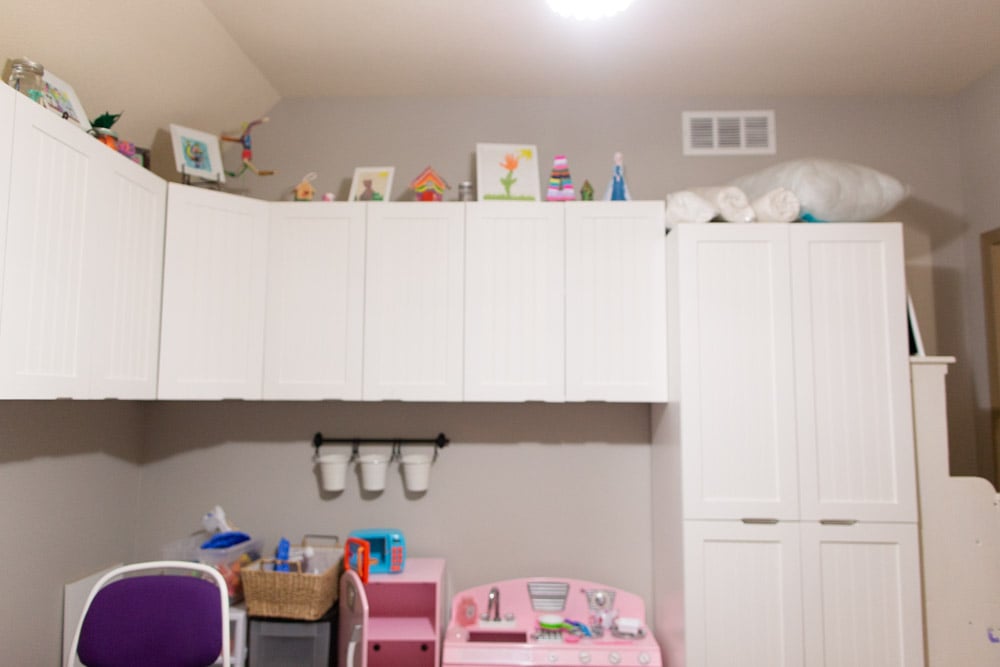
When we decided to remodel our upstairs space into an office for me, then a year later transform it into a kids playroom/study space, we wanted to get some hanging wall cabinets for storage. The reason was because we needed room for tables underneath the cabinets as well. I wanted the cabinets to be able to change with my ever insatiable need to repurpose a room.
For the wall, we choose to have above table wall cabinets, a corner cabinet, and then a floor to ceiling cabinet. We purchased the shelving, the drawers, and hinges. However, we had planned on making the fronts of the cabinets ourselves.
- 5 Wall Cabinet Frames – $55 each
- 1 Corner Wall Cabinet Frame – $60
- 1 Corner Shelf for Wall Cabinet – $22
- 1 High Cabinet Frame – $110
- 3 Interior Medium Drawers – $49 each
- Hinges with Damper – $24 / 2 Pack
- Shelving for IKEA Wall Cabinet Frames – $16 / 2 Pack
Deciding Whether to Buy Door Fronts or DIY Make Door Fronts for IKEA Cabinet Wall Frames
When we started looking at the door fronts, we were in sticker shock at the cost of the doors themselves. While IKEA provides the ability to customize and choose which pieces you want, it also comes at a cost. Obviously, for any cabinet, you generally have doors. As you can see below, here are a few (of the vast choices) that kind of showcase the cost of the doors.

Here are some of the prices:
- Plain White Door with no Trim – $20 per door
- Door Front with Trim – $69 per door
- Door Front with a little more trim – $71 per door
- Door Front with Glass – $117
Before thinking about making your own door fronts, you should consider the material of the cabinets. IKEA cabinets are made from high-density particle board with melamine on all of the sides. It allows any water spills to not soak in like plywood or poplar. Plywood is relatively inexpensive, but you have the tradeoff of it absorbing and warping due to the moisture.
If you look at other manufacturers of IKEA doors (yes, there are businesses that specialize in customizing IKEA pieces), you can save about 30-40% of the cost of an IKEA door. For example, Semihandmade cabinets provides super affordable cabinetry faces that you can continue to customize yourself. This can save you up to 40% off the price of the IKEA sticker price. However, the downside is that you’ll have to coordinate with them and go through an estimation process to figure out the exact pricing of your piece. That’s time away from finishing your project (but can save you lots of money).
There is also cabinetworlddoor.com that offers these doors for around $28 per square feet. They’ve got a lot of different styles you can choose from.
Types of Wood to Use for Custom Door Fronts with Ikea Cabinet Frames
When choosing wood to make your own custom door fronts, you’ll want to consider the exposure to light and water. Each wood species has unique characteristics that may cause the wood to warp in certain conditions.
As mentioned, IKEA cabinets are generally made from high-density particle board that is then treated with melamine to help prevent exposure to water, thus decreasing the water absorption into the material.
In the space we were remodeling with the IKEA sektion cabinets, it would not be exposed to water, and thus we chose to use a more affordable alternative. We decided to use a combination of inexpensive wood trim and plywood for the doors. It would not be in a living space where guests would generally go, so it was a great way for us to save money while also being able to still create a space that allowed for a ton of storage that still looked great.
IKEA Cabinet Hardware Considerations
If you are using the IKEA cabinet frames, the hardware locations are already pre-drilled for you. After making your doors, you’ll need to measure the location of the hardware and line them up to your custom made doors and use a jig to cut out the holes. We used hinges with a damper, and after having these for two years now, they are absolutely amazing quality. They are also VERY quiet and allows the doors to slowly shut without making any loud sounds.


DIY Shaker Beaded Panel Door Faux Alternative
For the doors we decided to make, we used pine wood which was inexpensive and used a tongue/groove to create clean lines with a beaded panel. We went to our local home improvement store to pick up this pre-beaded and primed wainscot panel for under $10 a piece. We could get about 3 doors out of each of these, which made this project super affordable.
About Our DIY Faux Shaker Beaded Door Panel Project for Ikea Sektion Cabinets
In this tutorial, I’m going to provide a high level of what we did to accomplish this look. Each person’s door might be a little different, so I wanted to make sure we didn’t provide too detailed of specifics as it might be different for each person based on their router bit and what panels they choose to use.
When deciding what wood to use for our project, since this would not be in the kitchen, we chose pine over poplar because it was the least expensive option. Had this been a space downstairs in our living area, we would have chosen a better wood species in order to protect from any water damage.
This was to make the least expensive door possible for use with our purchase of the IKEA Sektion cabinet frames, and I think we accomplished that.
Here are a few of the materials to the exact product links I used:
- IKEA base cabinet frames
- 2 1/2 by 3/4 pine wood for trim
- 3/16 in x 24 in x 32 in MDF wall wainscoting panel
- Wood glue (the exact one I use is here)
Also, in our project, we used a flat paint. If I had to do it all over again, I would highly recommend semi-gloss paint. The flat paint has remnants of kids fingerprints on it that won’t come off.
We also didn’t want to wait, so we didn’t fully paint the inside doors because no one would ever see it! We shortcut this project to save time.
Here’s a view of the first cabinet with three shelves. Notice how the panel door is not completely painted. We just didn’t paint it because we wanted to save time!

Here’s another view with two shelves:


We wanted handless cabinets, so we added a groove near the bottom of each door:

In this photo, you can tell how far apart they were:

Here’s what the bottom of the cabinets look like:
This is the corner cabinet:

This corner cabinet is a little awkward. You can store a lot of things inside of it, but it has to fit through the opening:


This is the biggest built-in that we have in the space. I love how the drawers are set up because I can pull it out without having to reach in and grab anything:

How to Make DIY Cabinet Doors for Ikea Cabinetry Box Frames
DIY Custom Door Fronts for Ikea Wall Cabinet Frames (Sektion)

This is a tutorial for DIY Shaker Beaded Panel Door to give you a classic, clean look for any space.
Materials
- 2 1/2 by 3/4 wood trim
- wood panel
- wood glue
- Paint primer
- Semi-Gloss Paint
Instructions
Measure Cabinet Doors
- You'll want to measure the cabinet frames and account for the number of doors needed for the cabinet.
- With shaker doors, there are two perpendicular trim positions. Determine which one will cover the length of the door. The standard form for this is top to bottom.
- Cut the trim to the width of those measurements.

Cut the Beaded Panel Board
- Measure out the trim that will be used and subtract it from the door size to get the beaded board measurement.
- Determine what tongue and groove bit will be used. Account for this measurement, and add in this measurement into the beaded board size.
- Cut the beaded board panel with a table saw or skill saw. Use a straight edge with clamps to ensure straight lights.

Create Tongue and Groove On Trim Wood
- Using the router and tongue and groove bit, route one side of the trim that was just cut.

- Next, cut the other side where it connects the trim together.
- Ensure a good fit by taking the cut beaded board panel and inserting it into the groove.

Cut out finger groove handle
- Determine where you want toe finger groove handles for handless door.
- Using the router, route a groove into the door panel (generally near the middle of where both door openings are).

Glue Trim and Panel Together
- Using the wood glue, glue the panels together.

- Use clamps to clamp the wood overnight.
Adding Holes for Cabinet DIY Hardware from IKEA
- The IKEA cabinet frames should already have areas where the hardware will go. Add the hardware onto these frames.

- Take the door and determine where the handles will attach. Mark it.
- Use a jig to create the needed fixture attachment onto the board.
Prime and Paint DIY Shaker Beaded Cabinet Doors
- Prime both sides of the door. Allow to dry.

- Paint with semi-gloss paint with two coats. Allow the door to dry and cure for two days for both sides.

Add in Hardware and Attach Door
- Add the Ikea hardware onto the door.

- Attach the door to the Ikea door frame.
Alternative Methods for Getting Inexpensive Fronts for Cabinets
If this tutorial has too many steps or raises barriers for you to starting, what you could do is purchase the most inexpensive plain white door with no trim, and then repainting them to suit your needs. In addition, you can also purchase prefabricated doors which will be about half the price of IKEA’s.
Frequently Asked Questions About Custom Door Fronts
Can you use your own custom hardware with Ikea cabinets?
You can use your own hardware as long as it supports having adjustable screws that support where the pre-drilled holes for the Ikea cabinet frames.
What type of wood should be used to make your own cabinet doors?
Wood that has been pre-treated or is resistant to water should be considered when making doors for kitchens or areas that will be prone to water. For areas like home office and craft spaces, any type of wood could be considered for built-in cabinetry.
Should you paint the inside of the Ikea cabinetry frames?
If your cabinet doors will be different than the cabinet itself, to keep a seamless look, you can paint the outside of the frame while leaving the inside white.
White is preferable because it is brighter and allows light reflected inside the cabinet so you can see what is stored inside.
Summary of Making Your Own Custom DIY Custom Door Fronts for Cabinets
I hope this helps guide you on making your own custom DIY custom door fronts. I know that it seems like a daunting project, but it really is simple if you know how to use a router and a miter saw.
It’s also satisfying to know that you’ve saved more money (even though IKEA is already affordable).
More IKEA Home Decor Inspiration
- IKEA Sektion Door Hack
- IKEA Linnmon Table DIY for Cable Management
- IKEA Kallax in Kids Playroom
- IKEA Alex Desk Riser (Raise Height)
- Craftroom Ideas with IKEA Furniture
- DIY Shelving with 2×4
- IKEA Desk Cable Management
- Add Legs to IKEA Furniture
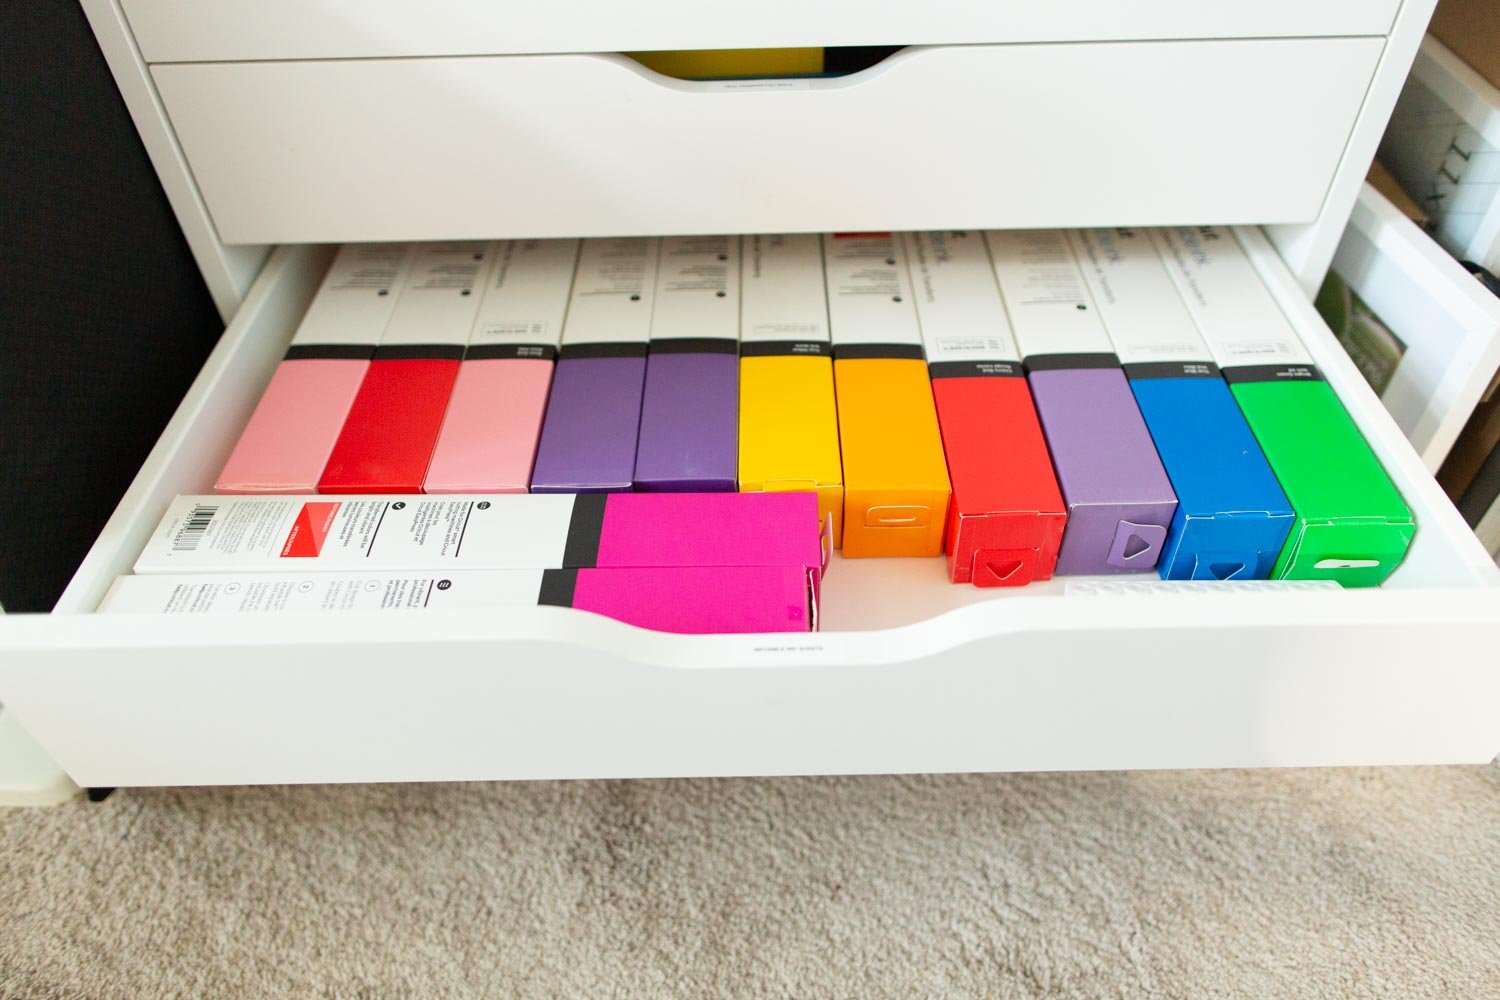
- Best Vinyl Sheet and Infusible Ink Organization Tips
- IKEA Grand Opening Reveal
- Choosing Between Ikea Ektorp vs Pottery Barn Comfort
- How to Drill Hole in Ikea Linnmon Craft Table
- Add Legs to IKEA Furniture
- Vinyl Sheet Storage for Cost Savings
- DIY Cabinet Doors with IKEA Storage Base