Content may contain affiliate links. When you shop the links, we receive a small commission at no cost to you. Thanks for supporting my small business.
Using your Cricut Foil Transfer Kit, learn how to make a shiny accent to your crafts, such as greeting cards and earrings. This post is about Cricut Foil and how you can use it with various Cricut machines like Cricut Joy, Cricut Explore Air 2, and Cricut Maker.
The Cricut Foil Transfer System is a new innovative way to light up your craft projects such as decals, labels, personalized home decor items, greetings cards, papercrafts, and even earrings.
The system is pressure controlled, eradicating the traditional heat-controlled machines, making it safer than any other foil application approach. The system is fused with the Cricut Design Space, which facilitates a more user-friendly experience.

If you want to add a metallic shimmer to your projects quickly and safely, using your Cricut Joy Foil Transfer Tool is the best way to apply metallic details to your crafts. Today, I am sharing how you can use the Cricut Foil Transfer Kit and the best tips on using it to make some amazing projects with your Cricut machine.
All About Cricut Foil Transfer Kit
Foiling is adding a shimmering shine of metal to your projects. With the use of the Cricut Foil Transfer Kit, you can now add “foil” or a metallic shimmer on transferring your design to your base material.
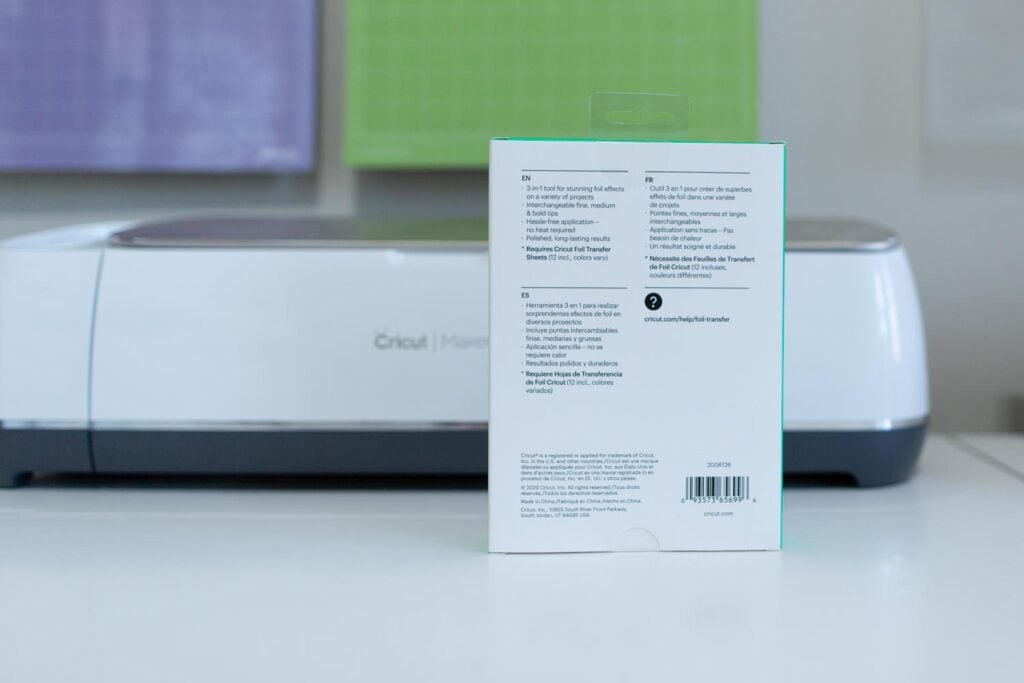
The Foil Transfer Kit includes transfer tool housing, interchangeable tips, foiling sheets, and tape. All Cricut Explore and Cricut Maker models are compatible with the Cricut Foil Transfer Kit, and they include three interchangeable tips for fine, bold, and medium details.
While there is also a transfer kit made for Cricut Joy, which includes the same materials you will find for the transfer kit for Cricut Explore or Cricut Maker Series. The only differences for the foil transfer kit for Cricut Joy include one Medium-weight tip and a joy-sized foil transfer tool housing.
Foil is available for all Cricut machine sizes. If you own the Cricut Silhouette Cameo line, you can also use it with the help of a few tools.

Cricut Foil Material
When you purchase a Cricut Transfer Foil Kit, the foil material already comes in the kit, whether you get the ones specifically for Cricut Joy or the Cricut Explore Series or Cricut Maker. But if you get the larger size, it is best compatible with the Cricut Explore series or Cricut Maker.

Cricut Joy with Foil Material
You can use many base materials for your Cricut Joy Foil Transfer Tool, such as cardstock, paper, and vinyl. The kit itself includes foil sheets; however, you have to use your Cricut Card Mat when using the foil sheets, and you cannot use the “no mat” option for your machine.
Cricut Joy has a special blade that you can use for your foil transfer project. As mentioned, the Cricut joy foil transfer kit only includes a medium-weight tip compatible with the joy-sized foil transfer tool housing.
Cricut Maker or Explore Air 2 with Foil Material
The transfer kit compatible with Cricut Maker or Explore Air 2 also includes a foil material and interchangeable fine, medium & bold tips compatible with its foil transfer tool housing. If you decide to use the fine tip in the Foil Transfer Tool Housing, your foil will put a fine line on the material. The same goes if you choose to use the bold or medium tip; then you will get a bold or medium line on your base material selected.
Using Design Space with Foil Settings
Once you are ready to use your Cricut Transfer Kit, and have chosen which tip you want to use for your transfer tool housing, you can now enter the design space of your Cricut App. If you’re going to make a gift tag, so you choose the gift tag option on the app and search for the designs you want to go for your base material.

After choosing the design, you can now select your desired line type (bold, fine, or medium if you are using the Cricut Maker or Explore Air 2, otherwise if you are only using Cricut Joy, only the medium line is available) and press makes it. After the foiling is done, it’s time to use the “foil cut” option to cut the cardstock. After foiling, remove the used foil, load the fine-point blade in the clamp, and press “go” in the design space to start the process.
I do not recommend using faux leather for Cricut Joy since the machine does not have enough pressure to press the foil down into the faux leather. If you want to use faux leather in your projects, you can use the Cricut Maker series instead.
Troubleshooting Cricut Foil Transfer Tips

First, you have to make sure that you have used the appropriate materials, tips, and the right directions in using your Cricut Machine and Cricut Foil Transfer Kit. Here are some critical notes to avoid mistakes on doing a Cricut Foil Transfer:
- You have to tape down the foil material over the mat very firmly. Otherwise, it will not handle the pressure, and it will come out. If that happens, open the clamp, load the foil transfer tool first, load the mat, and automatically feed in.
- Ensure that you have placed the base material into the correct mat of your craft.
- Check the tape if it does not cover any portion of the design area. Otherwise, the foil will slip or get torn while doing the transfer process.
- Only use the materials that have been qualified for your Cricut Machine. Using a faux leather base material for your Cricut Joy will not work, as the Cricut Joy series does not have enough pressure to press the foil down the material.
- If you wonder why your foil lines do not end up clean, make every effort to ensure that the Foil Sheet is precisely flat against your chosen base material. Increase the “Default” pressure for the Foil Tool setting as well.
Frequently Asked Questions
Cricut Joys have their own unique transfer kits from Cricut. However, unlike the Cricut Maker or Explore Series, the Cricut Joy has limitations in foil transfer projects. The machine itself does not have enough pressure to foil down into other base materials such as faux leather. Also, you can reuse the foil as long as there is still material from the previous project. If you put the used sheet to the light, you will find that the foil has completely transferred. You can trim off the unused part for future use.
Cricut foil transfer is a permanent marking. Adding metallic shine to your crafts will give you a long-lasting and permanent, premium finish when you use the Cricut transfer tool. The Cricut Foil Transfer system provides adequate pressure and lasting precision to give your project a premium finish with a long-lasting impression.
Cricut Adhesive Foil is a removable metallic foil generally used in temporary stickers, decals, labels, signs, etc. While there are different types of vinyl, Cricut smart vinyl can be used without a mat and is compatible with Cricut maker 3, Cricut joy, Cricut Explorer 3, generally used for making decals, signs, home decor. Other vinyl such as acetate (clear plastic), easy weed vinyl are typically used for permanent, long-lasting impact on 3D boxes, frames, and others.
Summary About Using Foil with Cutting Machines
Nowadays, creating your stickers, cards, and decals at your home is becoming very trendy. Thus a portable pressure-controlled electric cutting machine such as a Cricut Machine was bound to impact significantly.
Cricut cutting machines will allow you to make your favorite art just anywhere you want and are also travel-friendly. With the help of its integrated Cricut design space, this machine will let you create your favorite DIY projects as it will automatically receive commands to work out your favorite designs in the next few minutes.
And now, with the use of the Cricut Foil Transfer Tool Kit, you can achieve shimmering possibilities with your paper cards, gift tags, invitations, and a lot more. You only have to make sure that you follow the right directions and use the appropriate materials to add a shiny detail to your crafts.
If you are looking into using your Cricut Machine and use your Cricut Foil Transfer Tool Kit for your foiling projects and crafts, I hope this blog helps you in successfully making one today!

More Cricut Tools and Accessory Inspiration
- What is a Cricut Machine
- Cricut versus Silhouette
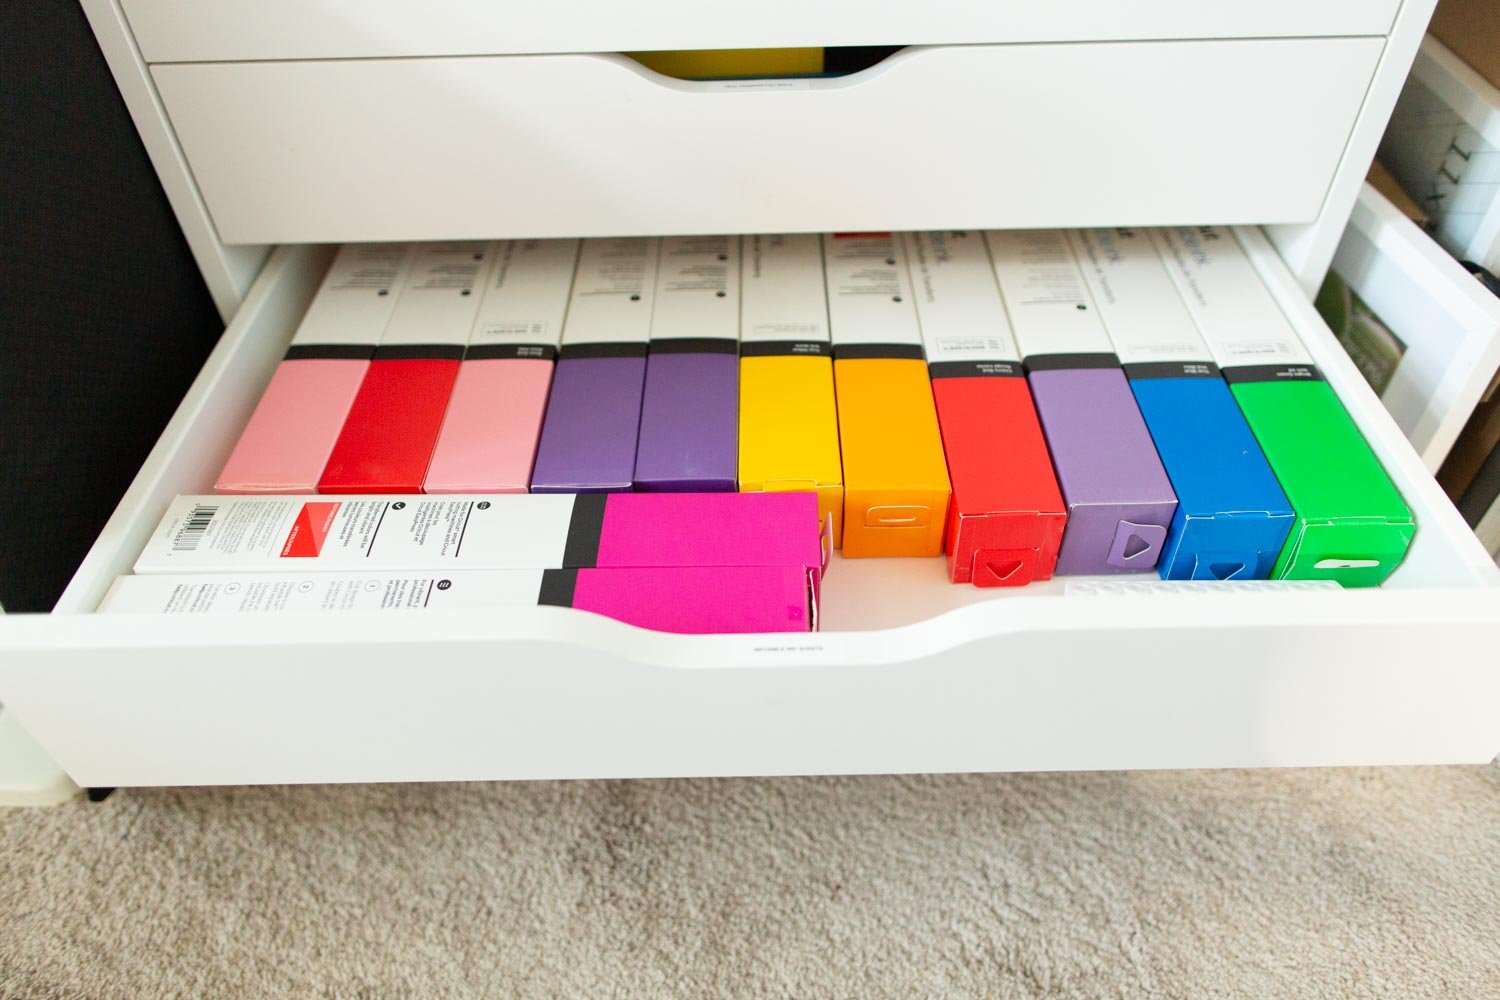
- Infusible Ink Overview with Cricut
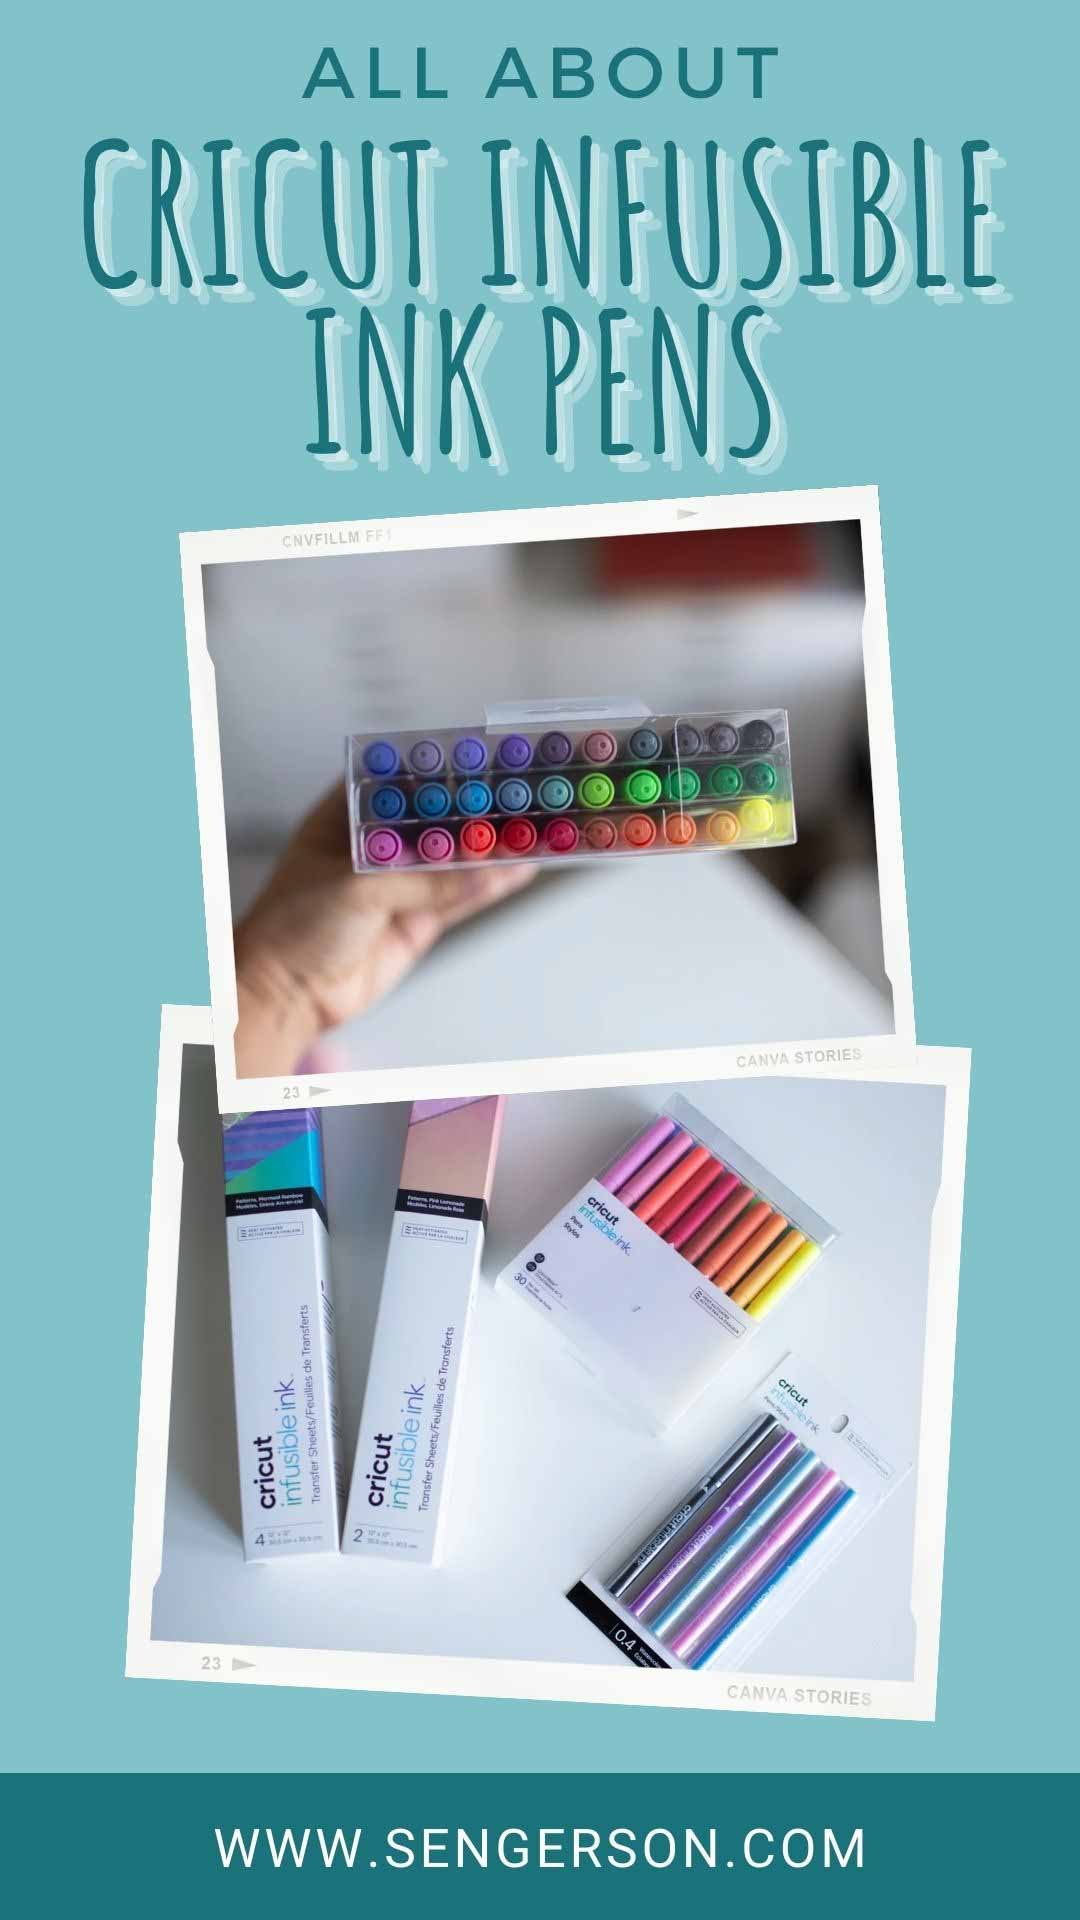
- Use Cricut Infusible Ink Pens
- Cricut vs Silhouette Honest Review
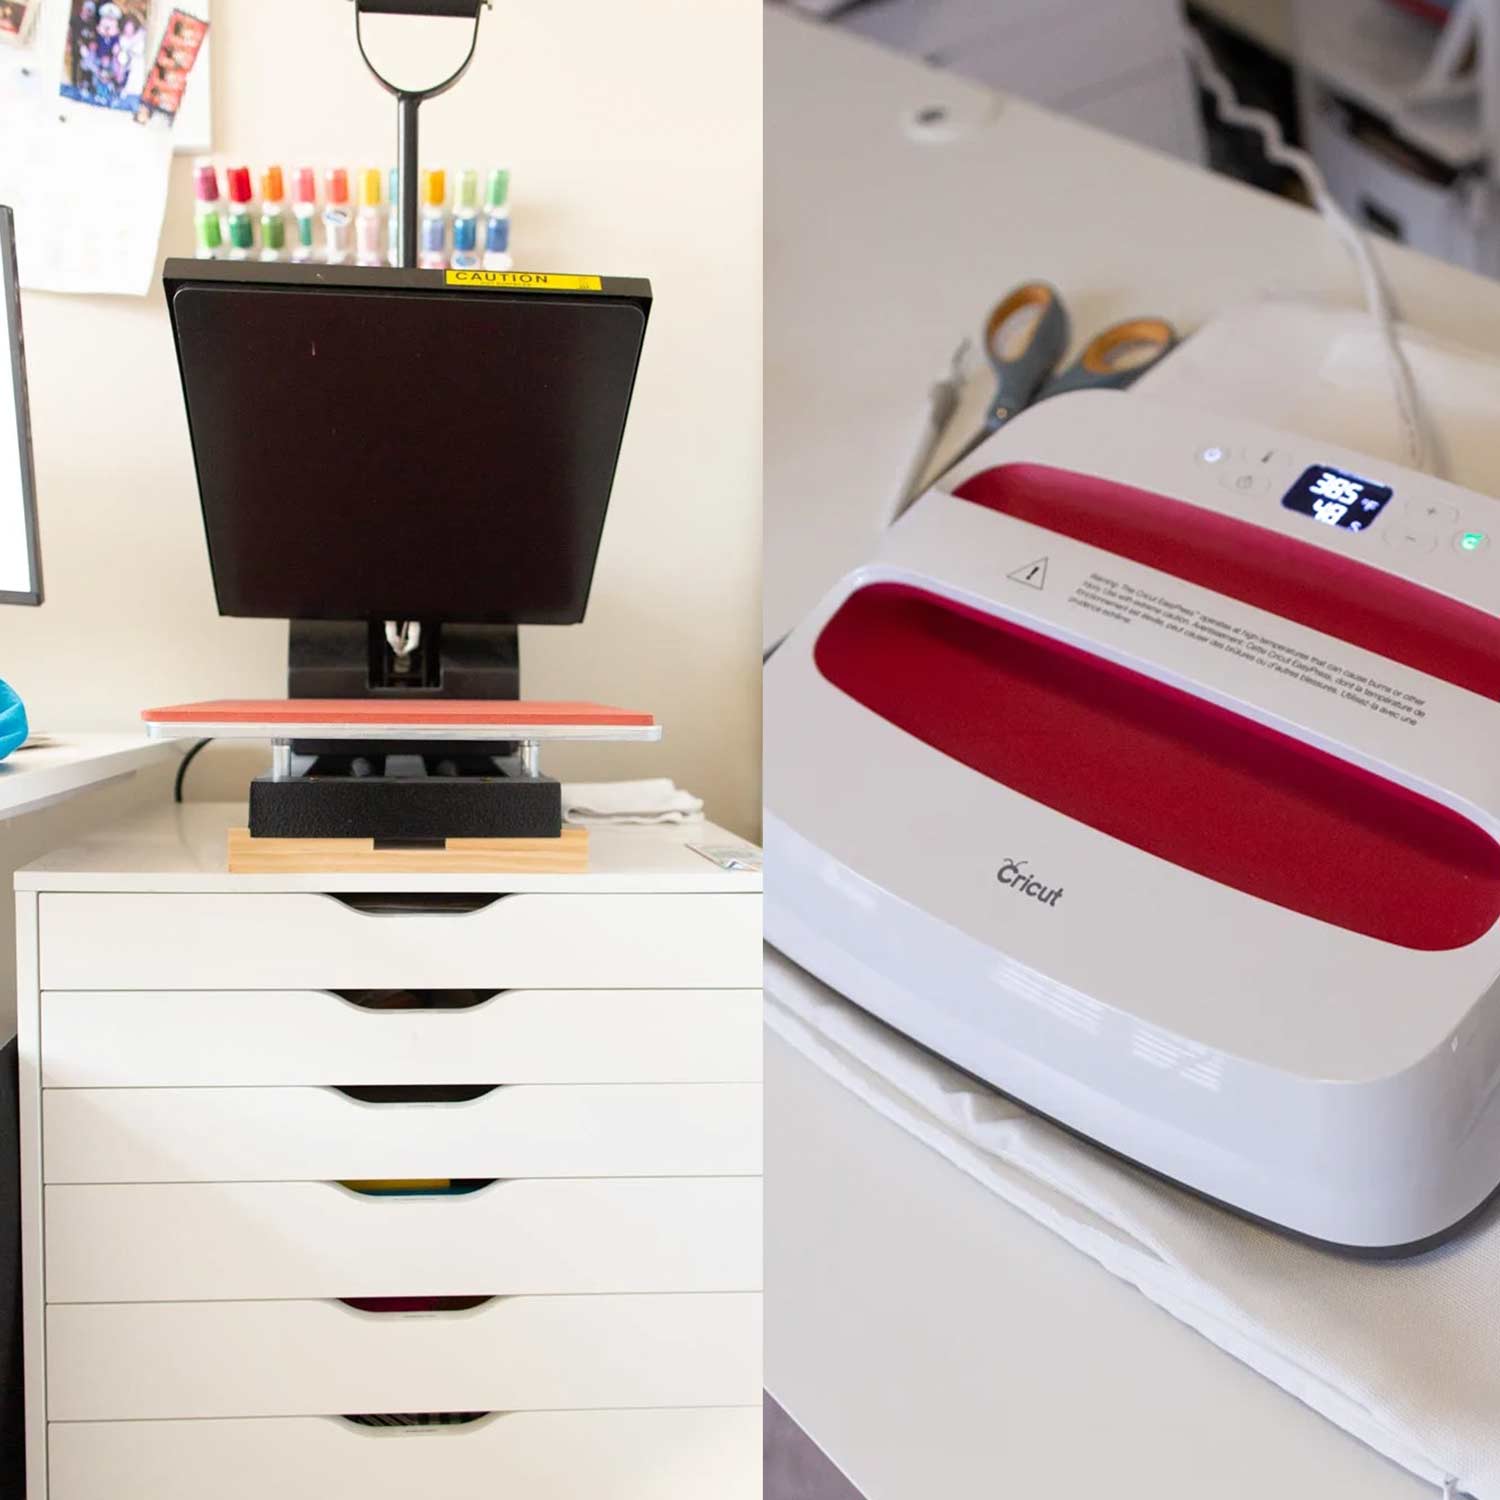
- Heat Press vs Cricut EasyPress Comparison Guide
- Cricut Foil Transfer Kit
- Top Cricut Infusible Ink Blanks
- Definitive Guide to Ultra Portable Cutting Machine
- Cricut Joy Accessories and Starter Kits