Content may contain affiliate links. When you shop the links, we receive a small commission at no cost to you. Thanks for supporting my small business.
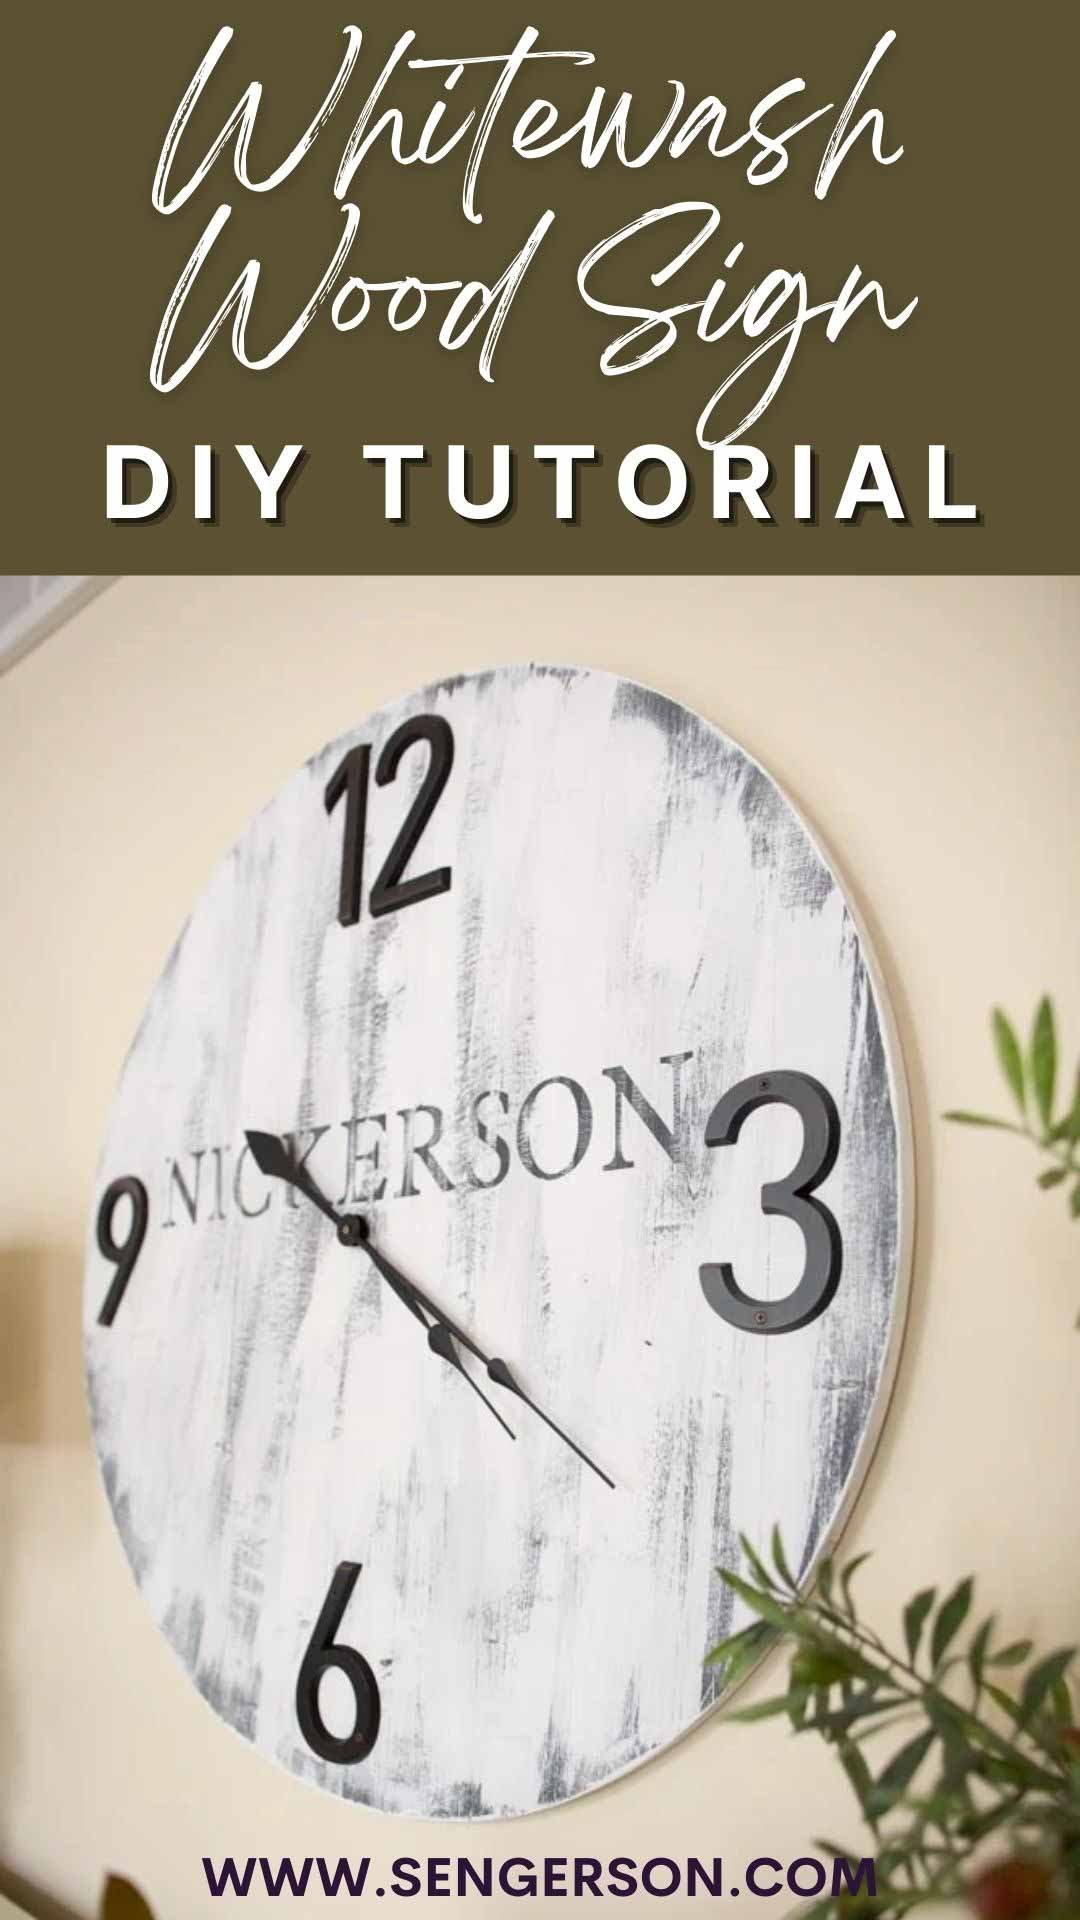
Learn how to make a distressed, weathered whitewash wood sign for your home decor and stenciling with chalk paint and a Cricut machine.
I love turning new and old pallet wood into something I can decorate with inside my home. One project that I’ve absolutely grown fond of is our rustic DIY Clock that sits right above our buffet (which now stores all of our kids electronics).
While I love the clock, I wanted to give it a more rustic vibe and redo the family name section of the clock. I wanted to show you guys how I achieved a more distressed, weathered look for this clock with my Cricut Explore Air 2.

The technique I’m going to show you is great for making all kinds of rustic signs, refinishing furniture, home decor, and just about anything you can imagine. If you want to turn scrap pallet wood into something awesome, this wood distressing tutorial will inspire you to become creative. I created this wooden growth chart for my son’s bedroom that also has a weathered look to it as well.

List of Ways to White Wash and Distress Pallet Wood

There are multiple ways to achieve that distressed weathered look that will give your decor that rustic vibe. Here are some of the most common ways to distress pallet wood to create home decor signs:
- Sanding down the top coat after painting
- Dry brushing the aging onto the piece
- Running a stain or glaze on top of the piece
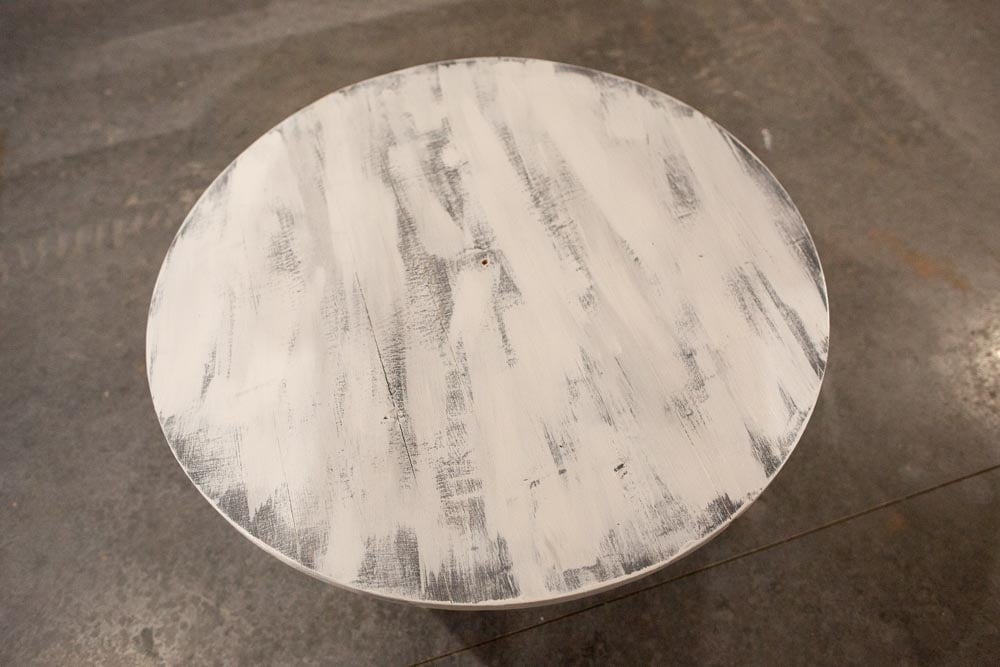
The tutorial I’m going to show you is all about dry brushing the aging onto the piece with three total layers of paint.

Tips Before Stenciling with White Wash Pallet Wood
After distressing wood signs, most decorators will add phrases or designs onto the wood piece to personalize it. Some people freehand it (like I did here for this rustic piece for my little boy’s nursery) and others do it the easier way using the latest innovation in consumer technology using craft cutting machines.

I would recommend using modern technology like the Cricut machine.

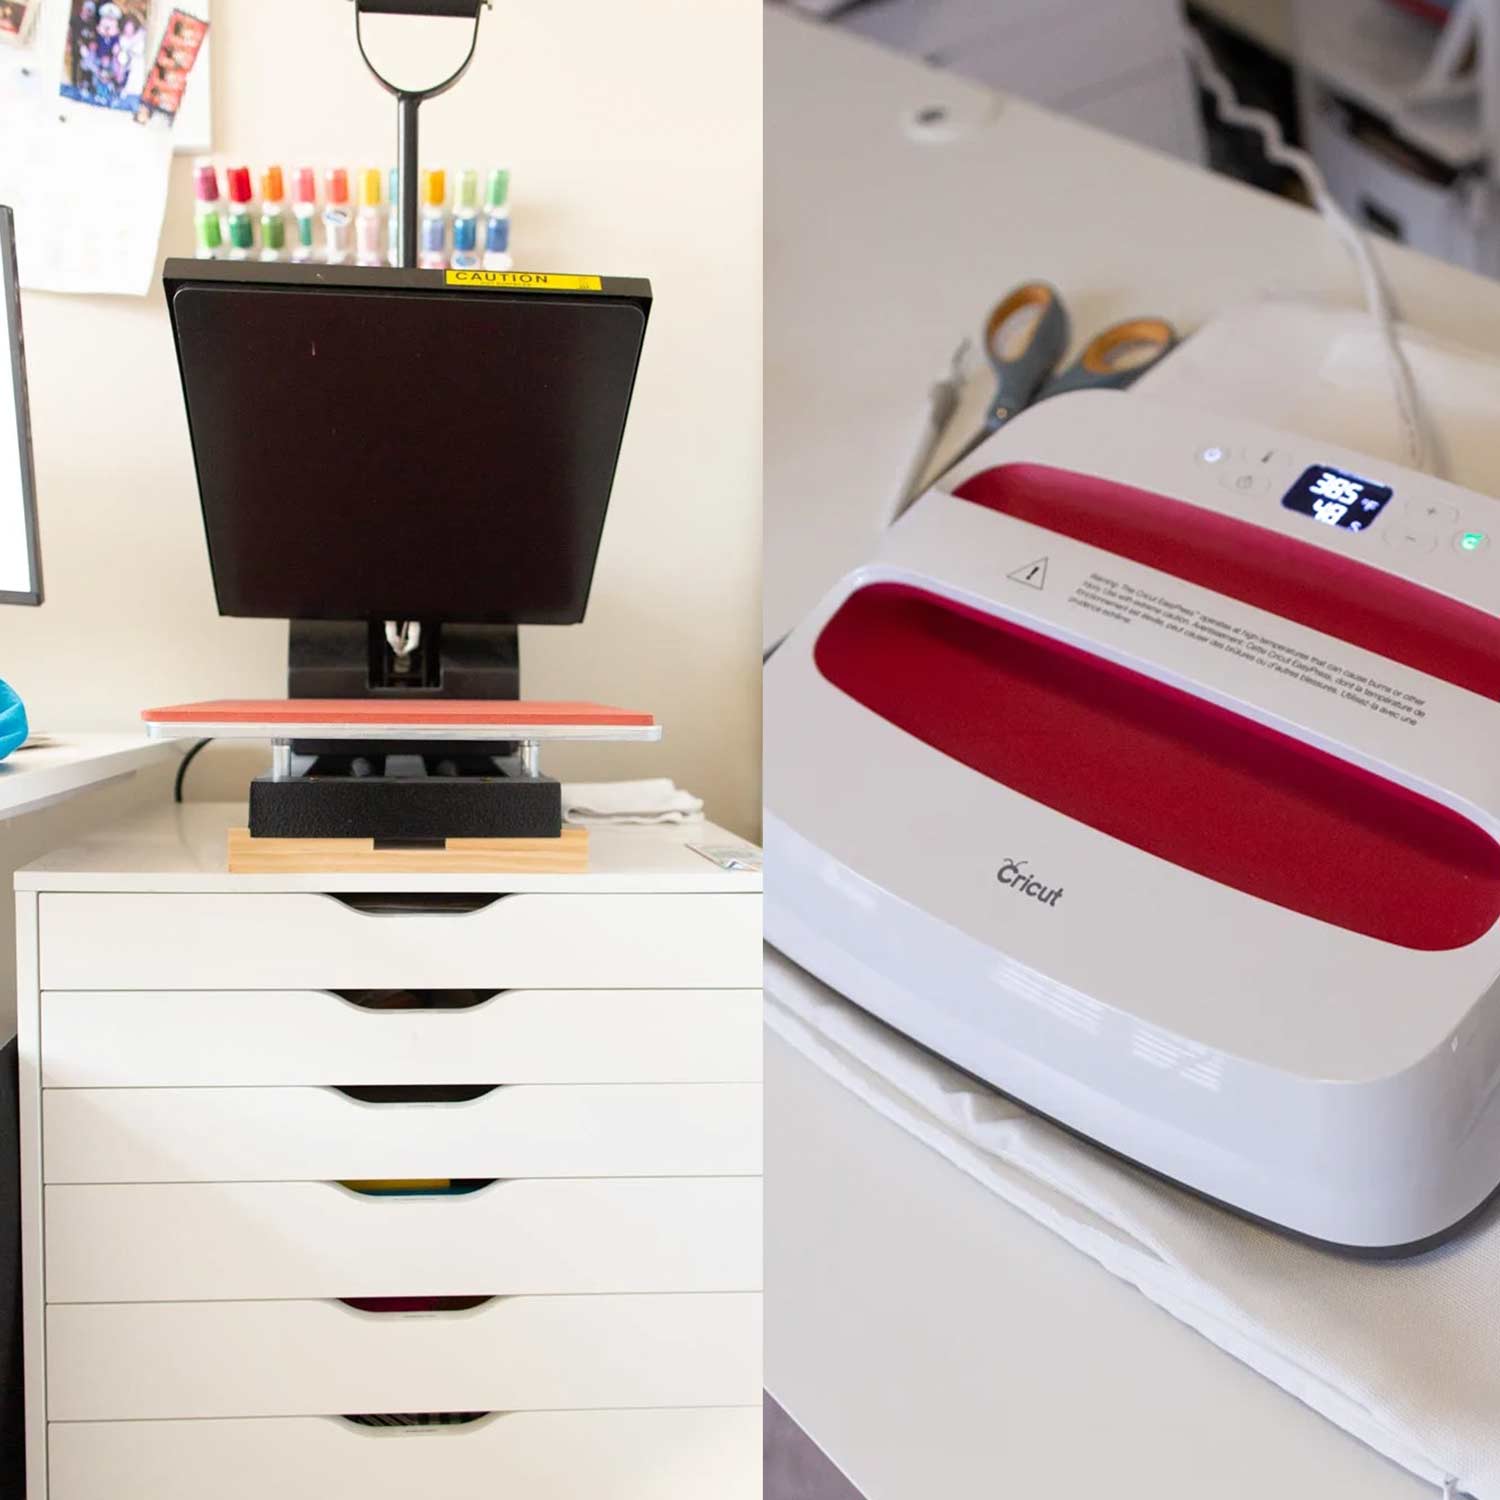
Using Cricut Machine for Stencils
Creating stencils for your pallet wood is pretty easy using a Cricut machine. All you need is a Cricut machine to cut the stencil and stencil vinyl. Use this stencil vinyl if it’s a one-time stencil, use this material if you plan on using this stencil across multiple projects.
With the Cricut machine, all you need to do is open up Design Space, create your design, and follow the software as it walks you through how to cut your stencil. It really is that easy!


Painting Distressed, Weathered Wood without Bleeding
The most frustrating part of about painting with stencils is the potential for paint to bleed. My biggest tip is that the layer below your stencil color should be used as a base on TOP of the stencil prior to painting it with the color you want to stencil in. This will allow your paint color on top to cure the top, which will then allow your stencil color to stay within the stenciled area.
I know that sounds confusing, but just follow the instructions to make sure that you create the cured section of the paint.
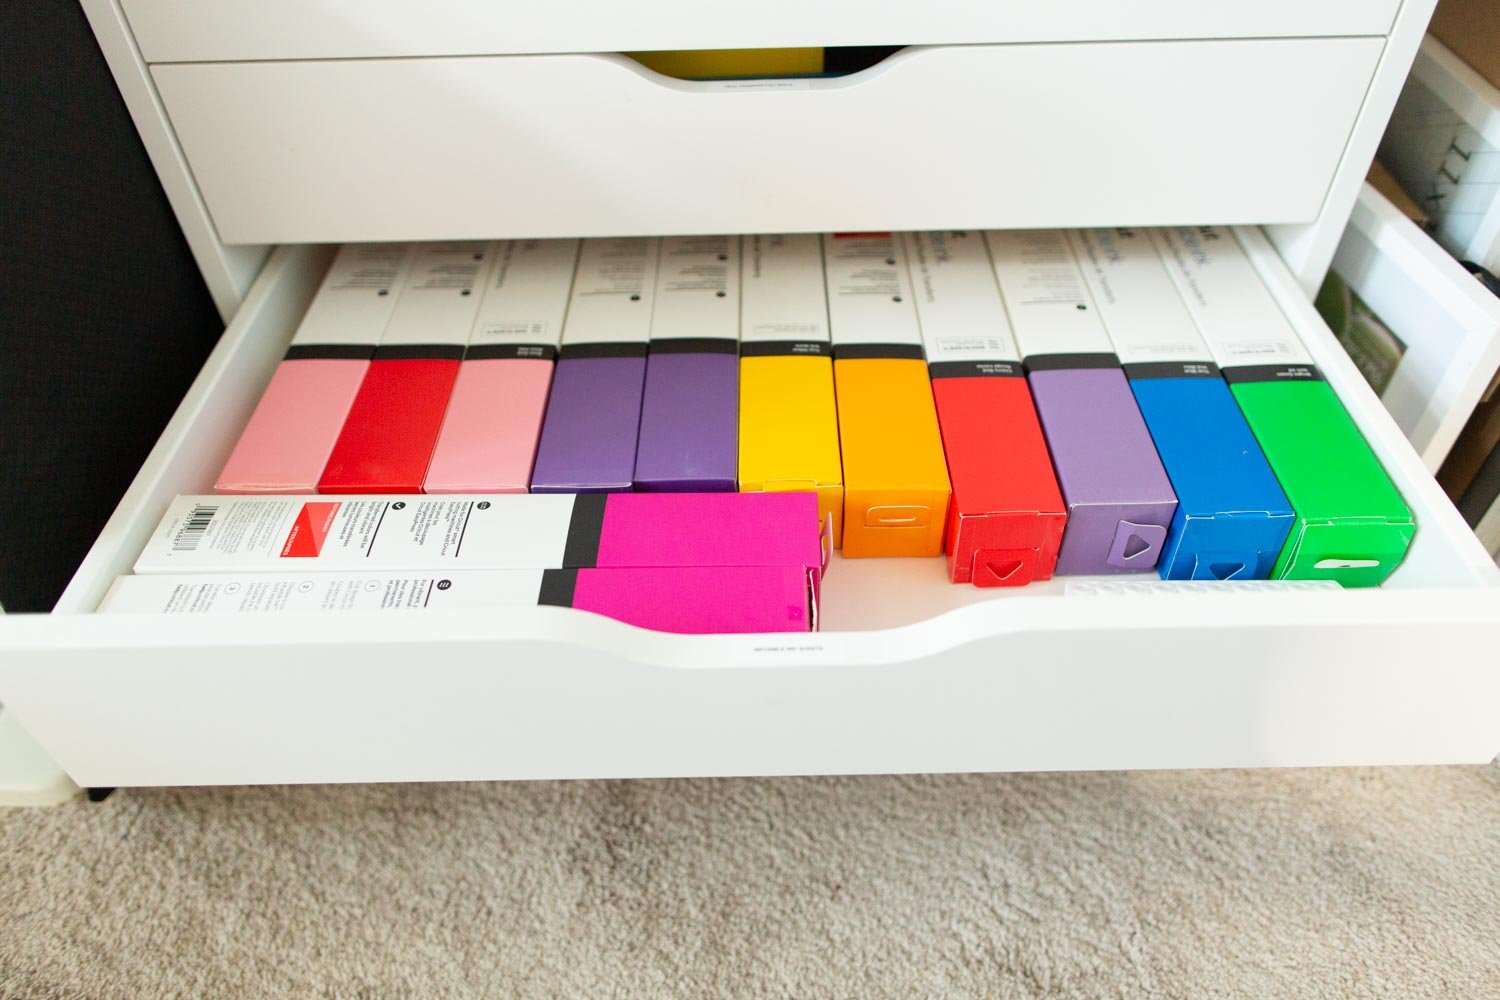
Tips on Supplies for White Washing

Chalk Paint
This is the white and gray paint that I used for this piece. However, if you have latex paint at home and want to create your own, here’s a tutorial on my favorite chalk paint recipe that I made with Benjamin Moore White Dove Paint.
Sealing Weathered, Distressed Paint
This product is my ABSOLUTE favorite for sealing anything that is painted a light color, especially white. The reason is because any other coating has turned my beautiful work into a yellow tinge. Trust me when I say this product works.
Sponge Brush vs Regular Brush
Chalk paint can be applied using a foam brush or regular paint brush. Foam brushes are better if you like the smooth finish. Regular paint brushes with bristles provide a texture and highlights brush strokes as part of the rustic, farmhouse style aesthetic.
DIY Whitewash Pallet Wood for Home Decor

Learn how to create a weathered, distressed rustic look using paint and pallet wood.
Materials
- Gray Chalk Paint
- White Chalk Paint
- Pallet Wood
- Cricut Stencil
- Transfer Tape
- Poly Sealer
Tools
- Medium Foam Brush
- Medium Bristle Brush
- Cricut Machine (Explore Air 2 or Maker)
Instructions
- Using a foam brush, paint a layer of gray paint. Allow it to dry for 30 minutes or until dry to the touch.

- Using the bristle brush, slowly create brush strokes with the white paint. Sparingly paint it so that they gray still shows and peaks through.
- While paint dries, use the Cricut machine and Design Space to Design and cut the stencil.

- Using transfer paper, adhere the stencil onto the wood. Use the white paint over the stencil lettering. Allow to dry.

- Use white paint first to create bleed lines. Let dry. Then add layer of gray paint for white paint. Allow to dry.

- Peel off the stencil carefully.
- Use a bristle brush to brush over the letters for a more distressed look. Seal with poly if desired.

Notes
You can use any paint you want, chalk or acrylic. Some like chalk paint because of the texture.
Recommended Products
As an Amazon Associate and member of other affiliate programs, I earn from qualifying purchases.
-
 Cricut Explore Air 2, Mint
 -
 Cricut 2002685 Stencil Vinyl, 12" x 48"
 -
 FolkArt Home Decor Chalk Furniture & Craft Paint in Assorted Colors, 8 ounce, Sheepskin
 -
 FolkArt 34932 Home Decor Chalk Furniture & Craft Paint in Assorted Colors, 8 ounce, Maui Sand
 -
 Minwax 13333000 Polycrylic Water-Based Protective Clear Finish, 1 gallon, Satin
Summary About Painting Distressed, Weathered Wood Pallet

I hope this tutorial helped you learn how to white wash your wood project. I think this technique is affordable, fast, and easy for creating a worn wood effect by just using a handful of craft paints, bristle brushes, and a quick Cricut stencil.
Other DIY Projects for the Home You Might Like
- DIY Clock with Pallet Wood
- DIY Beadboard Cabinet Door
- DIY Laundry Room Countertop Over Washer and Dryer