Content may contain affiliate links. When you shop the links, we receive a small commission at no cost to you. Thanks for supporting my small business.
Our family is so very blessed that most of our loved ones live in town! I have a total of seven cousins in the metropolitan area and each of them have their own kids. In our family, there is no distinction between a cousins’ child – they are all “nieces and nephews”. So that means I have a total of eight nieces and nephews (even though only ONE of them is my REAL niece). Clear as mud right?
Imagine me explaining that to my own children – especially my very inquisitive four year old! “Why mom? Why is so-and-so our cousin? But so-and-so isn’t your sister?” Gah! Sometimes, my answer is “just because it is.” Is that so wrong?
Since our family has grown exponentially this past year, we decided that it would be best this Christmas if each family drew names so that we would get one AMAZING gift instead of having to purchase eight smaller gifts for everyone. Not only would it save everyone money, but the end result is a more fun, personal gift. My hope for my girls this year was to teach them the virtue of giving and how to be thoughtful in the process.
I’m sure I’m not the only one, but as a parent, I sometimes cringe when others give us more toys as gifts. Things that run in my mind include small pieces that could get lost, finding room for the new toy in their packed playroom, and fights over the new toys with my girls. Don’t get me wrong, we are definitely blessed that we have this so-called problem.
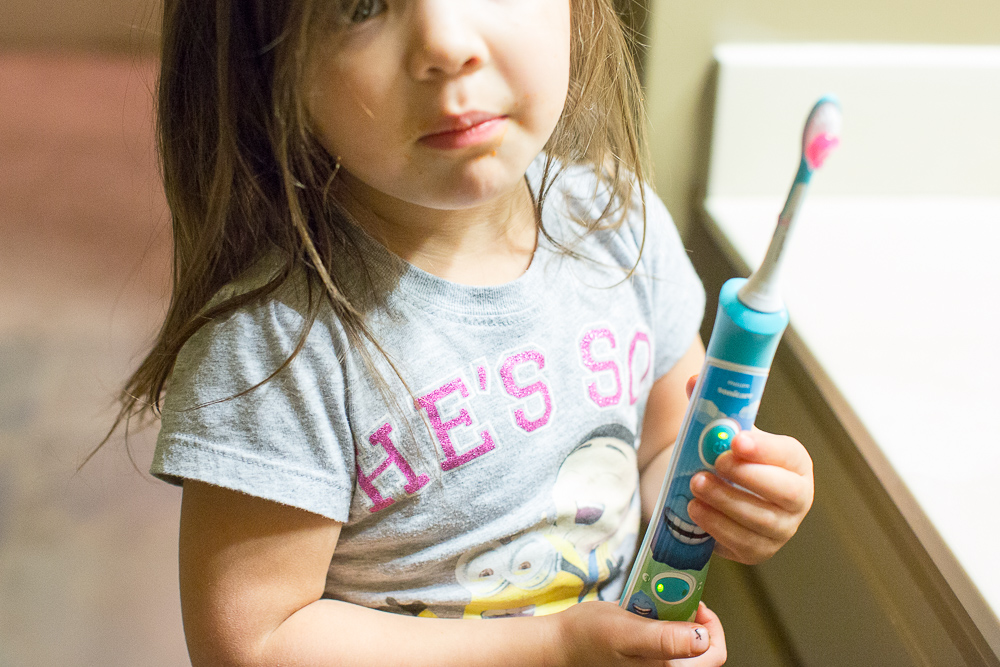
This year, we drew the name of a “nephew” that was around 4 years old. I was excited because I had the chance to gift a fun, but practical present! One of the gifts I had planned is a Philips Sonicare for Kids. After purchasing this two months ago for my girls, I found that they were more excited to brush their teeth!

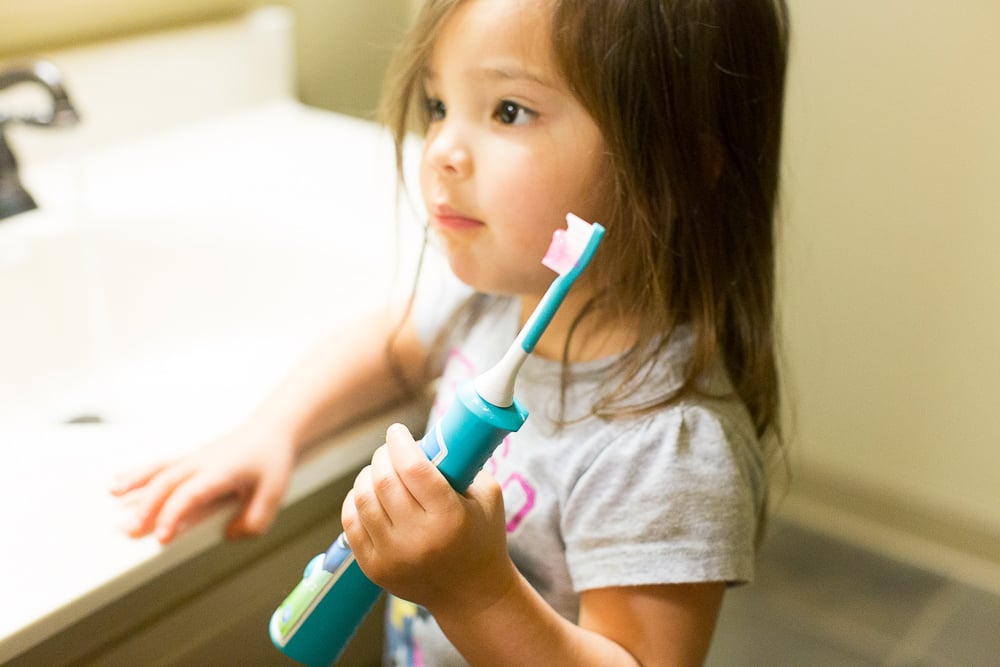
Aubrey refers to it as her “zz-zz toothbrush” because it buzzes while delivering 500 brushstrokes per second!
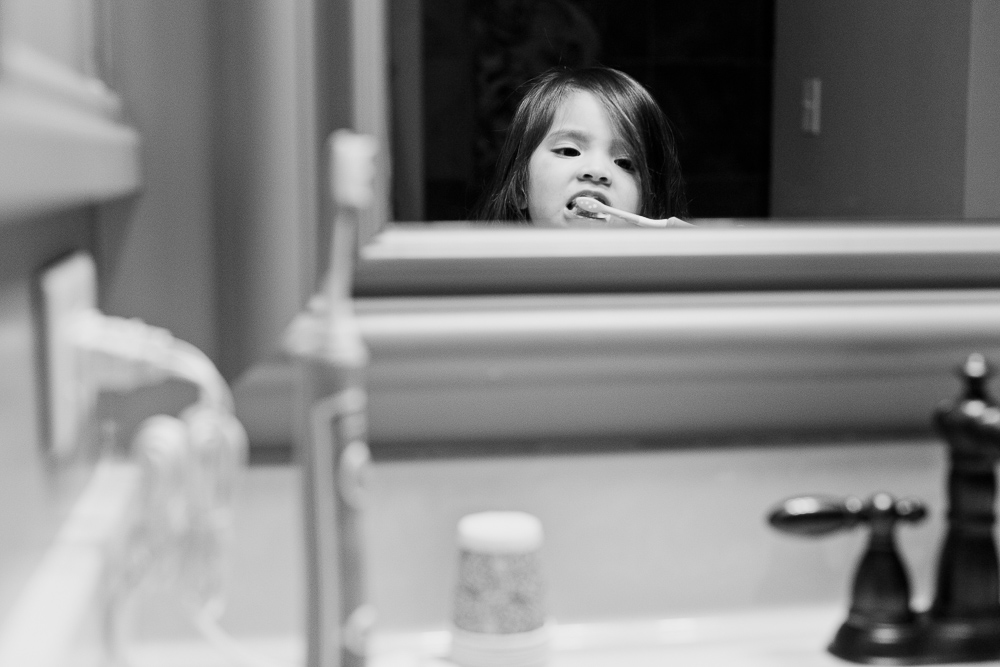
Can you imagine all the yuckies on their teeth its getting rid of? Not only that, Sparkly (the app) helps get kids excited about brushing their teeth using Bluetooth® technology.
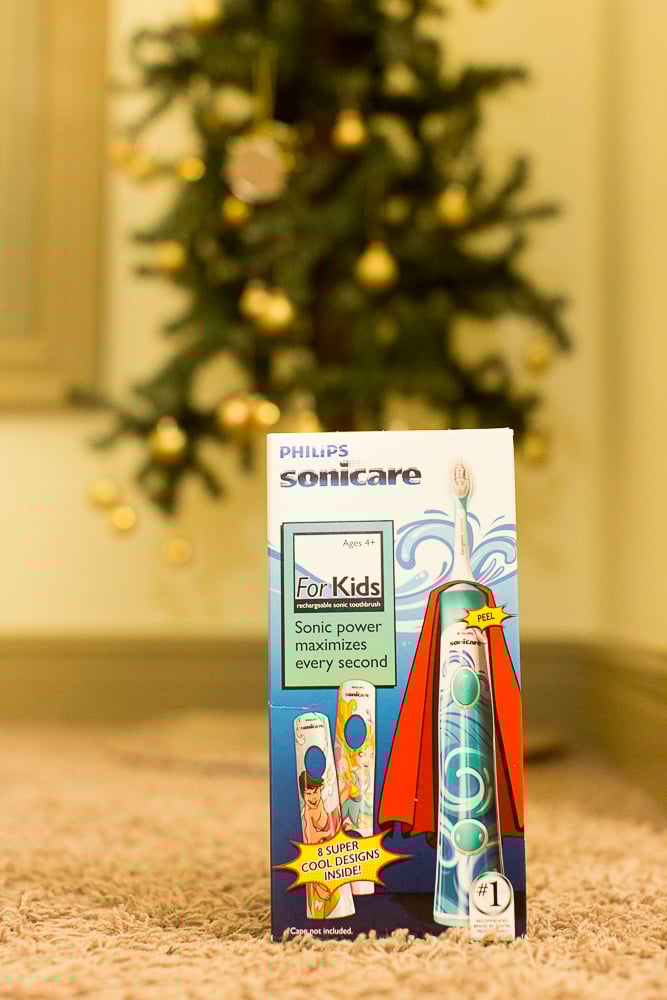
There is also a cover that’s also fun to change out, which makes brushing your teeth less of a chore for kids!
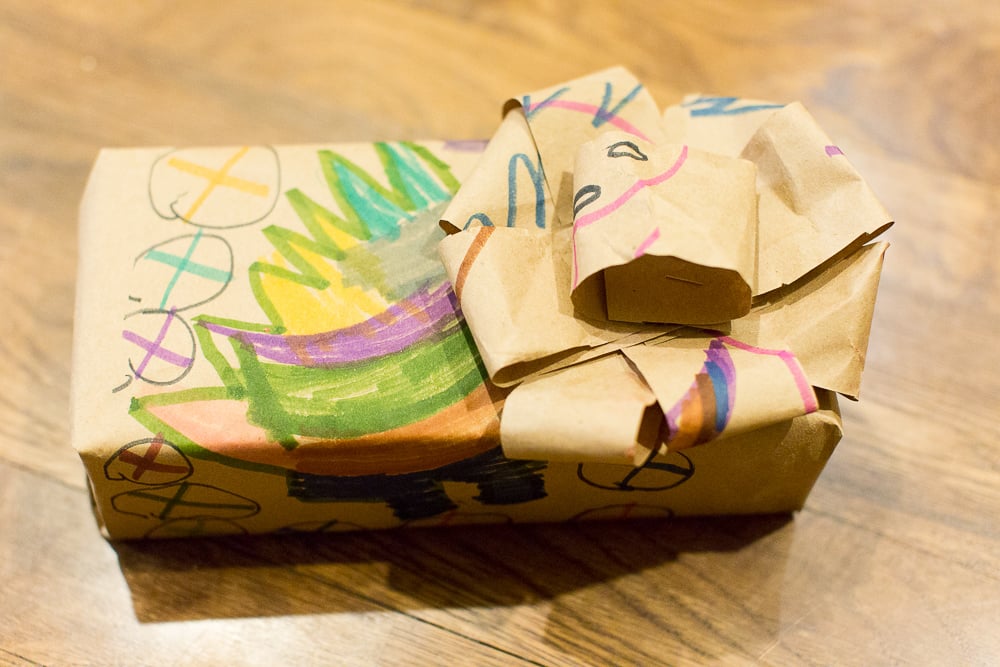
Since it was super easy to locate and purchase, I wanted to teach the girls how to make gifts that are still personal and unique by creating our own gift wrap. While gift bags are easy and convenient, there is something more exciting when you are a kid tearing a package open. Especially when you see that the gift wrap is not like the others!
Plus, why spend money on gift wrap when you can make some with the kids? It is such a fun activity to do with the kids that it just might become a tradition in your home!
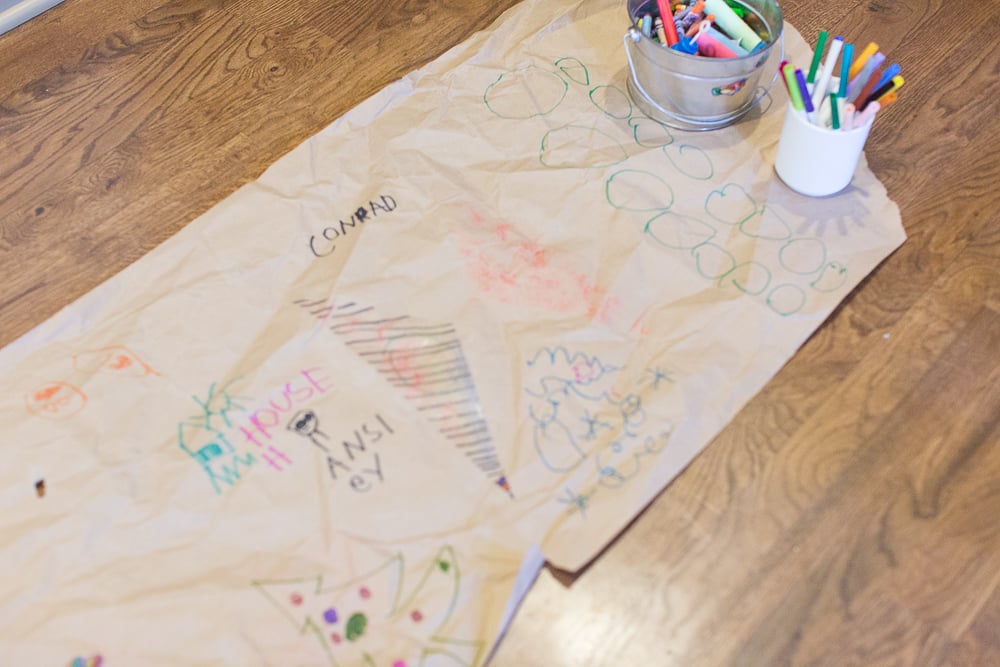
Supplies for Children Made Gift Wrap
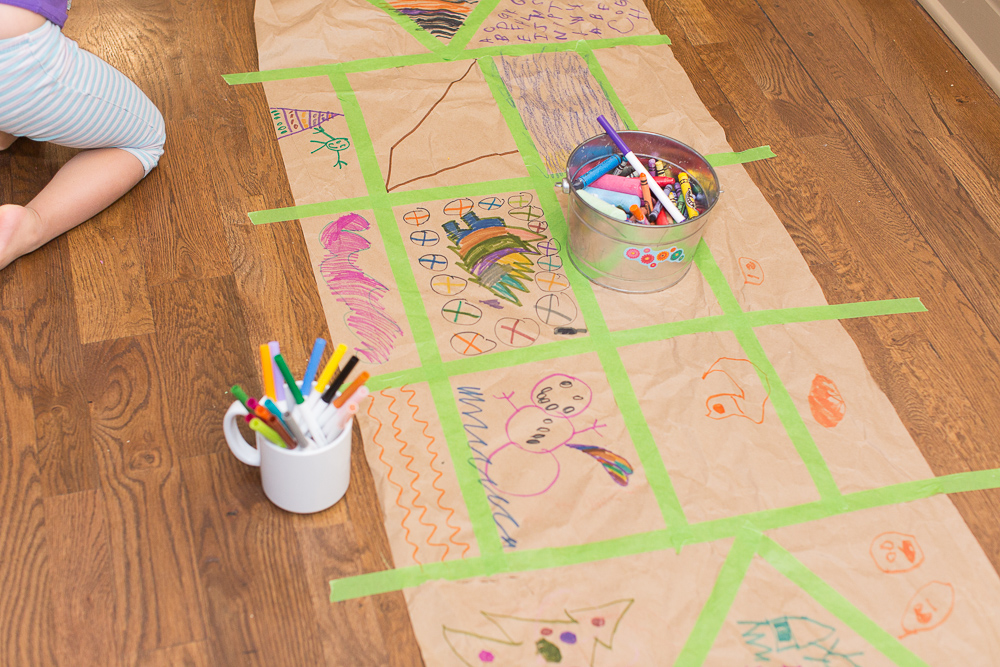
Directions for Children Made Gift Wrap
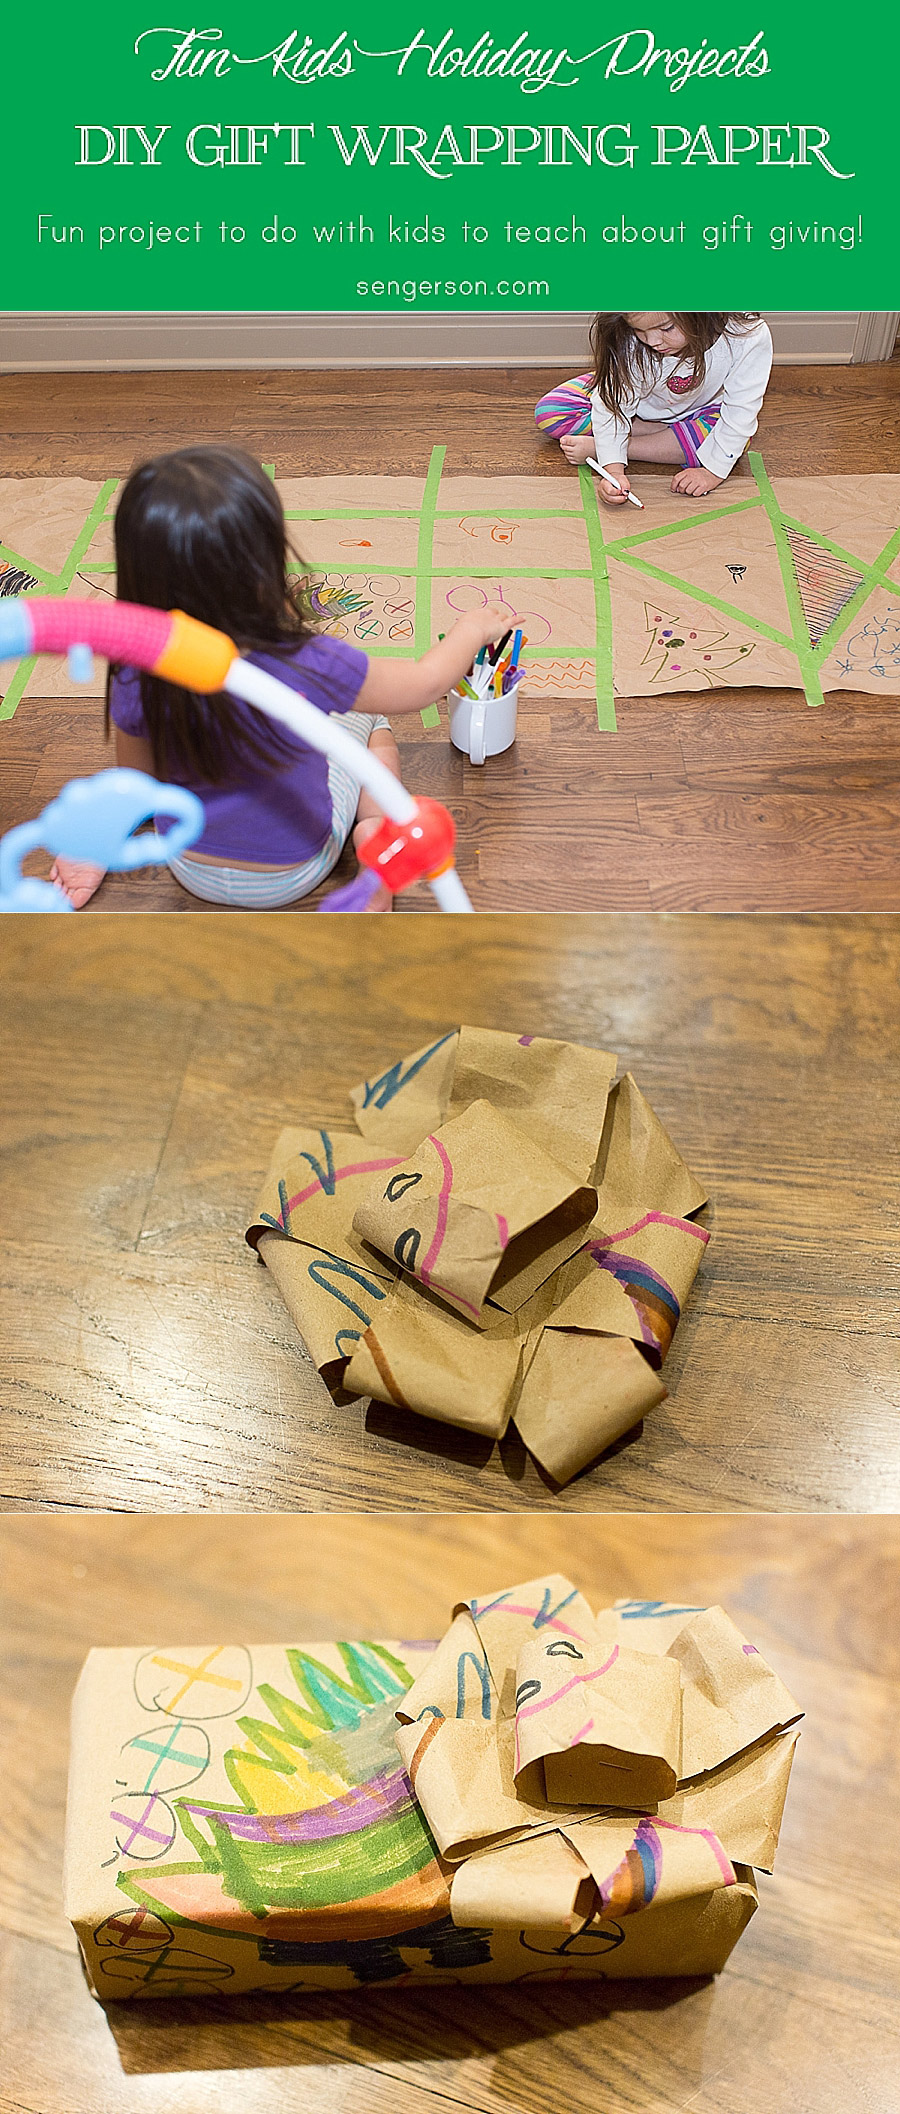
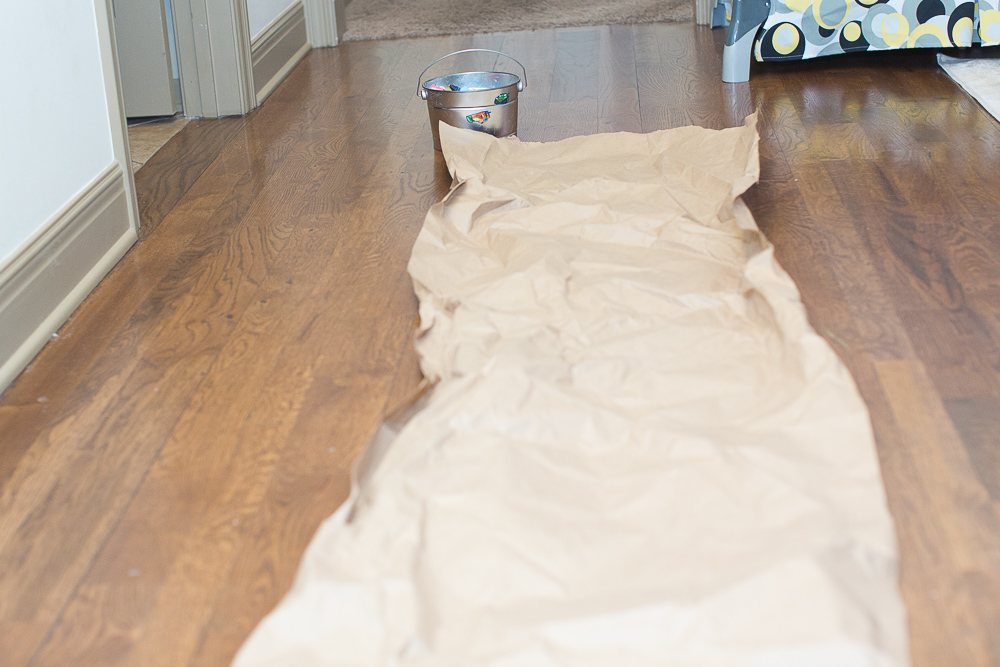
1. Lay out your paper. The more paper, the more fun the kids will have. You can always cut it down to size and save the remaining pieces for more gift wrapping fun.
2. Use the painter’s tape to create a pattern, such as horizontal stripes, vertical stripes, or random stripes! Our kids decided to use it as a border to draw various images.
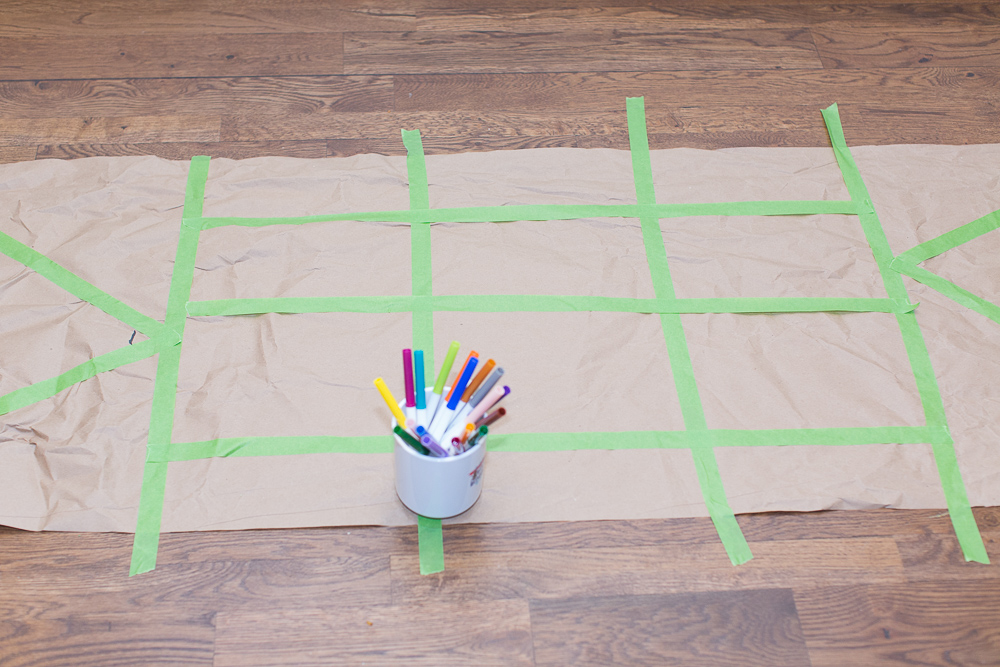
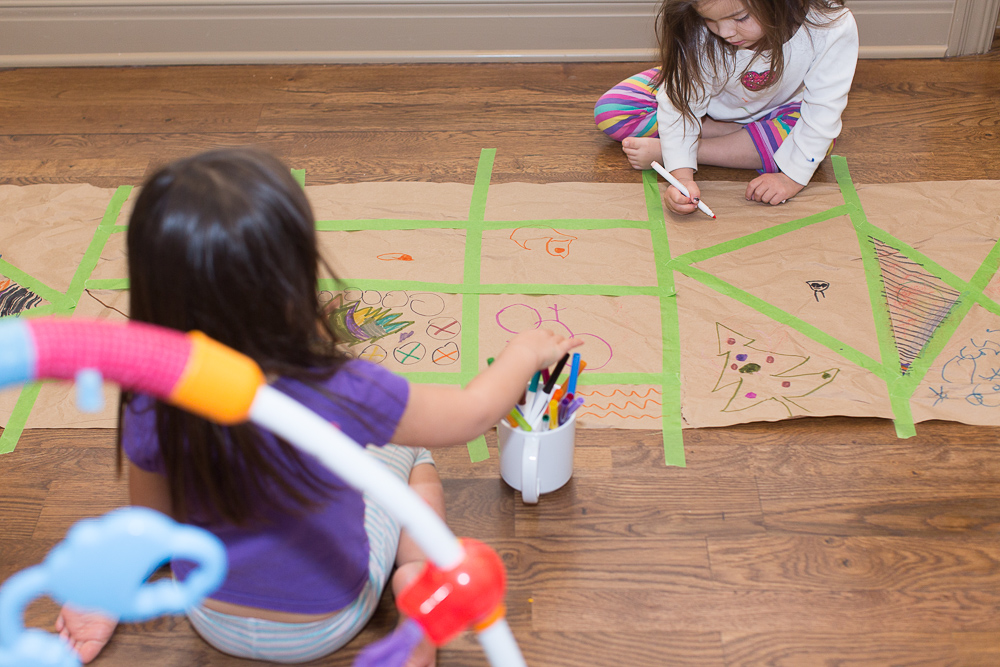
3. You could also use a crayon or marker in the color of your choice to scribble over it the tape to make fun patterns.
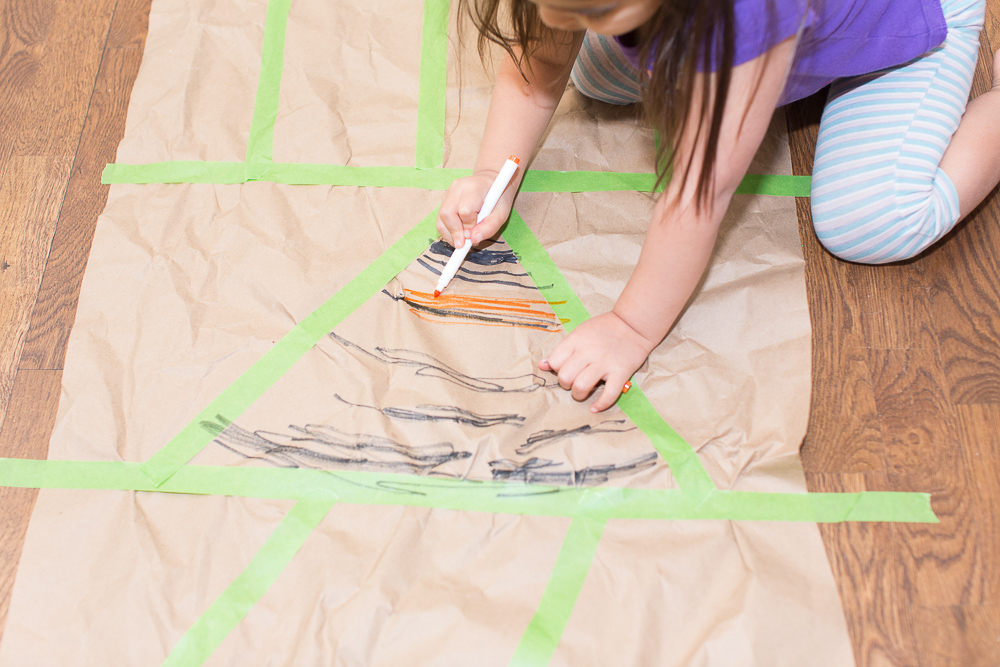
4. Cut your paper to the size big enough to wrap your gift. Our gift is the Philips Sonicare, which comes in a pretty good sized box.
5. Once you’ve completely covered the paper with beautiful artwork, remove the tape and you’ll have blank spaces where the tape was!
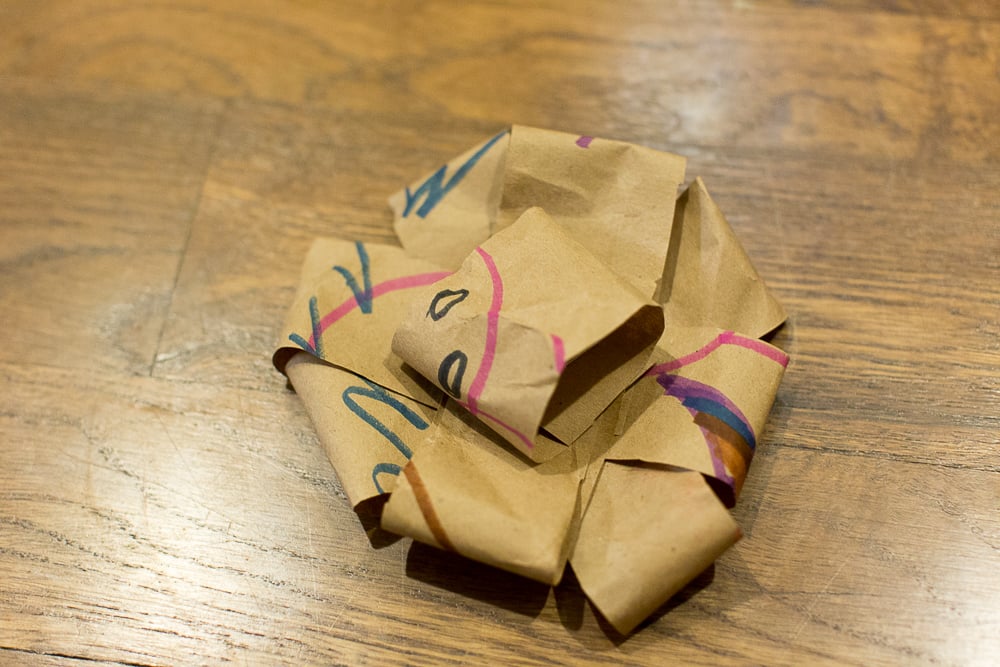
6. To create the bow, cut out a few strips of paper. Take one strip, and bend it over. Do this a couple of times, then layer them together.
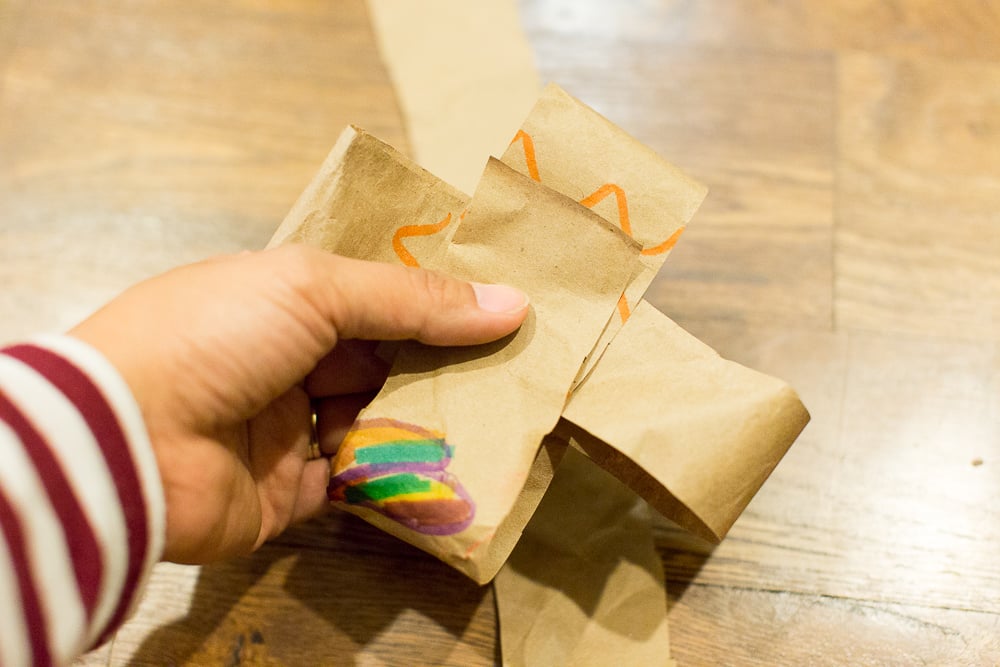
7. Next, take a smaller strip (1/4 of the size), and create a loop for the middle of the bow. Tape it down.
What special someone in your life would love this gift idea? Do your children have a Philips Sonicare toothbrush? If so, what’s their favorite thing about it?
More Inspiration for Kids Projects