In this post, I wanted to share with you an amazing way to create a DIY cold frame that serves as a small greenhouse for your plants during cold early spring and late autumn months.
With spring finally here, the hubs and I are excited to be doing projects outside of the house!
As you all know, the hubs has a green thumb - he got it from his momma. Because of him, we always have fresh veggies on the table in the spring and summer months. The bad thing with his green thumb is that my dining room table becomes a mini greenhouse during those early spring months when it is too cold outside to plant.

Now that we have awesome weather outside to complete some DIY projects, I requested that he build a cold frame so that he can start the growing season early OUTSIDE so that we can have our dining room table back. That's a reasonable request, right?!
Our Midwest weather is very fickle. Often times, we don't know whether the last frost will be in February or in May! The idea behind the cold frame is that it would allow for some early planting, fostering seedlings in the March and April time frame and also continue into late fall. As an added enhancement to the typical cold frame, we wanted to add a roof using GAF Timberline® shingles to protect the integrity of the structure and install a drip edge to protect it from rotting.

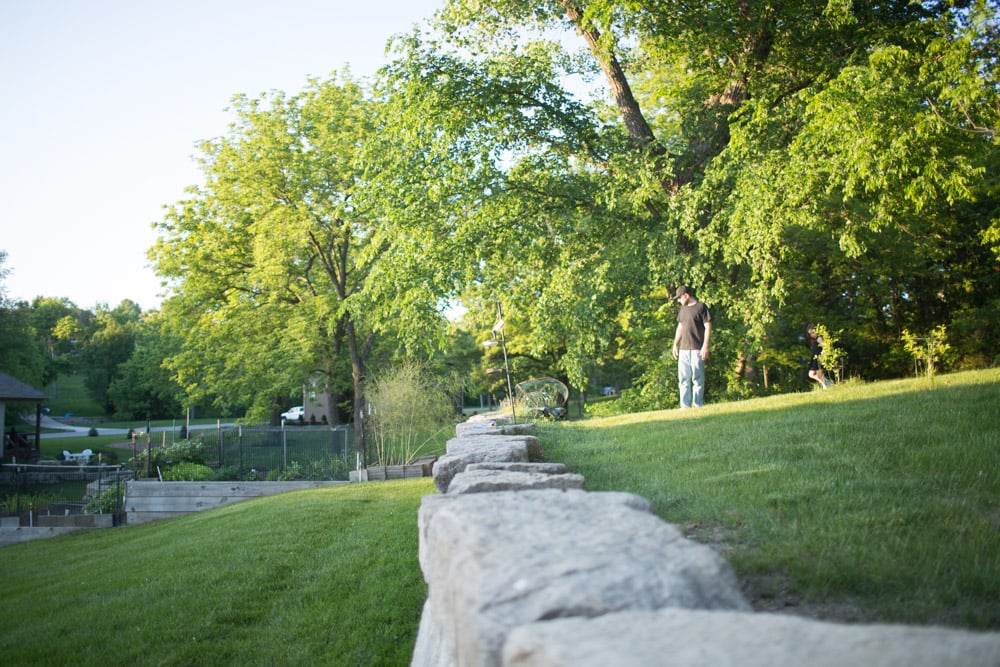
Our DIY cold frame would sit on the side of our tiered garden that we built on our hilly backyard facing the sun. Another important factor to the cold frame is ensuring that it had removable and tiltable windows for ventilation.
I'm going to show you the steps on how you can create your own cold frame so that you have veggies growing in the early and late season! Here are the supplies and directions on how you can re-create a cold frame with a roof.
Supplies Needed to Create a Cold Frame Greenhouse
FeltBuster® High-Traction Synthetic Roofing Felt
Pro-Start™ Starter Strip Shingles
Timberline HD® Shingles
TimberTex® Premium Ridge Cap Shingles
5 - 10' Aluminum Drip Edge pieces
1¼" galvanized steel roofing nails
1" - 1¼" round plastic cap roofing nail
plywood
wood posts
fence pickets
2 x 3 wood
gloves
miter saw
hammer
tape measure
safety goggles
drill
window
utility knife
wood posts
All of our supplies can be found at Lowe's. You can find GAF roofing materials in the roofing aisle located at the far end of the store near the Contractor/Pro Service Center.

I wanted to use the Timberline HD® Shingles because they had an amazing variety of colors. As my go-to for any roofing project, Timberline® is the best selling shingle in North America. They look amazing & are extremely durable. Remember that GAF roofing as a lifetime limited warranty on their shingles and all qualifying GAF accessories!

Directions for DIY Cold Frame Greenhouse
Step 1 | Measure the Space for the Cold Frame
Identify, measure and calculate the area in which you want to create your cold frame to be located. For example, we wanted something low to the ground facing the south sun. The measurements for our DIY cold frame was based on the window size that we found.
Draft up a picture of what you want your cold frame to look like. This was ours:

We also made sure that we picked an appropriate spot for where we wanted to store the cold frame - right next to our garden with an embedded sprinkler!
Step 2 | Build the Frame
Build the frame for the main structure. Ours was close to an A-frame structure so that the eave of the roof on one side would come over the window to help protect it from the environment. See the images below on how we constructed our frame.


When you create the frame, the window that was chosen should be able to slide in and out of the space, allow for air circulation and ventilation, and be completely removable.
We learned our lesson the hard way from our initial greenhouse project with our first home. The sliding windows were initially a great idea, until we realized that we needed more ventilation and that having half the window closed still allowed to much heat to be trapped inside.
In our new cold frame, the window is completely removable. We'll also be adding a hinge later to allow it to be tilted!


Step 3 | Add Some Appeal to the Frame
Layer some fence pickets on the side to give the cold frame an aesthetic appeal. I love how the side facade of the cold frame turned out. I might convince the husband to make our kids a playhouse with this technique.


Step 4 | Create the Bed Foundation for the Cold Frame
Once the initial structure is complete, start building the foundation in your cold frame location that you identified. You'll need to dig a few holes for the foundation and lay down the pressure treated wood in the ground for the cold frame structure to sit on.


Attach the initial structure on top of the foundation. For ours, we screwed the foundation and A-frame structure together.


Step 5 | Apply the FeltBuster®
The FeltBuster® will protect the roof and structure from wind driven rain, but allow moisture to escape. Roll out the FeltBuster® along the roof structure and allowed them to overlap. Secure it by using roofing nails.


Use a utility knife to cut off any extra material.


Step 6 | Install the Drip Edge
The drip edge will keep the rainwater from running underneath the roof and protect the integrity of the cold frame. Using galvanized steel roofing nails, we attached the drip edge to the sides of the roof on top of the FeltBuster®.


Step 7 | Add the Starter and First Row of Timberline HD® Shingles
In order to penetrate through the plywood, FeltBuster®, and Timberline HD® Shingles you'll need to ensure you use 1 ¼" galvanized roofing nails.

When you add shingles, you'll need to start at the bottom and work your way towards the top. The initial row is known as the starter row, as you should be using Pro-Start™ Starter Strip Shingles.

For the very first row of shingles, start in the opposite direction of the starter strip and place the shingles directly on top of the starter strip and nail them in the middle across.
For the next row, start on the opposite end and continue with this pattern.

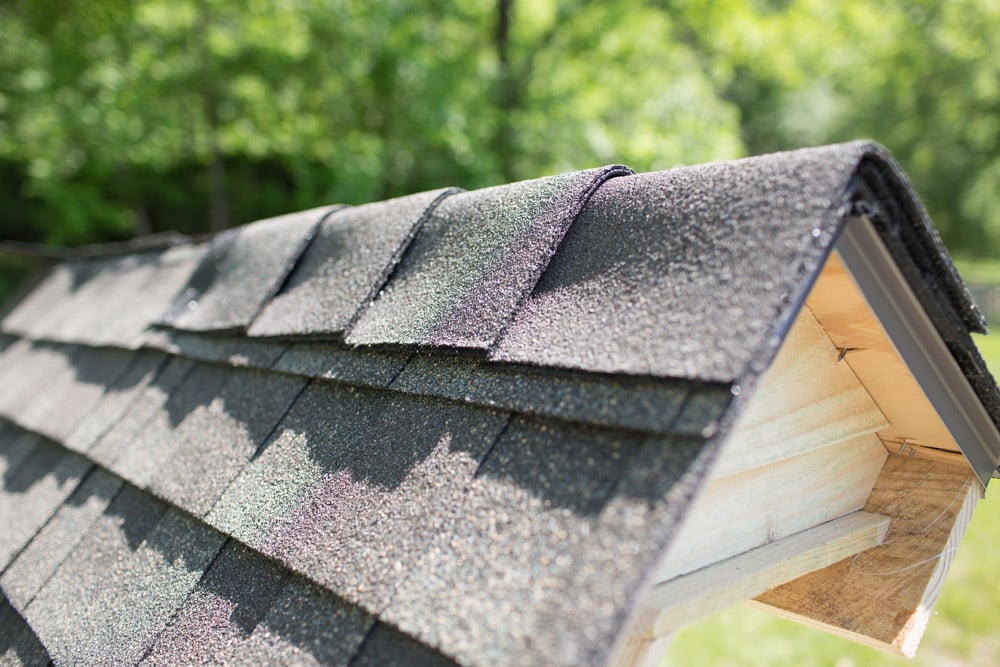
Step 8 | Add the TimberTex® Premium Ridge Cap Shingles
To cover a pitched roof for thecold frame, install the TimberTex® ridge cap shingles.

Nail the first piece along the seal line. Overlap and secure the next one with two galvanized roofing nails. Repeat this all the way down the pitch of the cold frame.
That's it! We are so happy with how our DIY cold frame (garden box) turned out!

The shingles not only protect the glass of the cold frame from hail, but they also add appeal because it matches our roof.


What took the longest was figuring out the design of the cold frame. We didn't know how we wanted to do it exactly, so it took us a couple of days to figure out the design. Once the design was complete, it took about four evening days to complete! We love that we can now beat Jack Frost by a few weeks and be able to harvest in later fall/winter months fresh from our backyard!

Here's our tiered garden (with a sprinkler system installed) with the cold frame in the background:

More Gardening Posts to Inspire You
- Outdoor Fairy Garden Bucket Ideas
- Ideas for Watering Garden with Sprinkler System
- Before and After Lawn DIY