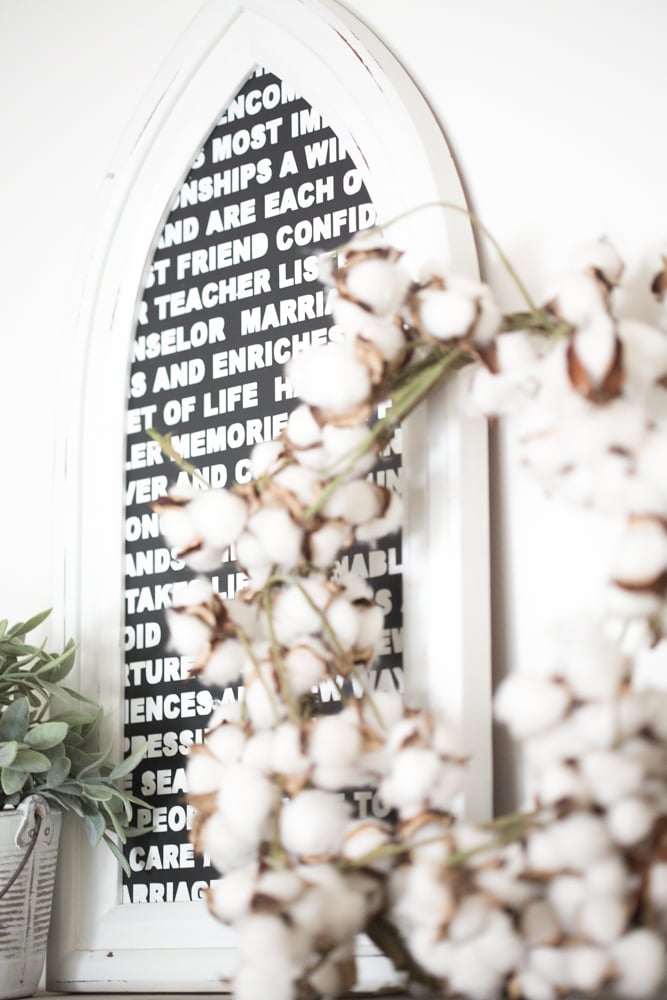
One of the last rooms that we are trying to finish decorating (which is taking forever by the way) is our master bedroom! I wanted to incorporate our wedding vows somehow into the room. We have a lot of overlays of word art around the house on photos, so I wanted to try something different.
In This Post
DIY Wedding Vow Art Project
Since I just purchased our Silhouette Cameo 3 machine, I wanted to try a project where I used it as a stencil. This project was super easy. It took a while to weed the vinyl letters, but overall, I'm loving how it turned out!

Supplies for Wedding Vow Display
- any frame (old or new)
- craft cutting machine (I have a Silhouette Cameo 3)
- white chalk paint (directions on how to create custom chalk paint here, I'm using this paint color)
- black chalk paint
- stencil vinyl
- transfer tape
Directions for Custom Wedding Vow Frame
Step 1 | Get Vinyl for Your Wedding Vows Ready
The goal is to create a stencil out of the vinyl. Put your vows in Microsoft Word. Use the quick capitalization feature to capitalize all the letters. Next, remove any periods or commas, but keep apostrophes. Paste the vows into your craft cutter's software. I used the font Arial Black and bolded it. Measure your frame and make the words extend a little beyond the size of the frame.
Weed the vinyl and take out the LETTERS. Remember, you want to use it as a stencil. Set out the weeded vows for now.

This may take a while. This is the lengthiest part of the project.

Step 2 | Cut and Paint Your Frame and Backing
For this project, you could use plywood like I did, canvas or even cardboard. First, I would paint the backing with the color that you want the background to be.

I used this paint for my background.

Step 3 | Transfer the Vinyl
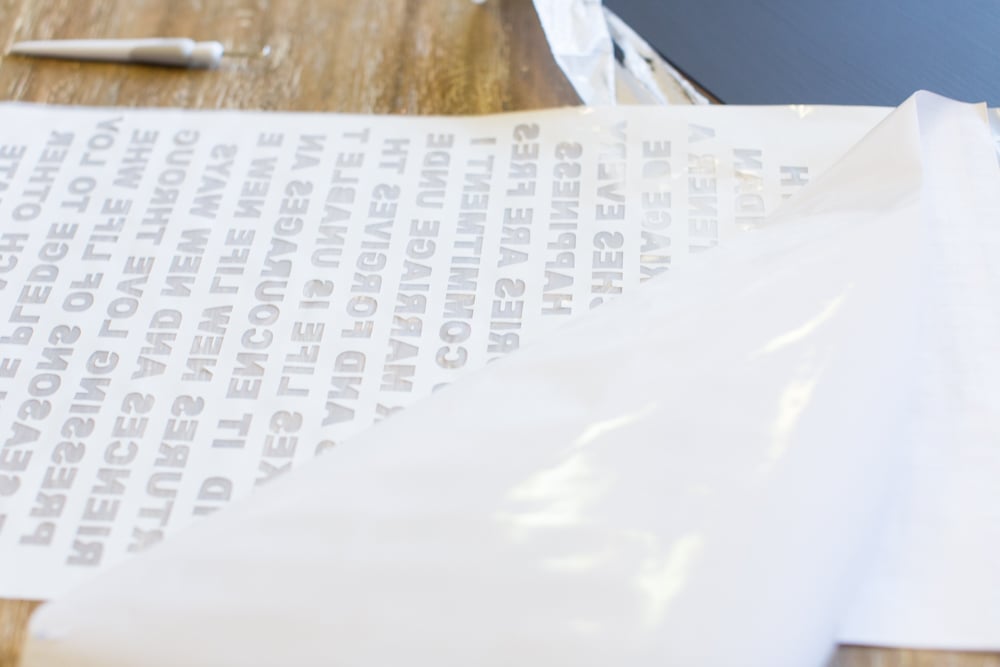
You'll want to use transfer tape to position the vinyl from the cutting mat to the backing material. If this is your first cutting machine project, you are probably wondering what transfer tape looks like and what it does. Basically, after you weed the letters, you need to be able to move that stencil that you now have cleanly, without wrinkling it, onto your backing. That's what transfer tape will do. This is what it looks like.

Once you put the transfer tape on the stencil vinyl, tear off the plastic. It should be sticky.

Next, place the vinyl with the sticky side onto your backing. I laid my vinyl flat and put the backing on top of the sticky area.

Lay this very carefully, as you do not want lumps in your vinyl (or else the paint will go underneath the letters).
Step 4 | Take off the Transfer Tape
Again, do this carefully. No lumps people!

Again no lumps.

Step 5 | Seal with Background Paint Before Painting in Letters
This is the all important step. We did this when we painted stripes in our girls' bedroom - this will allow the background paint to seal and no bleed.

Step 6 | Paint with the Letter Colors for Your Vow's Words
I would put about two layers of the white paint over it. Let it sit for a few hours, and repaint it. Then carefully peel off the vinyl!

Step 7 | Admire Your Creation
Isn't it beautiful?

Wedding Vows with DIY Stencils
I just loved how it turned out.


It is sitting in front of our bed in our master bedroom, so every morning we wake up to our vows!

Pin the image below to save this ridiculously easy DIY framed wedding vow idea!


Other Cutting Machine Home Decor Ideas
If you loved this post on how I decorated my home using a craft cutting machine, check out these other home decor projects that you can do with them:
- DIY Wall Clock
- Pantry Labels with Cricut
- Making Stencils with Craft Cutting Machine
- Christmas Tree Stand Collar
DIY Wedding Vow Art Decor

Learn how to make this gorgeous wedding vow decor that you can put on display.
Materials
- any frame (old or new)
- craft cutting machine (I have a Silhouette Cameo 3)
- white chalk paint (directions on how to create custom chalk paint here, I’m using this paint color)
- black chalk paint
- stencil vinyl
- transfer tape
Tools
- sponge brush
- Cricut weeder
Instructions
- Create a stencil using your Cricut machine with your wedding vows.

- Using the picture frame backing, paint the backing black for the background.

- Next, transfer the vinyl over. You’ll want to use transfer tape to position the vinyl from the cutting mat to the backing material. If this is your first cutting machine project, you are probably wondering what transfer tape looks like and what it does. Basically, after you weed the letters, you need to be able to move that stencil that you now have cleanly, without wrinkling it, onto your backing. That’s what transfer tape will do. This is what it looks like.Next, place the vinyl with the sticky side onto your backing. I laid my vinyl flat and put the backing on top of the sticky area.

- Next, place the vinyl with the sticky side onto your backing. I laid my vinyl flat and put the backing on top of the sticky area.

- Take off the transfer tape carefully.

- Paint the letter colors for the words you want the vows to be.

Notes
This is a very tricky DIY project, but once you are done, it will be so satisfying and beautiful!
Recommended Products
As an Amazon Associate and member of other affiliate programs, I earn from qualifying purchases.


Leave a Reply