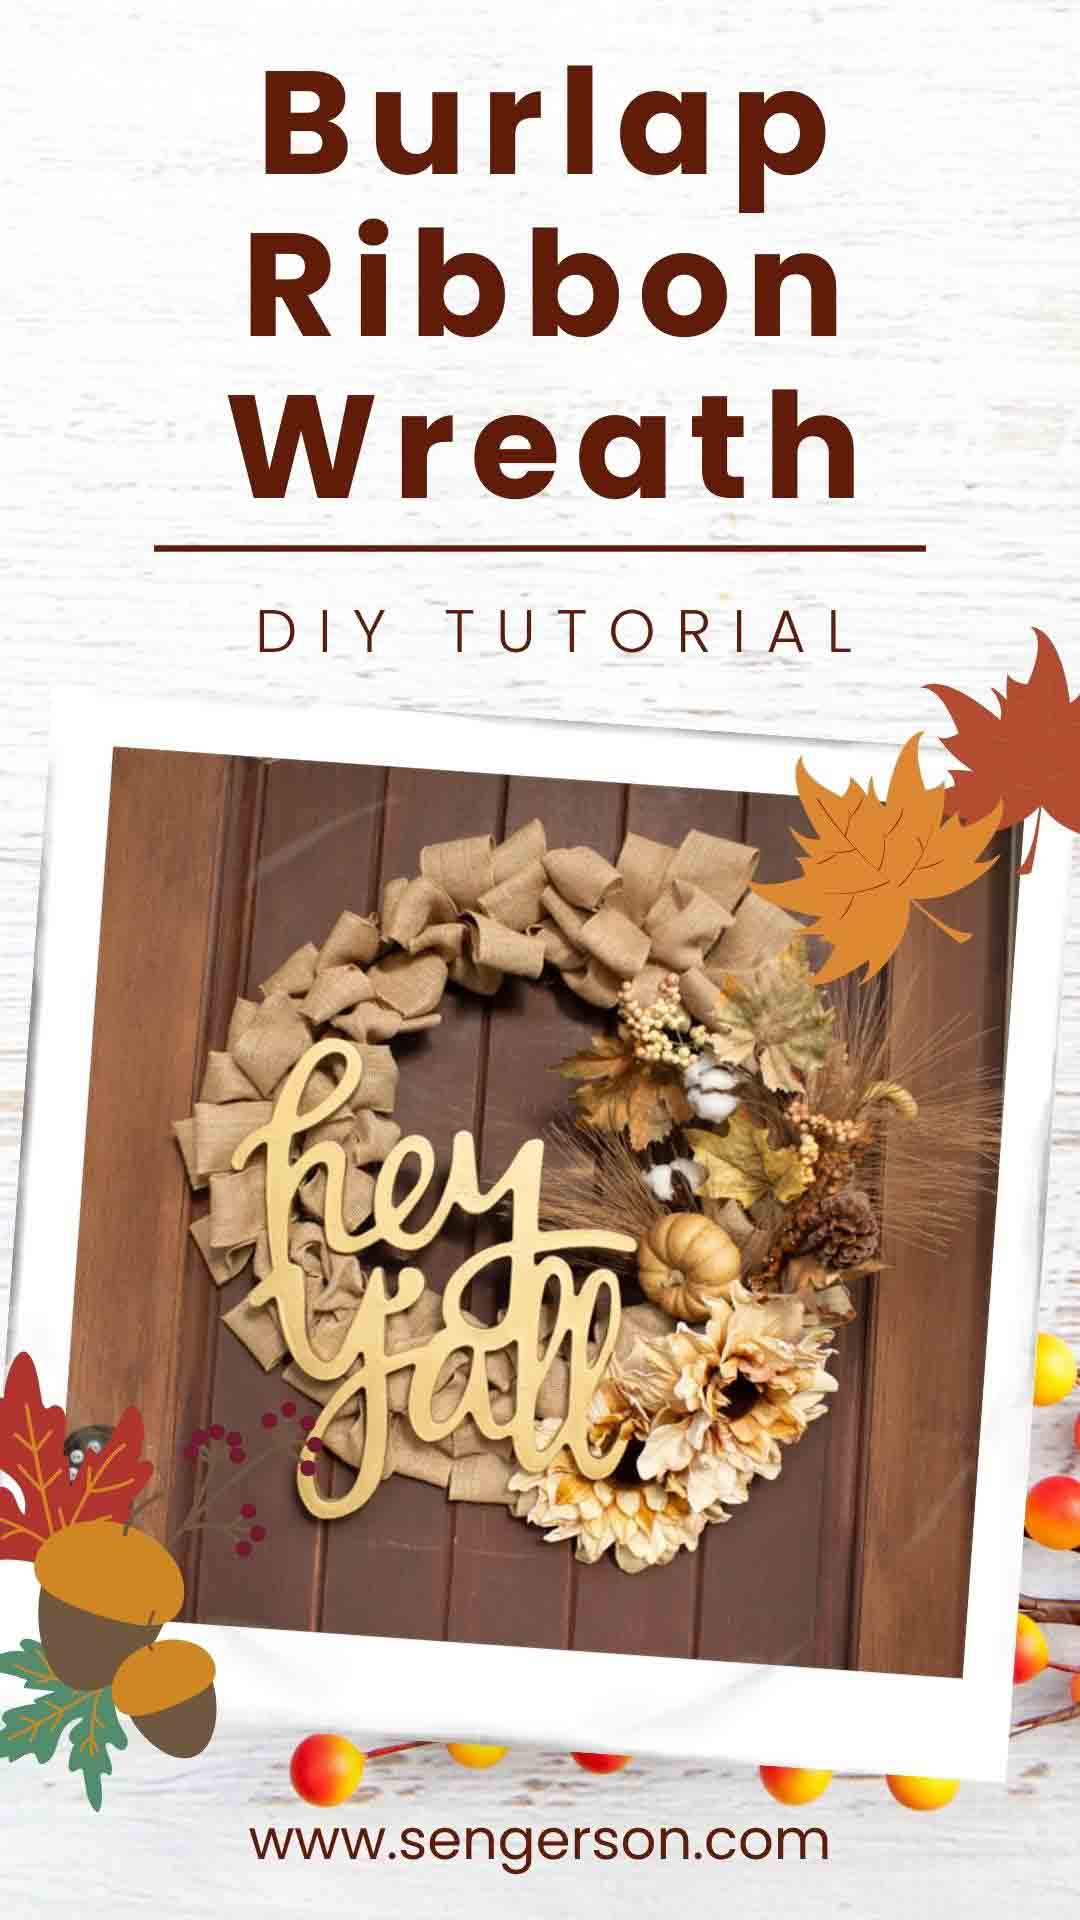
In this tutorial, you are going to learn how to make a harvest burlap ribbon wreath with easy instructions and directions that anyone can make! It's just in time for Thanksgiving and fall!
I absolutely love the way that burlap wreaths look in any home. I know it's on trend right now, but it is a trend that is classic and versatile. An inexpensive burlap ribbon can be used to make a gorgeous wreath that will look great on your front door.

I love having wreaths on my front porch. We live in a pretty standard, typical suburbia home, so we had to make our front door stand out. A wooden quote block or monogram sprayed with Plasti Dip Craft will make it stand the outdoor weather and make it look absolutely gorgeous!

Different Methods for Using Burlap for a Wreath
There are so many different methods for making a wreath. Some include cutting it and looping it in, some include super gluing it together. The easiest burlap wreath method doesn't require you to cut the burlap at all. It allows you to pull the ribbon inside the floral wire wreath, which makes it a really easy project to finish. Here are the step by step instructions on making your own personalized burlap wreath.
How to Make a Harvest Burlap Ribbon Wreath Tutorial
You are going to learn how to make a burlap sunflower wreath in this tutorial! It will be a personalized door wreath for your front door that will look great!
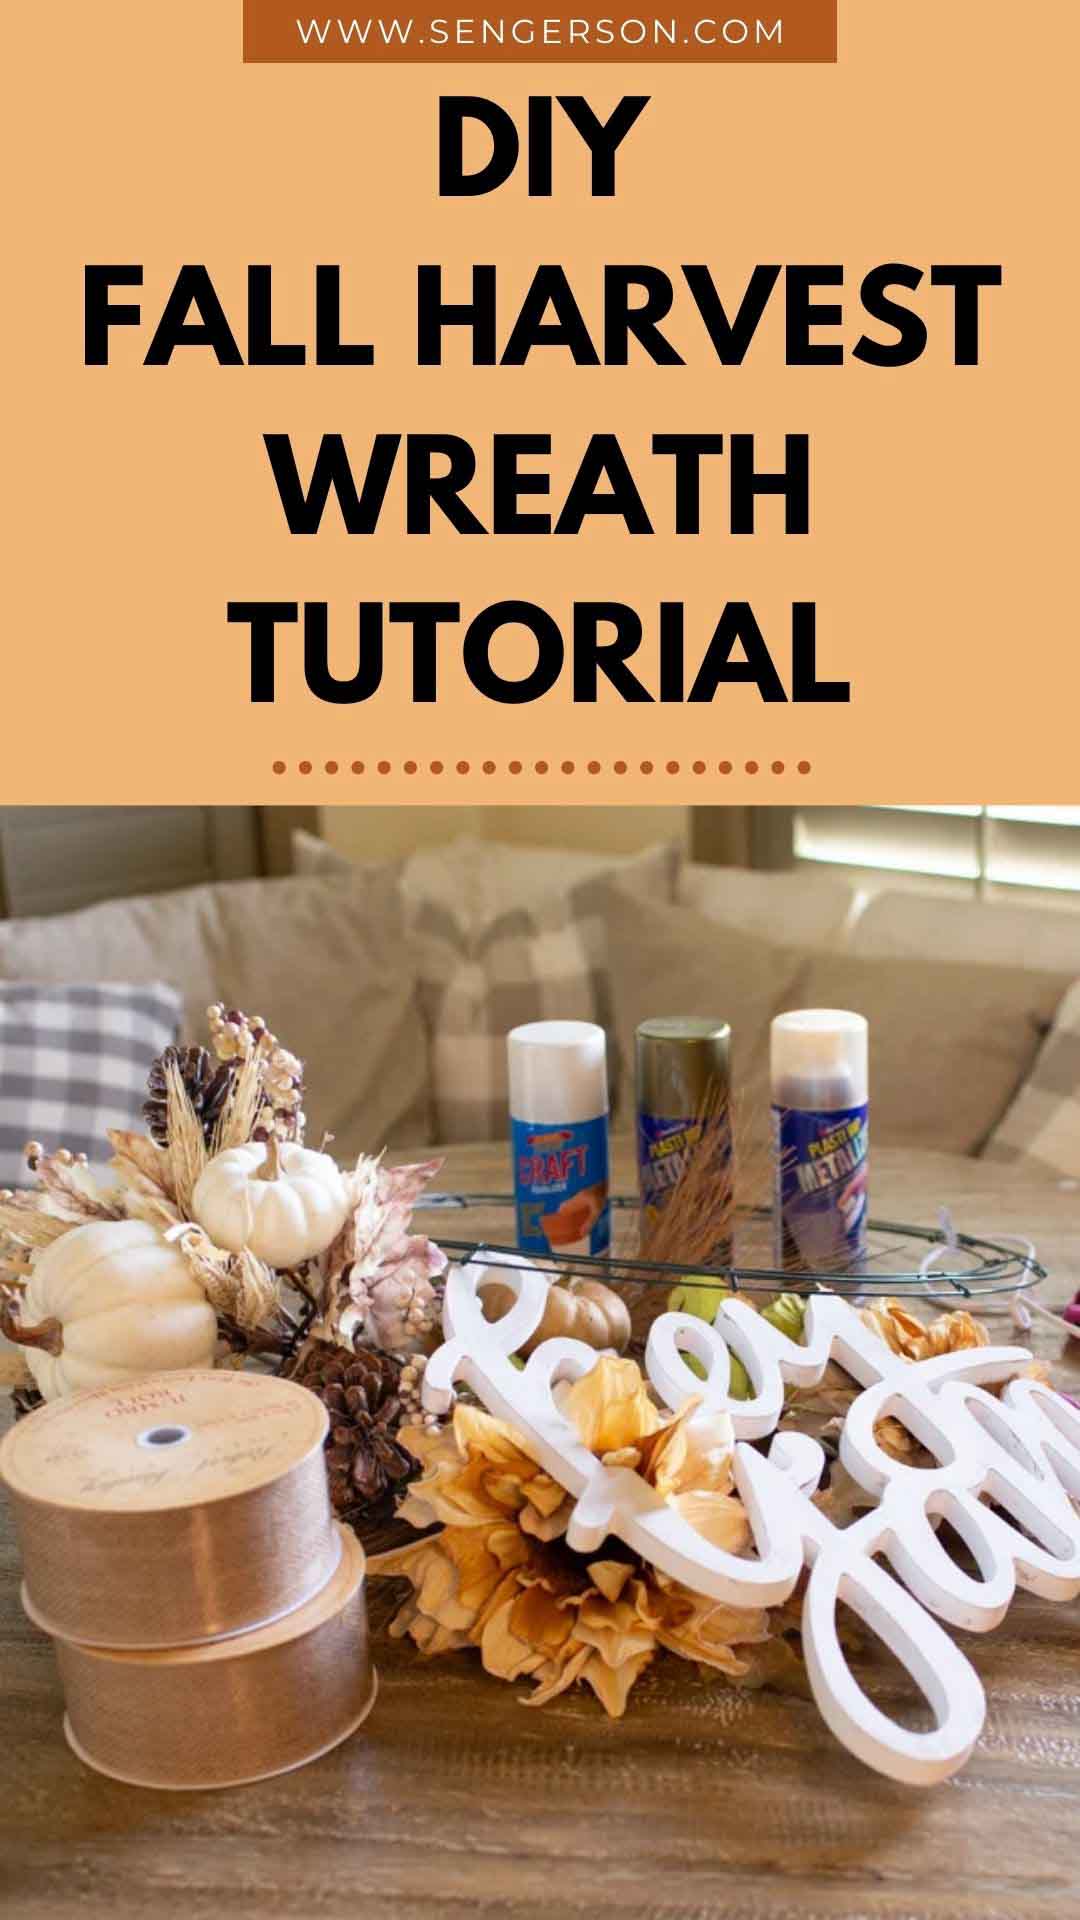
Supplies For Harvest Burlap Wreath

For the Wreath
- Roll of Wired Burlap (2 x 10 yards)
- 14" Floral Wire Wreath Form (Green Gage Wreath Forms)
- Small Pliers
- Silk Sunflowers
- Hot Glue Gun + Glue
For the Wood Quote or Wood Name
- Laser Cut Wooden Sign
- Plasti Dip Metalizer (Shop now on Amazon)
- Plasti Dip in Your Favorite Color (Shop now on Amazon)
Directions for Making a Rustic Fall Burlap Ribbon Wreath with Quote
Step 1 - Fold the End and Anchor It to the Floral Wire Wreath

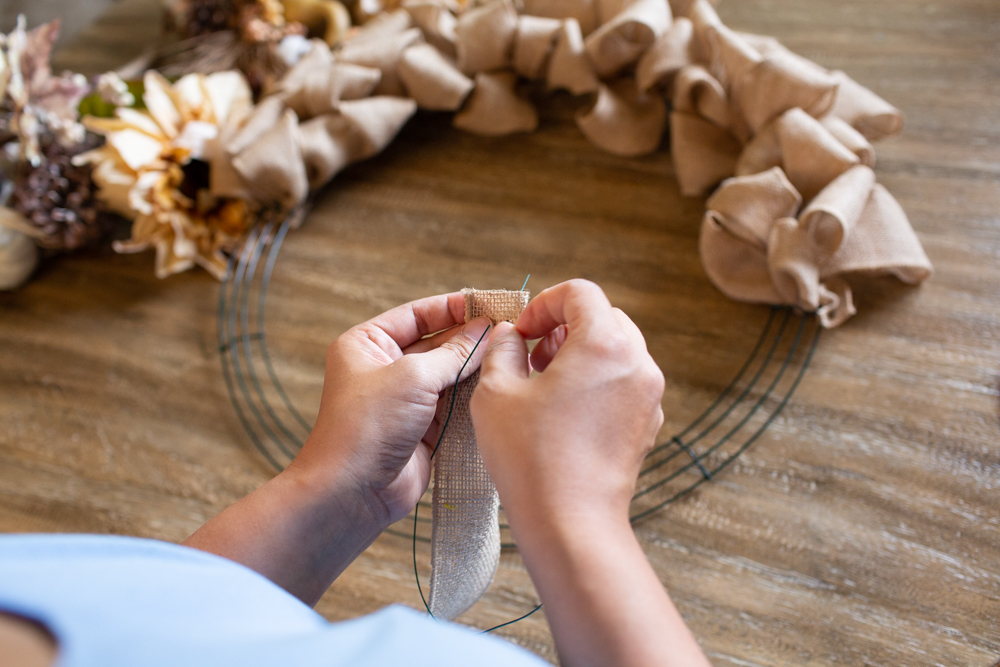

First, you'll want to fold the end of the burlap ribbon so that half an inch is available. Loop the floral wire into one side of the burlap ribbon and thread it to the other end. Next, loop the floral wire and burlap and anchor it to the middle of the floral wreath form on one of the anchor points.
Step 2 - Create Your First Loop Between the Two Inner Rings

Pull through the ribbon and make your first loop. An easy way to determine how big the loops should be, put your hand through the loop and measure the size based on the width of your hand.
Step 3 - Create Your Second and Third Loop Between the Middle Rings
In the next ring, you'll want to create a second loop with your burlap ribbon (no cutting required), pull and loop it again. The loops should be the same height as the one next to it.
Step 4 - Twist the Ribbon and Move Perpendicular Next to It
At the end of the last loop, you'll want to twist the ribbon THREE times and make it tight. Push the section of three loops to the anchor of the floral wire wreath. Right next to the last loop, you'll want to create your next loop in that same section. You'll follow the previous steps again!

Step 5 - Three Sets Between Each of the Wreath Anchors

Depending on the width of your burlap, typically three sets of three loops fit in ONE SECTION of the wreath. Keep pushing it to make it fit. If you run out of wire or need to finish the wreath, repeat step number 1 in order to anchor the end to the wreath form.
Step 6 - Decorate with Silk or Dried Flowers

Hook the silk flowers and dried flowers with the floral wire or hot glue gun!
Step 7 - Paint Wooden Quote, Name or Monogram Initials with Plasti Dip Craft

I found our wooden quotes at Hobby Lobby. They have a ton of monograms too! I found some really cute Etsy laser cut names that I also have on order for future wreaths.
Step 8 - Add Coat of Plasti Dip Craft Pearlizer or Plasti Dip Metalizer

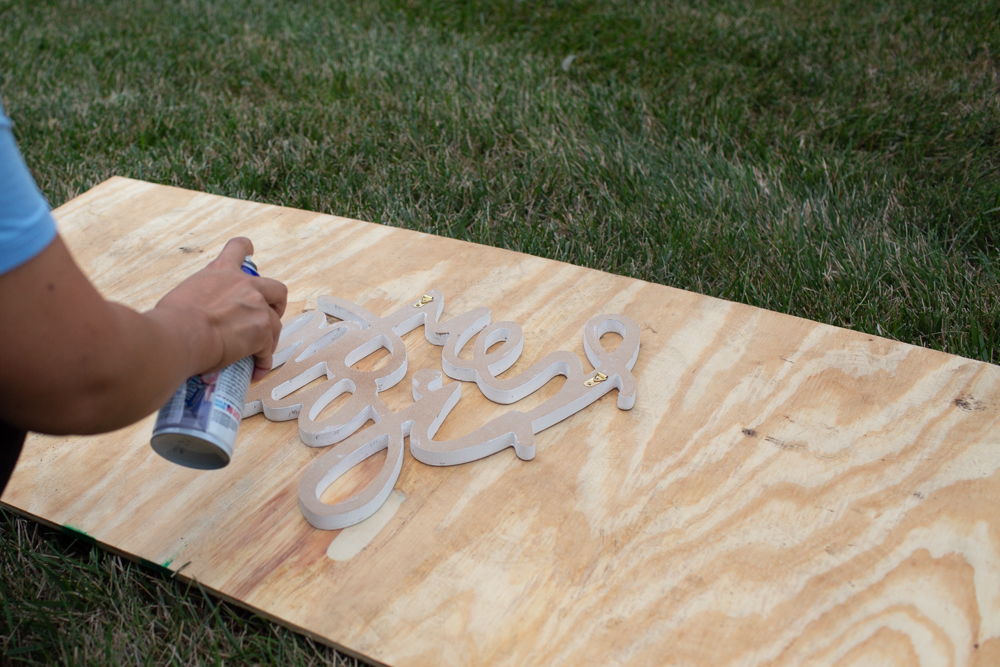
I love using Plasti Dip Craft to paint wooden quotes, names, and monograms. The metallizer and the pearlizer gives it the extra touch. In addition, it also protects the piece as well while it sits in fall weather.
Step 9 - Add a Hook to Hang It

You can add a hook to the wreath or a wire that goes across the top of the wreath.
Step 10 - Hang and enjoy!
Frequently Asked Questions About Making the Burlap Ribbon Wreath
Below are the common questions I get for making a burlap wreath: How many yards of burlap ribbon do I need for a wreath? For every 5 inches of the wire frame, I would estimate about 30 feet of ribbon.
More DIY Inspiration
How to Make a Harvest Burlap Ribbon Wreath Tutorial with Quote or Monogram (Easy DIY)

Make your own beautiful harvest burlap ribbon wreath that's perfect that anyone can easily make.
Materials
- Roll of Wired Burlap (2 x 10 yards)
- 14" Floral Wire Wreath Form (Green Gage Wreath Forms)
- Silk Sunflowers
- Laser Cut Wooden Name Sign
- Plasti Dip Metalizer
- Plasti Dip in Your Favorite Color
Tools
- Small Pliers
- Hot Glue Gun + Glue
Instructions
- Fold the End and Anchor It to the Floral Wire Wreath

- Create Your First Loop Between the Two Inner Rings

- Create Your Second Loop Between the Middle Rings
- Twist the Ribbon and Move Perpendicular Next to It

- Three Sets Between Each of the Wreath Anchors
- Decorate with Silk or Dried Flowers
- Paint Wooden Quote, Name or Monogram Initials with Poly Dip Craft
- Add Coat of Poly Dip Craft Pearlizer or Poly Dip Metalizer

- Add a Hook to Hang It
- Hang and enjoy!

Recommended Products
As an Amazon Associate and member of other affiliate programs, I earn from qualifying purchases.