This summer, one of my big goals was getting organized and purging the endless piles of clothes that the kids have outgrown. After about two days of organizing, I've literally come up with 12 full trash bags of clothes to donate which filled up my entire van.

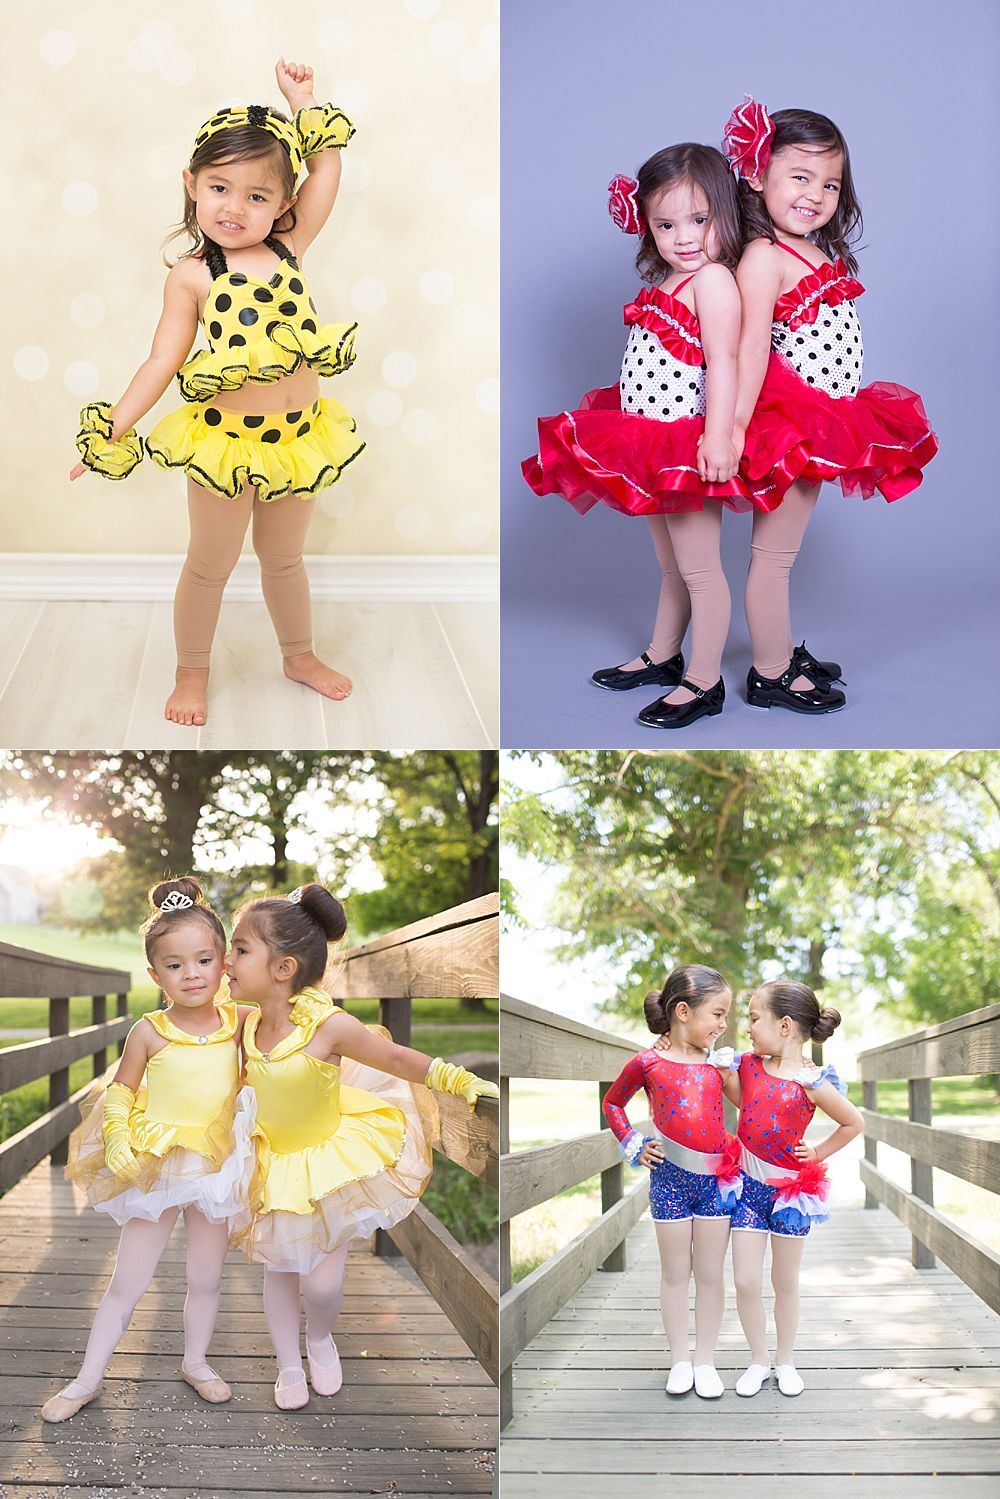
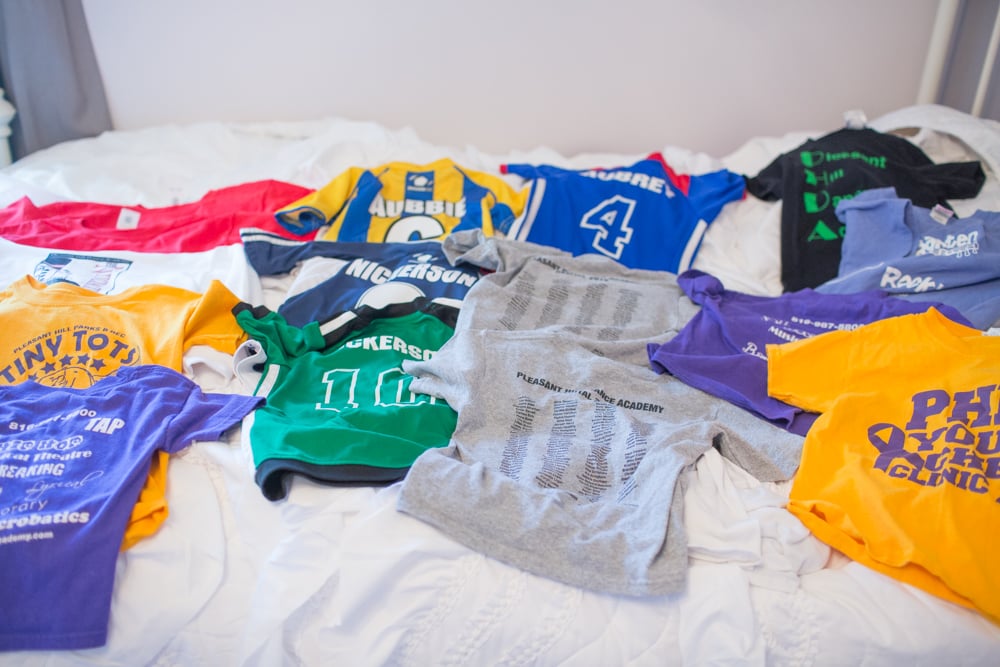
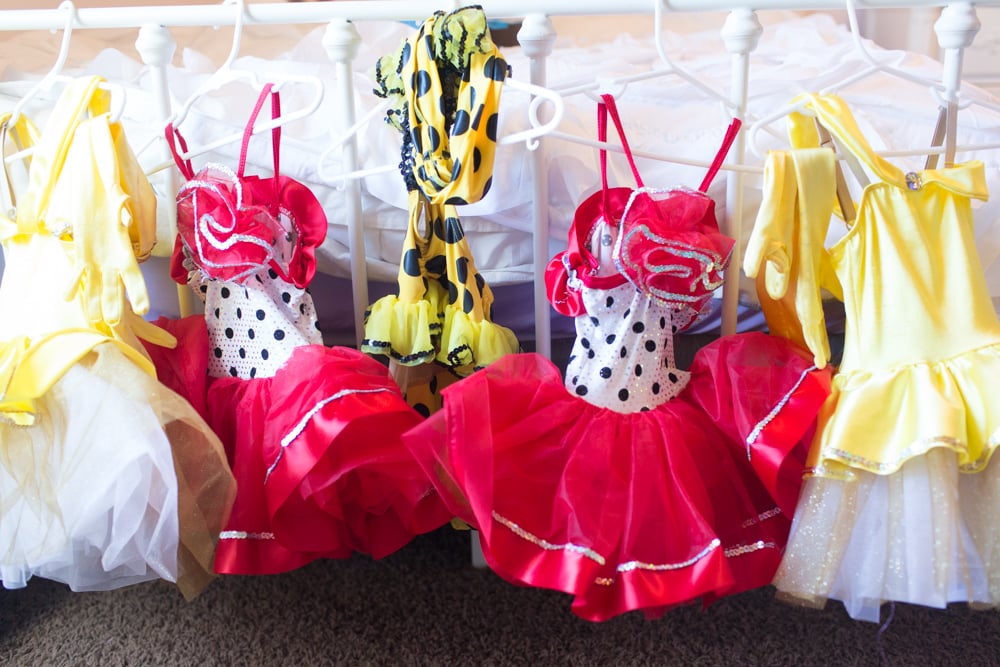
A few of the items I am having a hard time parting with are my kids' soccer uniforms, dance costumes and school activity t-shirts. Each one tells a story about a season of my child's life - it is a part of their history. These are their first dance costumes:
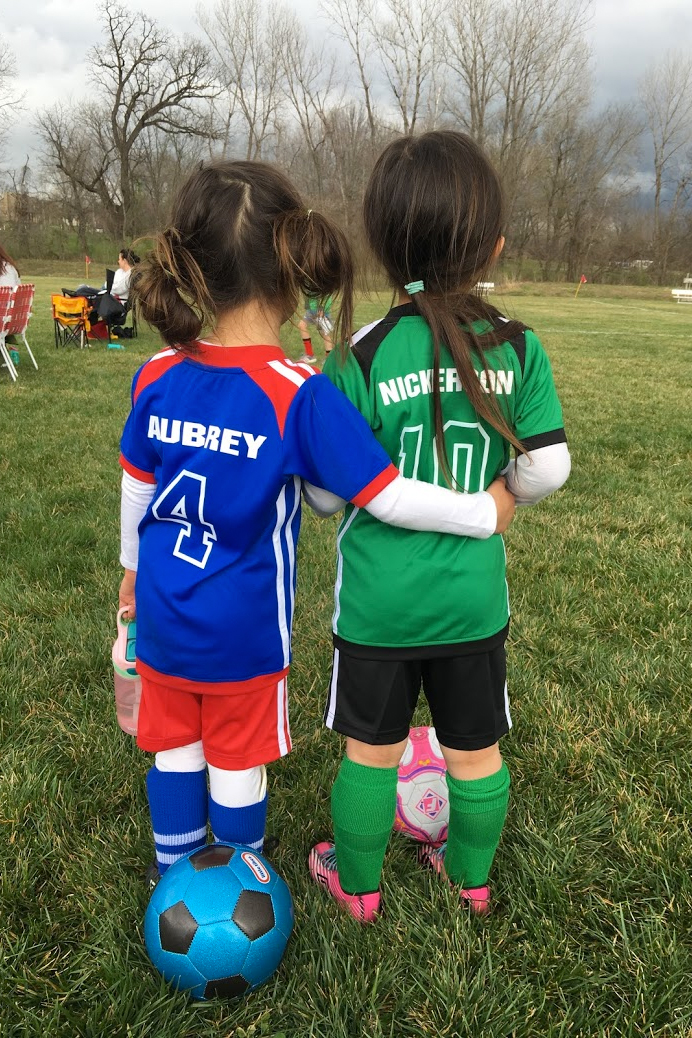
Their soccer uniforms show how much they've grown as players:
This poses a major predicament. While these are historical treasures for our family, within our home, closet space has become a commodity now that our two oldest girls are sharing a bedroom. I now have a basement organized full of sports memorbilia and dance outfits that I can't part with (learn more about how we built this 2x4 wood basement shelving here).

I've used these bags before to store and organize old stuffed animals for their playroom, so I knew that it would definitely work for my current project.
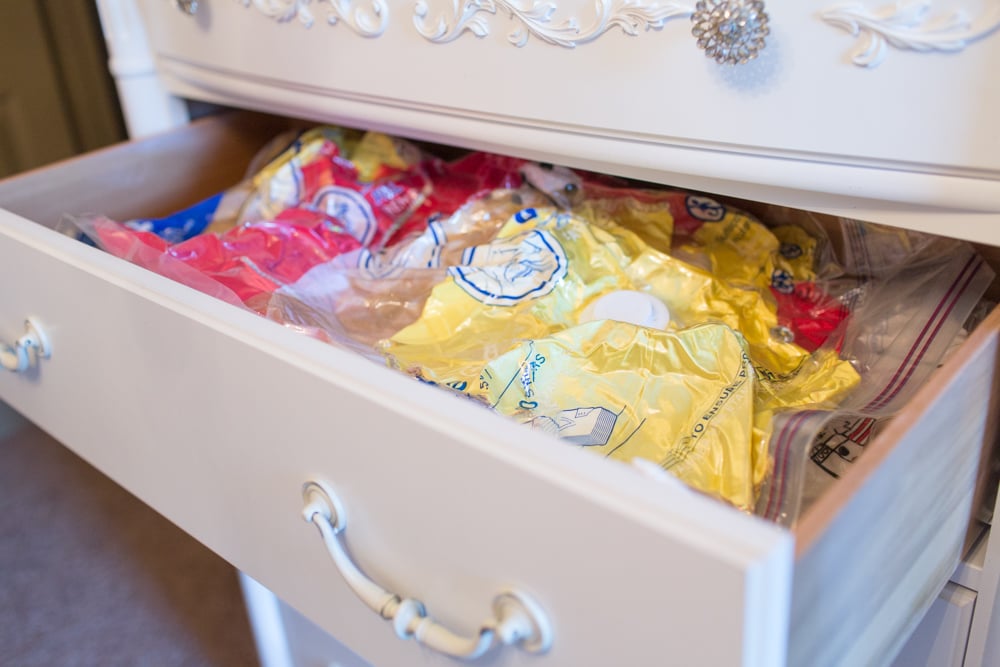
In addition, I purchased these vacuum air bags from Amazon which allowed me to have more than ample room for everything I needed to store (compared to uncompressed storage volume).
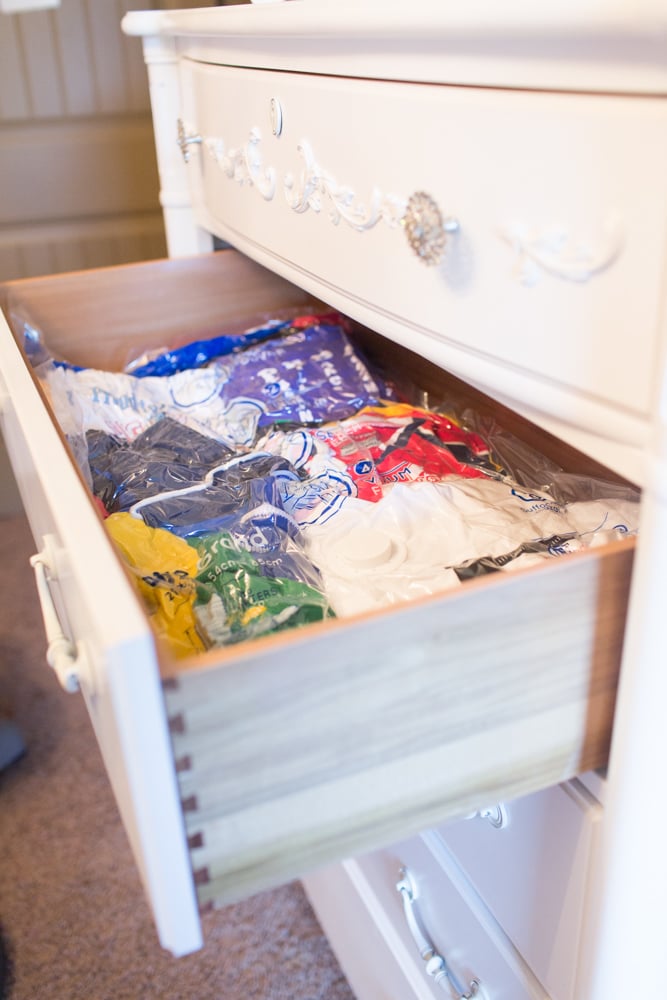
My girls will now have more room for their everyday clothes. These durable bags would also protect our historical treasures from bugs, moths, dirt and mildew if I were to store it in another place other than their rooms (like the basement or attic).
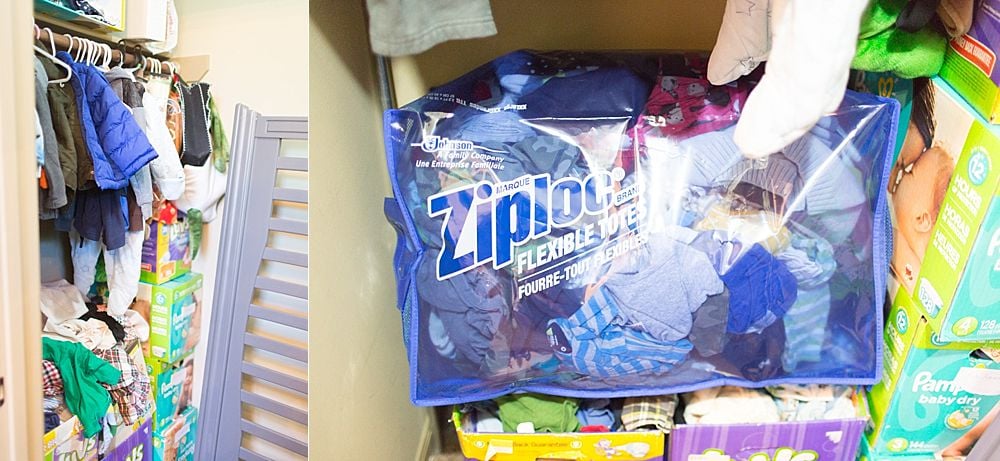
I also purchased flexible totes to store winter clothes and old receiving blankets for my little boy. The totes are flexible and easy to use - way better than traditional plastic tubs because they are so lightweight.
With more room in their closets, I now needed a way to organize my girls' baby clothes that will be handed down to the newest member of our family. I'm sharing with you a free printable for baby closet dividers that you can use too!
Supplies for DIY Nursery Closet Dividers
- printed nursery closet dividers (see below)
- heavy cardboard or cardstock (this is the best kind)
- scissors
- glue (optional)
Want the free DIY Nursery closet dividers to print?
If you want the DIY Nursery closet divider, sign up to access the Resource Library and get more updates from me on the best easy DIY projects.
Subscribe for Access to Resource Library
Subscribe down below for access to the FREE resource library that provides access to affordable home decor, printables, and family vacation hacks. Once you sign up, you'll get access to tons of absolutely free content. You'll also be signed up for my monthly newsletter where I share tips and tricks along the way!
Directions for Baby Closet Dividers Printables Instructions
Step 1 | Print the free nursery closet dividers
Print the free nursery closet dividers in color or black and white. You can print them on cardstock or follow the additional instructions to make them more durable.
Step 2 | Cut out the dividers
Follow the black outline and cut out the dividers.
Step 3 | Glue onto cardboard or heavy cardstock (optional)
Glue the cut out baby closet dividers onto cardboard or heavy cardstock. You'll want to cut it out again following the cut out of the dividers.
Step 4 | Start organizing
Organize your nursery clothes and use these as dividers!

Non-DIY Options
If you don't feel like printing your own closet dividers, here are some easy options you can get as well.


